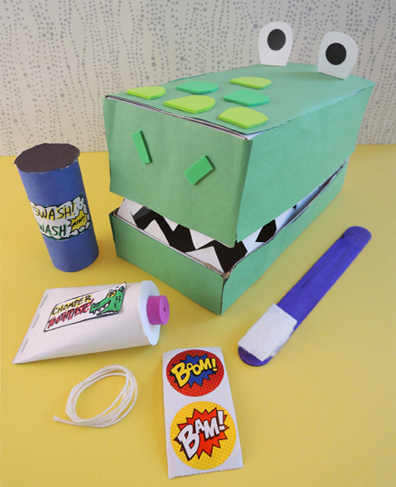
 Help your crocodile keep that winning smile with a toothbrush, toothpaste, floss, mouth wash, and reward stickers! This project was designed by our own Miss Marissa, who, I’m delighted to report, is officially on her way to being a Youth Services Librarian!
We read Clarabella’s Teeth by An Vrombaut (Clarion, 2003). Ruby the Rabbit, Liam the Leopard, Max the Monkey, and Zoë the Zebra can all brush their teeth quite quickly, but Clarabella the Crocodile, with her extra-wide smile, takes forever. In the course of a day, she misses playtime, lunchtime, AND tumble time. When she’s finally done brushing – doh! – it’s bedtime. Her friends put their heads together and give her a gift. An extra large toothbrush so brushing will be a snap. Now, they can all play together!
You’ll need:
- 1 box (mine was 4 ½” X 4 ½” x 9” – a large tissue box works too)
- A box cutter
- Green, red, white, blue, and black construction paper
- White card stock or poster board
- 6-8 small pieces of green self-adhesive foam (optional)
- A strip of tagboard or poster board for a box handle
- 2 toilet paper tubes
- 1 foam bead
- A piece of string or dental floss
- A jumbo craft stick (mine was 8″ long)
- 1 white cotton ball
- 1 small rectangle of stiffened felt
- A couple reward stickers (optional)
- Scissors, tape, glue, and stapler for construction
- Markers for decorating
- Hot glue
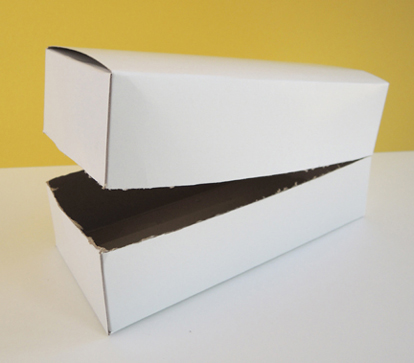
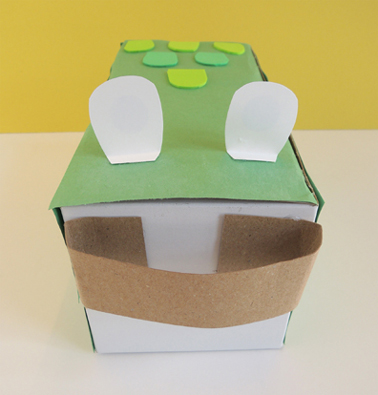
We’ll begin with the crocodile! Use a box cutter to slice 3 sides of a large box. The uncut 4th side of the box is the hinge of your crocodile’s mouth.
 Cover the box with green construction paper. Cut strips of pointy teeth from white card stock and attach the strips to the upper and lower parts of the mouth. We also added some self-adhesive foam nostrils and reptilian bumps, but you could simply draw these on with markers. Finally, cut a pair of eyes from white card stock, tab the bottoms, and attach them to the top of your alligator’s head with tape or glue. We used black dot stickers for pupils, but you could draw them on with markers too.
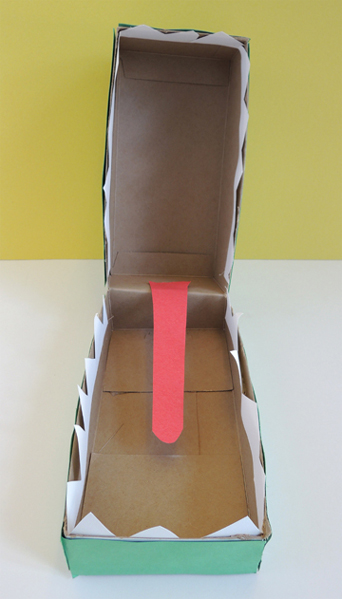
 Next, open the alligator’s mouth and attach a red construction paper tongue. I recommend gluing or taping the tongue to the upper part of the mouth hinge like so:
 Kids have pretty small hands, so Marissa added a handle to the back of the box to make it easier for them to hang onto the box. The handle was a tagboard strip, tabbed on the ends and hot glued (or taped) to the back of the box.
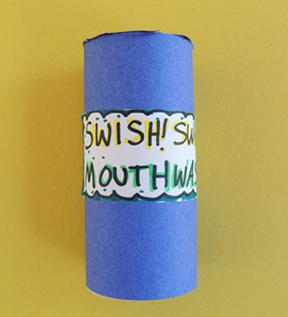
 Your crocodile is done, now for the dental hygiene accoutrements! To make the mouth wash, wrap a toilet paper tube with construction paper. Tape a circle of construction paper to the top as a lid. Draw a label for the mouthwash, then tape (or glue) it to the tube.
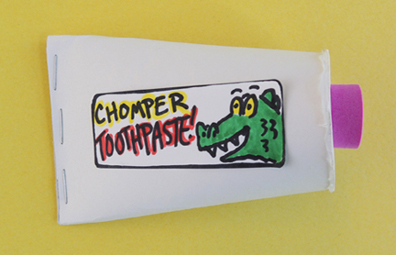
 To make the toothpaste, wrap a toilet paper tube with white paper and hot glue a circle of white card stock on one end. Hot glue a foam bead in the center of the paper circle. Flatten and staple one end of the tube. Draw a label for the toothpaste, then tape (or glue) it to the tube.
To make the toothbrush, pull apart a cotton ball, and hot glue about 1/3 of it to one end of a jumbo craft stick. Flatten the cotton ball a bit, then hot glue a rectangle of stiffened felt on top of the cotton ball. Your floss can be real dental floss or white string.
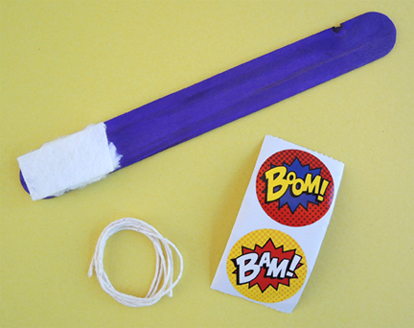
You’ll notice some cool BOOM! and BAM! stickers in the above photo. These are “Superhero Stickers” from Oriental Trading Company (the set also includes ZAP!, WHAM!, SMASH! and ZAPOW!). A roll of 100 costs $2.50.
We decided to use these exclamatory stickers as rewards. After the kids had finished their projects, they carefully brushed, flossed, and rinsed their crocodile’s teeth. Then they brought their crocs to the “dentist.” Very carefully, the dentist checked out the teeth. If they looked good (and they all did), I gave them reward stickers! BAM!
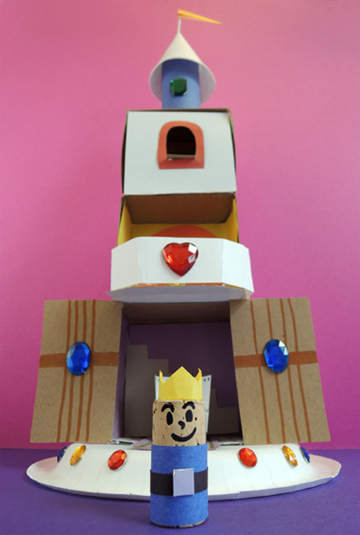 It might be a small, small world, but you can always dream big! Create a lavish, three-story castle with throne room, balcony, and bedroom with a view. And don’t forget His (or Her) Royal Tinyness, expertly fashioned from a wine cork.
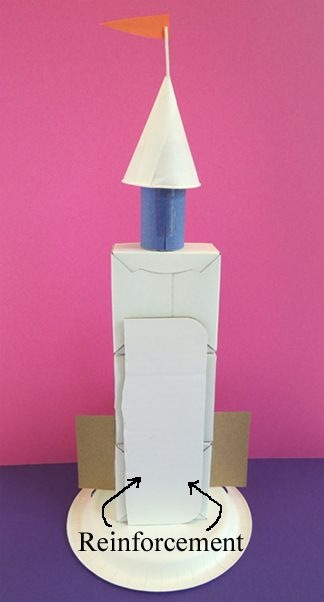
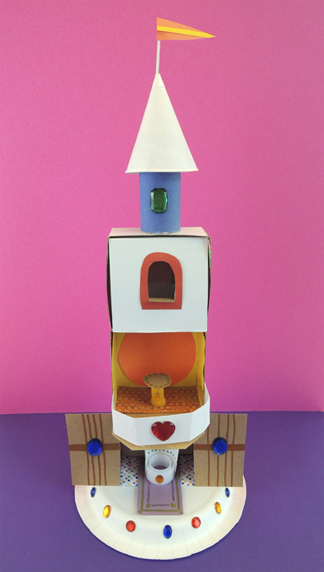 The base of our castle is a flipped over paper plate. Remove the lid and tabs from the first box, and hot glue it to the paper plate. Add a pair of castle doors if you’d like. Our doors were made out of
 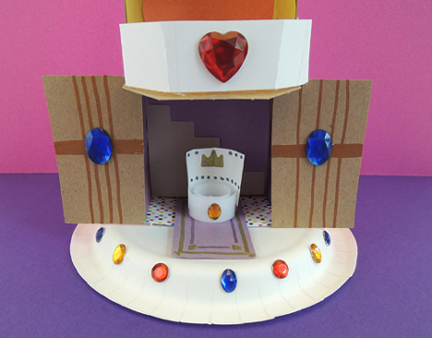 The second floor of the castle has a balcony. Cut the tabs off your box, but leave the lid intact. Fold the box’s lid outward to create the floor of your balcony, then cut the floor to your preferred shape (we went semi-octagonal).
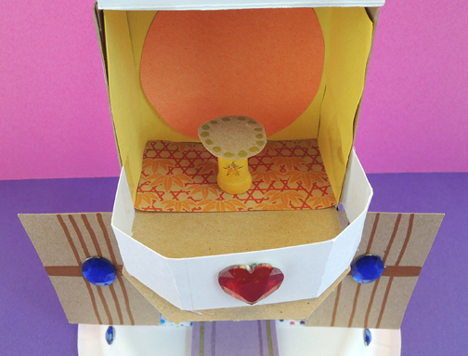 The third floor of the castle is the bedroom. It has a window, and the wall in which the window rests opens and shuts. First, cut the tabs off your box, but leave the lid intact. Next, use a box cutter to cut a window in the box’s lid (we cut all the windows in advance). Hot glue the third box to the second box. Here’s our window:
 Since the castle is tall and narrow, we decided it would be best to have the window wall open downward (as opposed to one side or the other – too tippy!). Below you can see how the wall folds down, revealing the interior of the bedroom and a paper baking cup bed.
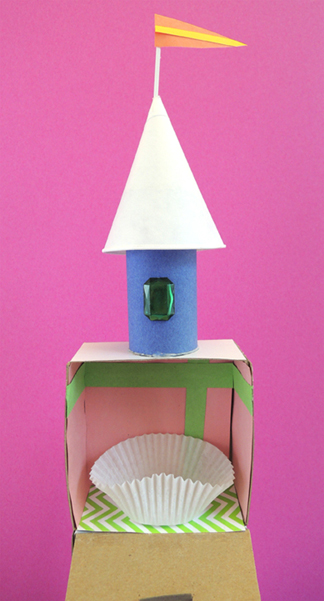
 You can decorate the castle rooms before you glue the boxes together, or you can decorate as you build. We offered construction paper, patterned paper, and plastic gemstones to our castle architects.
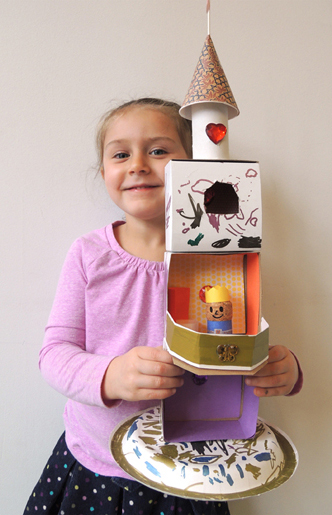 We also provided metallic markers, which produced some spectacular results. I love the gold-rimmed paper plate base in the photo above. And look at this alligator in the “moat!”
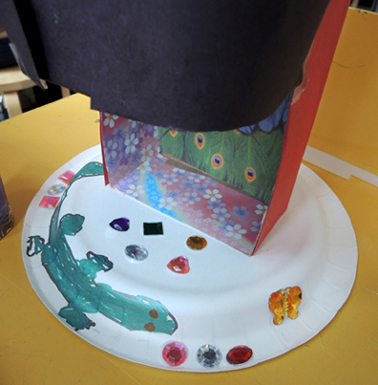
 The last thing your castle needs is a king or queen! Used permanent marker to draw a face on a wine or champagne cork, then hot glue a little paper crown to the top. Wrap the remainder of the cork in paper. Done!
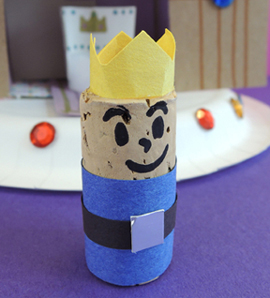
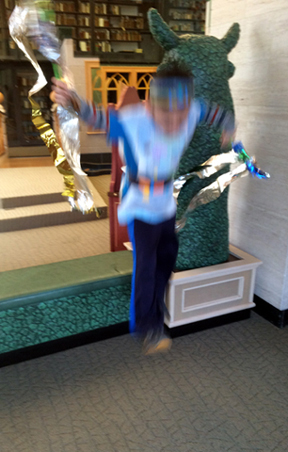
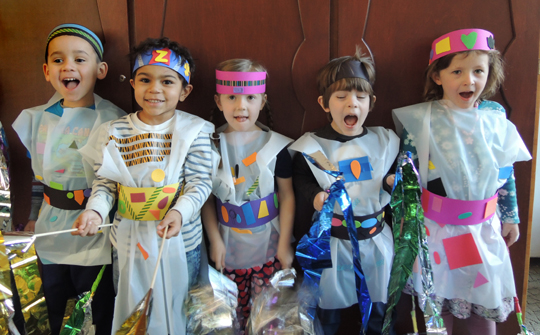 They say ninjas should be silent, composed, and invisible…we are not those ninjas. Make a truly eye-catching headband, belt and tunic. And forgo the nunchucks in favor of some fantastic dancing ribbons!
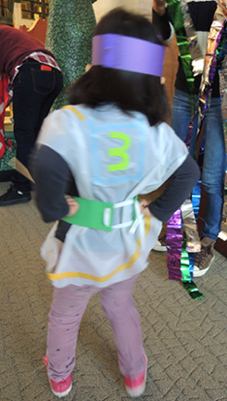 To make the tunic, cut a slit in the center of a big rectangle of plastic table cloth (I definitely don’t recommend going any bigger than a 39.5″ x 47″ rectangle). Stick your head through the slit and let the tablecloth drape like a poncho. Next, tie the poster board belt around your waist. Instant tunic! Trim the bottom and shoulders of the tunic as needed, then decorate it with patterned tape and self-adhesive foam shapes.
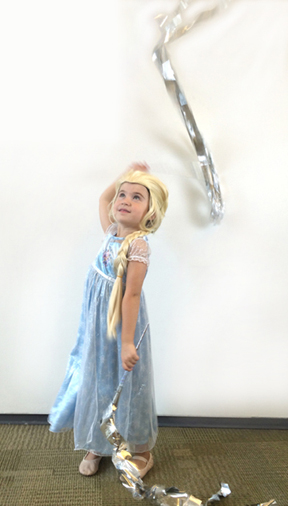
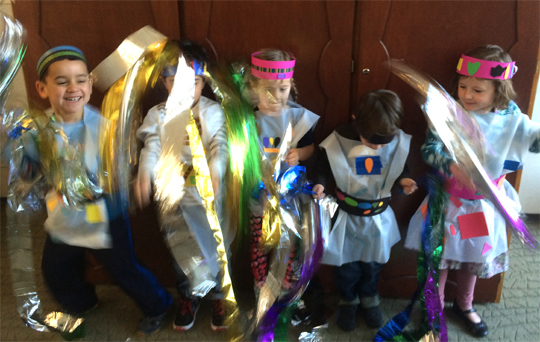 Without a doubt, this is a high-energy-get-your-wiggles-out-lots-of-fun story time project. So make sure you have plenty of space. For there will be bouncing, kicking, twirling and leaping!