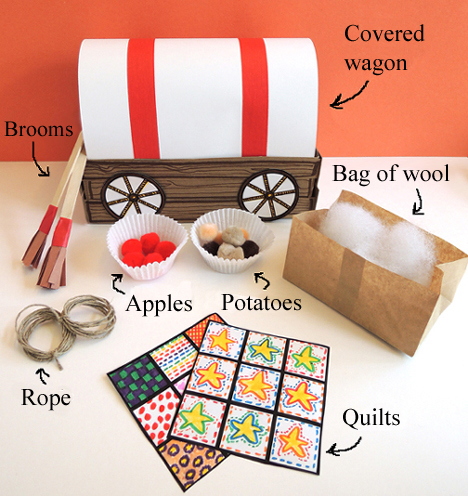
 Pack your wagon and get ready for a long journey! We made a little covered wagon and 2 sets of goods to go inside it. Then, we traveled to the story time store to do some good old-fashioned trading!
We read Ox-Cart Man, written by Donald Hall and illustrated by Barbara Cooney (Viking Juvenile, 1979). A farmer prepares for a journey, packing his ox cart with all the surplus things his family has produced throughout the year – wool, mittens, brooms, apples, etc. Then he sets off on a ten day journey to Portsmouth, where he sells everything (including the ox and the cart) and purchases items for his family especially (and this was very important when I was a little kid) 2 pounds of wintergreen peppermint candies. Pockets still full of coins, he returns to his farm and the beautiful cycle of seasons, work, and life begins again. It’s a lovely, lovely book.
For the wagon, you’ll need:
- 1 box (mine was 4 ½” X 4 ½” x 9”)
- An 8.5″ x 14″ piece of tagboard (optional)
- 1 wagon wheel template, printed on an 8.5″ x 11″ piece of white card stock
- 1 piece of string (approximately 37″ long)
- An 8.5″ x 11″ piece of white card stock
- A selection of color masking tape
- Scissors, glue stick, and tape for construction
- Markers for decorating
- Hot glue
For the goods, you’ll need:
- 1 quilt template, printed on an 8.5″ x 11″ sheet of white paper
- 2 craft sticks (mine were 4.5″ long)
- 2 rectangles of brown construction paper
- 1 brown paper lunch bag
- 1 small bunch of polyester fill
- A selection of color masking tape
- 2 pieces of twine (mine were 57″ long)
- 2 paper baking cups
- Red & brown pom-poms (mine were medium-sized, about 0.5″ in diameter)
- Scissors for construction
- Markers for decorating
- 1 trading post (more on this later!)
Begin with the wagon! Cut the top of the box off, and cut the sides down to about 3″ high.
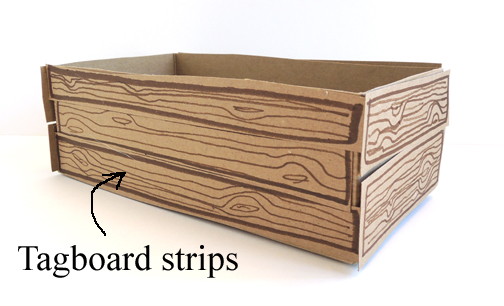
 The next step is optional (but fun). Cut strips of tagboard to fit the sides of the box, draw wood grain patterns on each of them, and use tape, a glue stick, or hot glue to attach them to the sides of the box. Or you can go super simple and draw wood grain on the sides of the box. Or skip this step entirely and leave the box blank.
 Next, color and cut the wagon wheels from the template and tape or hot glue them to the box.Make sure the wheels are flush with the bottom of the box. Otherwise, the wagon won’t slide very well.
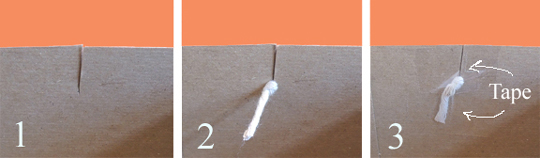
 Time for the pull string! It’s important to really attach this well, so you don’t have any pull string fails during your long journey. Cut a slit in the front of the wagon. Then, knot the end of the string (I used heavy kite string) and slide the knot into the slit. Tape the string to the inside of the box, and then put another piece of tape above the knot it’s really secure.
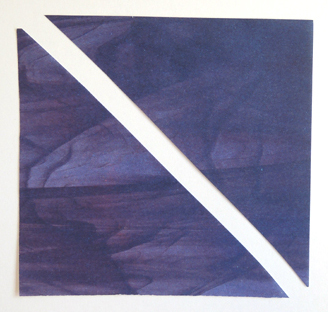
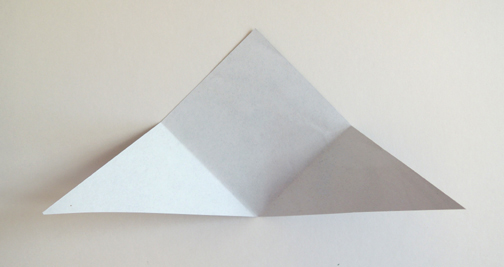
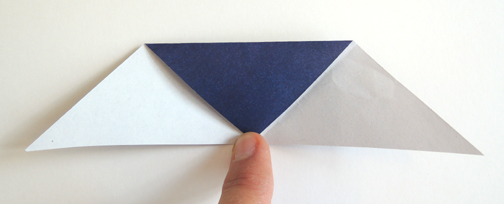
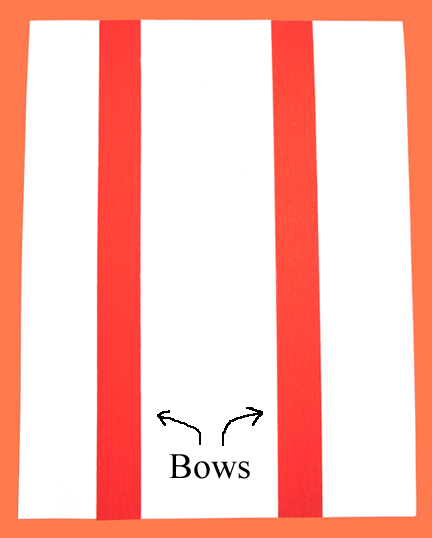
 The final step for the covered wagon is…the cover! Use color masking tape to create two “bows” on the piece of card stock “canvas” (the bows are the wooden ribs that hold up the canvas on a real covered wagon).
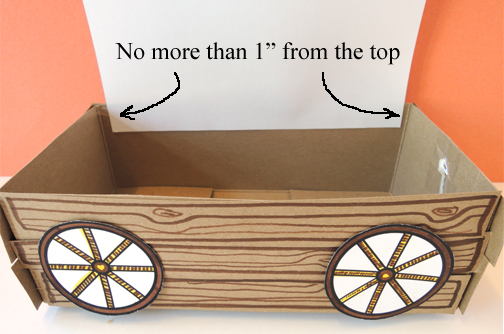
 Now hot glue (or tape) the ends of the card stock canvas to the insides of the wagon. Be sure to adhere it no lower than 1″ from the top of the wagon (if the canvas is too low, it makes it hard to get the stuff in and out of your wagon).
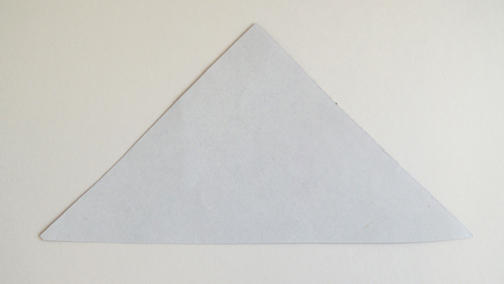
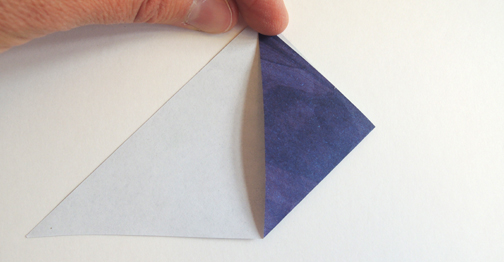
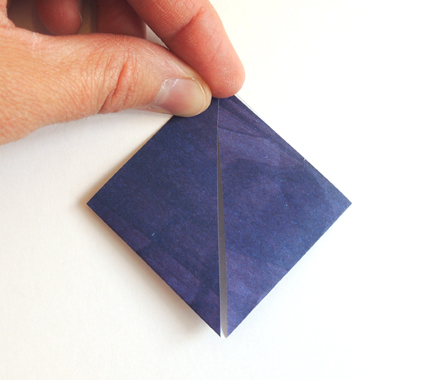
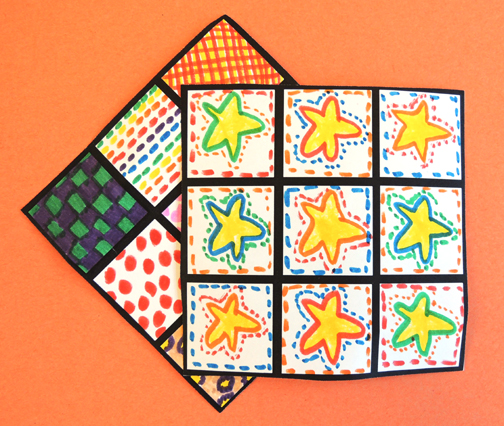
 Your wagon is finished…now for the goods! Remember, you’ll be making two of each item (with the exception of the bag of wool). For the quilts, use markers to decorate and cut out the quilt template.
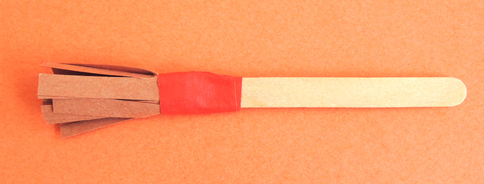
 For the broom, fringe 2 rectangles of brown construction paper, then wrap them around the bottom of the craft sticks. Attach the construction paper to the craft sticks with color masking tape.
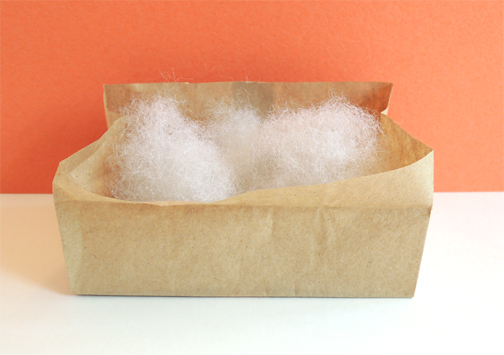
 For the bag of wool, cut the bottom off the paper lunch bag. You want the sides of the bag to be no taller than 3″. Open the bag and pop the polyester fill inside it.
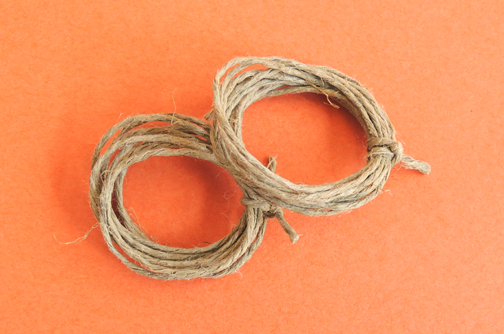
 For the rope, simply coil and knot the two pieces of twine. Or don’t coil them and leave them loose. Plenty of kids did!
 For the sacks of produce, fill two baking cups with red and brown pom-poms to represent apples and potatoes. Your wagon is ready to roll!
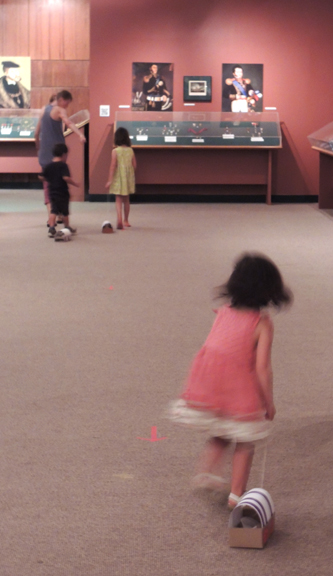
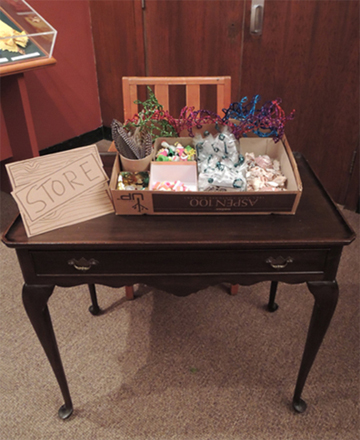
The ox-cart man traveled quite a long way to get to the market, so I decided to replicate that experience. I set up a little store at the end of the an exhibit gallery that is adjacent to the entrance to our library. It’s a looong gallery, and I tucked the store off to one side, so I marked the way with red arrows made of color masking tape.
The store consisted of a copy paper box lid stocked with some fun doodads – shells, spotted feathers, large gemstones, finger puppets (left over from this program) tiaras made out of pipe cleaners, gro-dinosaurs, and cake erasers left over from this story time.
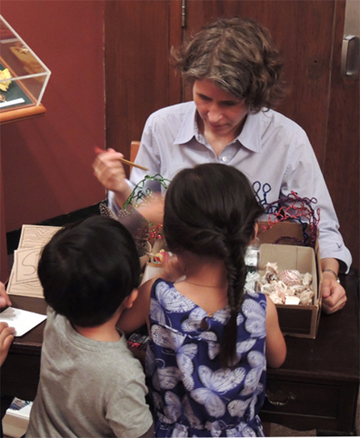
 Kids could trade 3 things in their wagons for 3 things in the store. With 20 kids at story time, we did a pretty brisk business that day.
 Then, laden with goodies, the wagons headed off home (sorry the photo is a little blurry, but you get the idea)!