
 Spring might just be around the corner, but there’s still time to bust out a cozy, super snazzy sweater. Especially if you’re a squirrel with a celebration to get to!
We read Squirrel’s Sweater, written by Laura Renauld and illustrated by Jennie Poh (Beaming Books, 2021). Squirrel is excited about the Winter Warmup party, but when she puts on her favorite sweater (knitted by Granny Gray) it’s considerably smaller and tighter then the previous winter. She asks her friends for help, but despite their best intentions, the sweater gets ripped and unraveled. Clever Squirrel has a solution though, upcycling the sweater materials to make a lovely, huggable heart pillow.
You’ll need:
- 1 large tissue box
- Construction paper
- Red felt
- Cotton stuffing
- Scissors, tape, and glue for construction
- Markers for decorating
- Hot glue
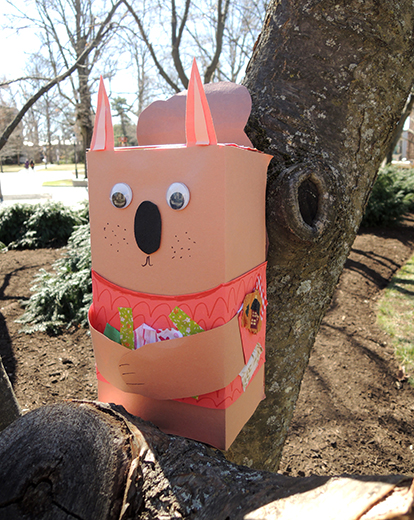
Our project is very simple! Use brown construction paper to cover a large tissue box, then add a tail, ears, and feet. Use another color construction paper (we went with red) to create a sweater for your squirrel, then add two arms that circle around the front of the squirrel like so:
 To make the squirrel’s sweater extra dynamic, we offered a variety of colorful fabric squares for texture. We also attached wiggle eyes and a self-adhesive foam nose, but those are just as easy to draw on with markers.
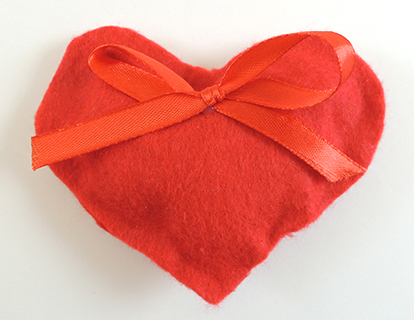
We absolutely loved the sweet pillow in the book (and there are instructions for making your very own “no sew” pillow at the end of the book – awesome!). To create a mini pillow, glue two felt hearts together, then stuff them with cotton. Top off the look with an (optional) ribbon bow.
 The heart pillow slides right into squirrel’s arms for a sweet hug, just like the story! Aww!

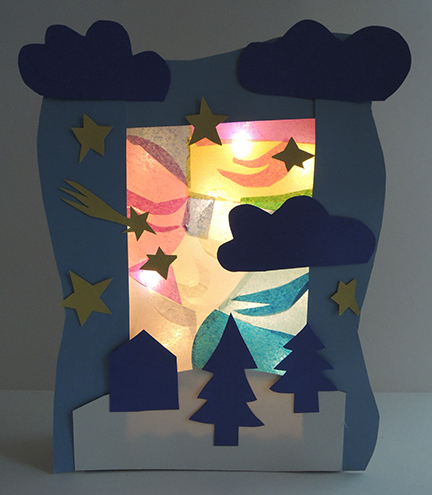 It’s a simple project, but oh-so-beautiful! Design your own aurora borealis in Arctic skies, then light it up for a creative and colorful glow box!
 Now for the aurora borealis! Open the box and glue tissue paper snippets on the interior side of the window. We found glue sticks to be the best way to adhere things, because you can clearly see the glue going on and it dries clear! When the sky is finished, tape a string of LED mini lights to the back of the box like so:
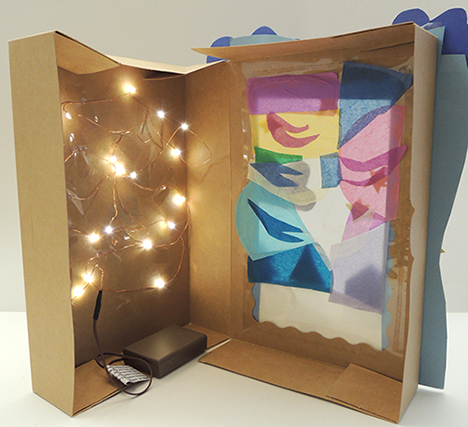 Close the box and use poster board to create a landscape on the front of the box. We used cool Arctic colors: light blue, dark blue, yellow and white. The boxes turned out great…especially this one with a FLYING UNICORN!!!
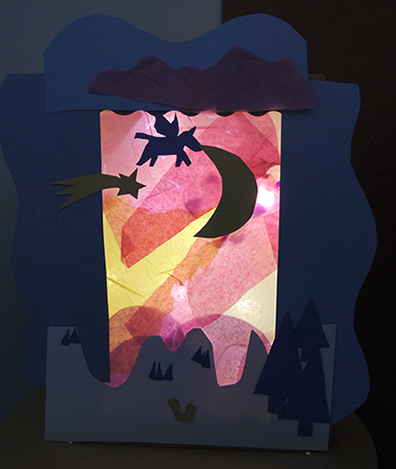
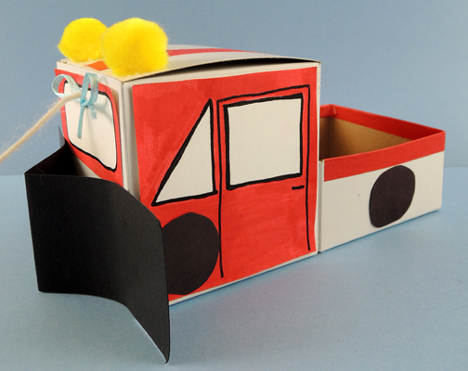
 Color and cut the side doors and windshields from the template, then tape them to the box. I would, however, like to bring your attention to this very clever variation on the template. The kid bent the doors outwards, and drew a snowplow driver inside!
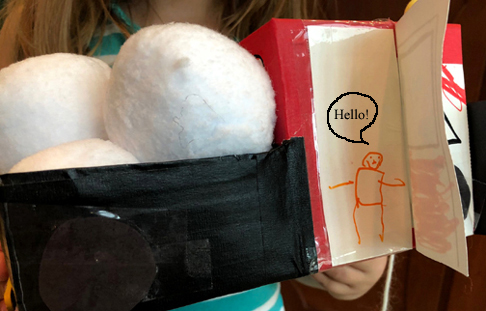 We provided
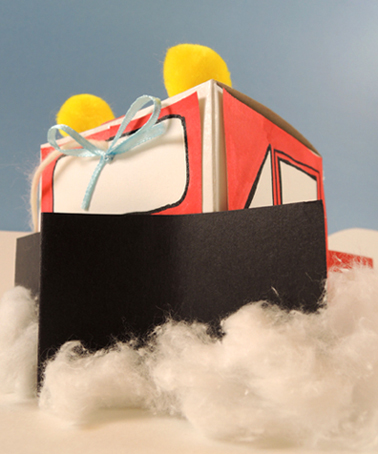
 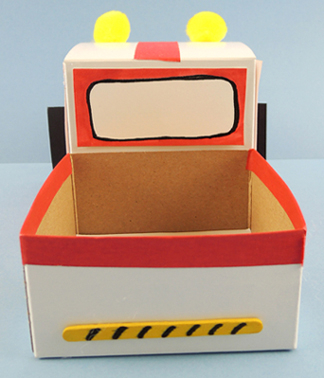 The wheels and blade of the snowplow are black poster board. Add 2 yellow pom-pom “flasher lights,” a yarn pull string, and you’re done! We decided to add an extra challenge to our story time project in the form of these fabric snowballs. I scored a dozen packages of these on deep, deep discount this summer.
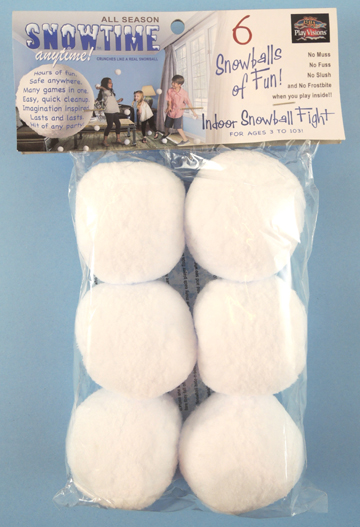 Kids were challenged to navigate our gallery, rolling the snowballs in front of the plow without losing them. Then they got to take some snowballs home!
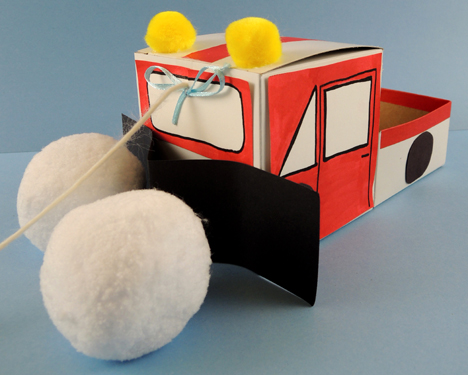 Did you notice the little blue bow on the snowplow’s windshield? In the story, Gus ties his blue scarf on Walt to celebrate the little plow being “Number One!” We definitely wanted to capture that sweetness here as well.