 Spring might just be around the corner, but there’s still time to bust out a cozy, super snazzy sweater. Especially if you’re a squirrel with a celebration to get to!
We read Squirrel’s Sweater, written by Laura Renauld and illustrated by Jennie Poh (Beaming Books, 2021). Squirrel is excited about the Winter Warmup party, but when she puts on her favorite sweater (knitted by Granny Gray) it’s considerably smaller and tighter then the previous winter. She asks her friends for help, but despite their best intentions, the sweater gets ripped and unraveled. Clever Squirrel has a solution though, upcycling the sweater materials to make a lovely, huggable heart pillow.
You’ll need:
- 1 large tissue box
- Construction paper
- Red felt
- Cotton stuffing
- Scissors, tape, and glue for construction
- Markers for decorating
- Hot glue
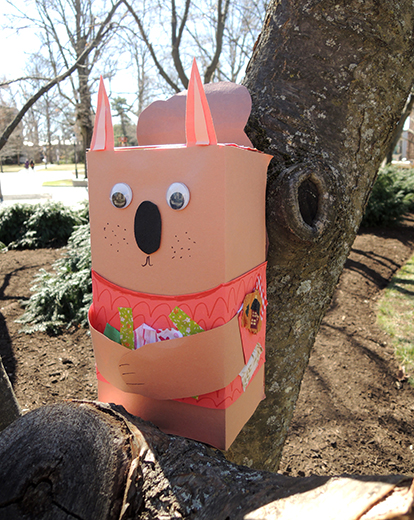
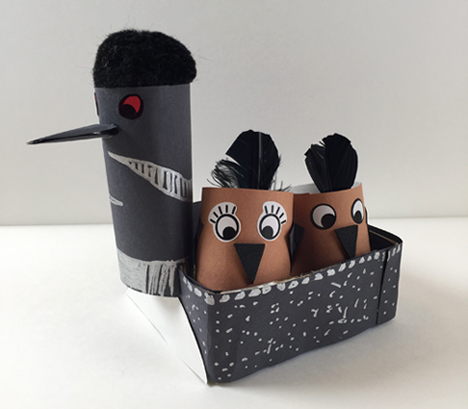
Our project is very simple! Use brown construction paper to cover a large tissue box, then add a tail, ears, and feet. Use another color construction paper (we went with red) to create a sweater for your squirrel, then add two arms that circle around the front of the squirrel like so:
 To make the squirrel’s sweater extra dynamic, we offered a variety of colorful fabric squares for texture. We also attached wiggle eyes and a self-adhesive foam nose, but those are just as easy to draw on with markers.
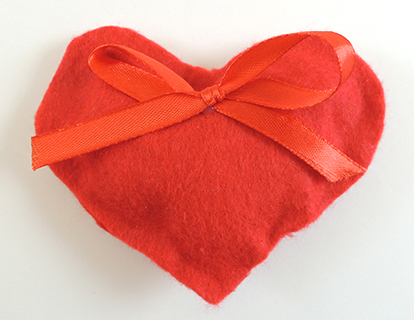
We absolutely loved the sweet pillow in the book (and there are instructions for making your very own “no sew” pillow at the end of the book – awesome!). To create a mini pillow, glue two felt hearts together, then stuff them with cotton. Top off the look with an (optional) ribbon bow.
 The heart pillow slides right into squirrel’s arms for a sweet hug, just like the story! Aww!

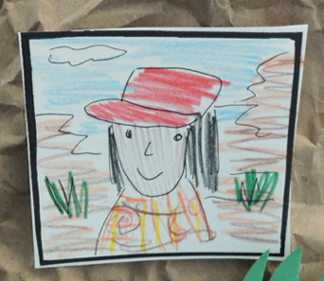
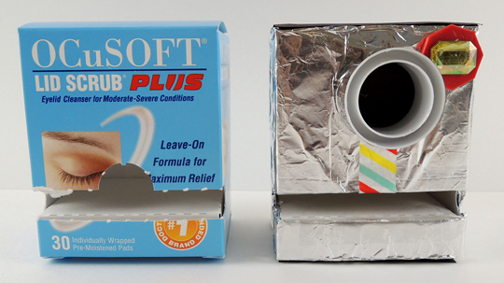 Next up, the hiker! We encouraged kids to use construction paper and patterned paper to make mini versions of themselves. Since you should never hike without a hat, we had the kids fashion one out of trimmed 3.5oz plastic cups with construction paper brims.
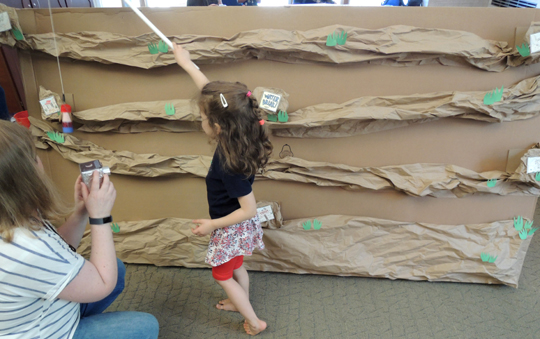
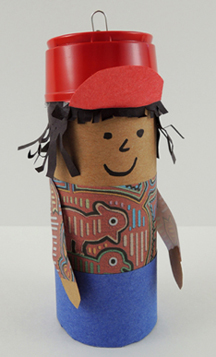 Notice the little paper clip sticking out the back of the hat? If you’re going to play the canyon game, you’ll need to tape a small paperclip to the back of the hat. And speaking of the canyon game, here it is…
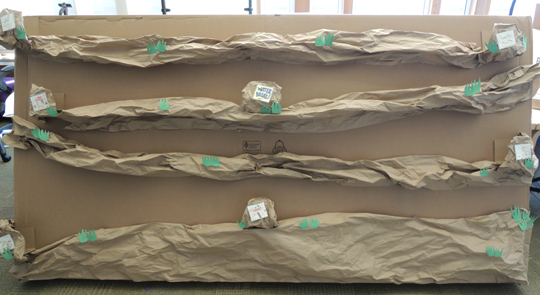 This is a huge flat box we wrestled out of the recycling pile. I hot glued crumpled brown packing paper to create a hiking trail back and forth across the box. I also hot glued little “rest stop” boxes along the pathway. This is a rest stop in the middle of the path:
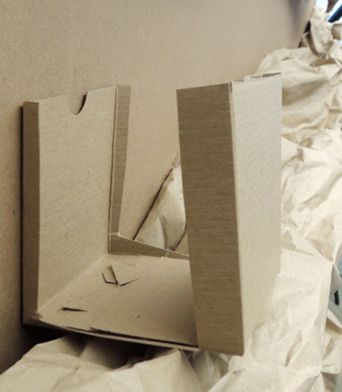 Later, I covered the rest stops with paper, and added photos from the template to signal that this was a “photo op.” Here’s the photo op at the very end of the trail.
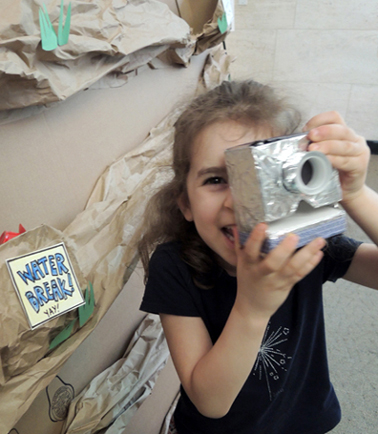
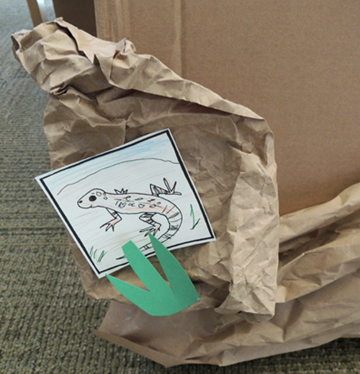 We fashioned a fishing pole out of PVC pipe, and attached a paper clip to the end of the string. To play the canyon game, hook your tp tube person onto the fishing pole, and walk him/her up the canyon path, taking time to pause at the rest stops and snap a photo with your camera. We also had a “water break” station and gave kids a little sample cup of water.
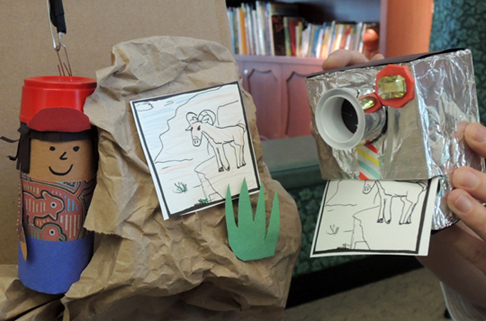 When you’re done hiking, you can color in your photos! Oh, you’ll notice the template has one blank photo. That’s so you can draw whatever photo you’d like. We recommend a well-deserved canyon selfie!