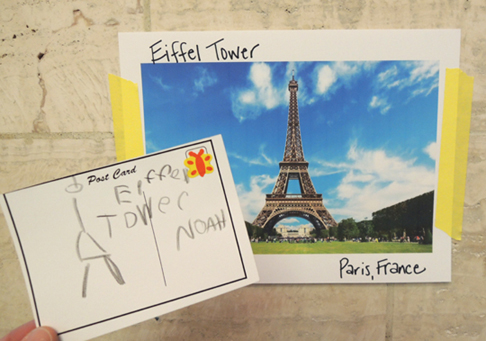
 It’s the ultimate global adventure that ends with custom postcards in your very own mailbox! We made classic blue mailboxes, then visited locations around the globe to create postcards to send home. And don’t forget the stamp!
We read Will Goes the the Post Office by Olof and Lena Landstrom, translated by Elisabeth Dyddegaard (R&S Books, 1994). Will is excited when the post office notifies him of a package that’s arrived from his Uncle Ben. At the post office, he discovers that the package is GIGANTIC! What could it be? With a little help from Karen, Peter, John and Susan, Will and the gang carry the package home and eagerly unwrap it. At first, it seems like the box is just full of paper…but then they discover a fantastic globe packed inside! And the globe lights up! The five children (and Mama) pile in the closet to see Will’s new globe lamp shine.
You’ll need:
- 1 small tissue box
- 1 box cutter
- Blue construction paper
- Blue poster board
- 1 mailbox signs template, printed on 8.5″ x 11″ white card stock
- A selection of
- 4 foam beads
- 1 small piece of drinking straw (ours was 1.5″ long)
- A blank postcards template, printed on 8.5″ x 11″ white card stock
- Print-outs of different locations around the globe
- Small stickers
- Scissors and tape for construction
- Markers for decorating
- Hot glue
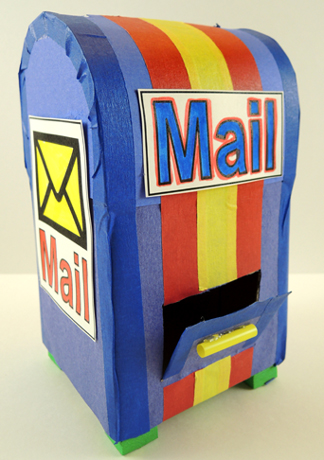
This project was created by Katie, and I have to say, the kids absolutely LOVED it. I mean, who wouldn’t love this cute little mailbox? The round top! The feet! The door at the bottom!
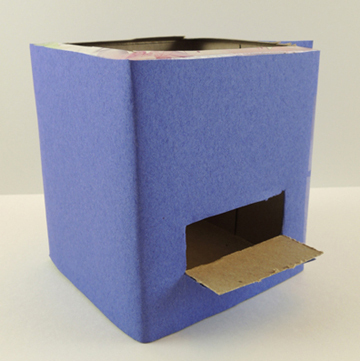
 To make a mailbox, cut the top off a small tissue box. Use a box cutter to cut a little door at the bottom of the box. The postcards are 3″ wide, so make sure your door is 3″ or wider.
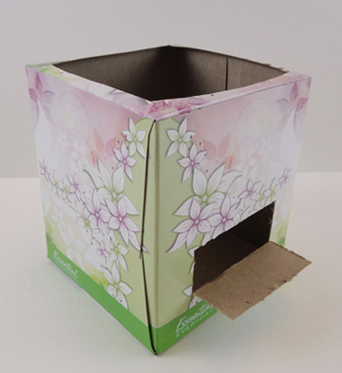 Wrap the box with blue construction paper, then use the box cutter (or scissors) to re-establish the little door.
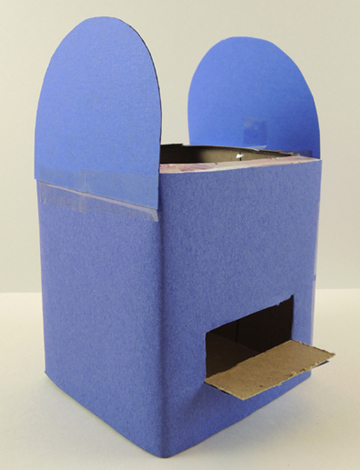
 The rounded sides of the mailbox are 2 pieces of blue poster board (ours were approximately 4.25″ wide, and 3.25″ tall). Secure them in place with tape.
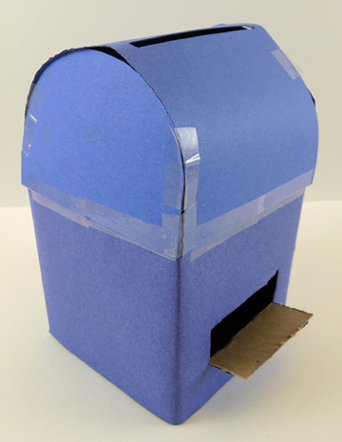
 To make the top of the mailbox, cut a 3.5″ mail slot in the center of a 4.5″ x 9″ rectangle of blue poster board. Gently curl the poster board over the rounded sides of the mailbox, then tape in place. The curling and taping is definitely the toughest part of the project. Keep in mind that it doesn’t need to be perfect!
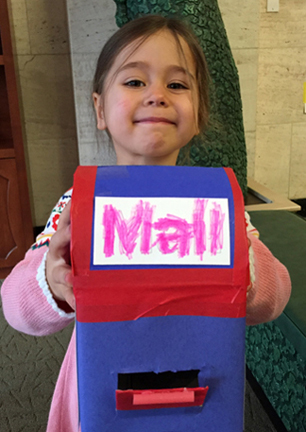
 Next, use colored masking tape to reinforce the edges of the mailbox, and to decorate it. Color and cut the mailbox signs from the template and tape (or hot glue) in place.
Finish by hot gluing 4 foam bead “feet” to the bottom of the box, and a small piece of drinking straw to the front of the little door. Your mailbox is done – grab it and get ready to travel!
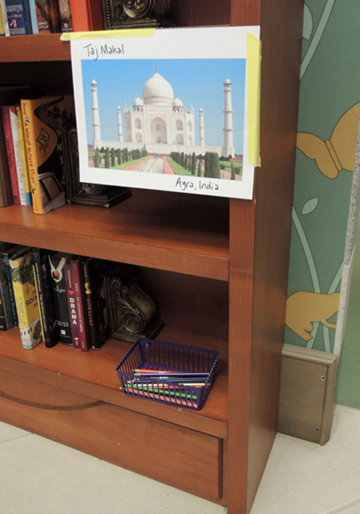
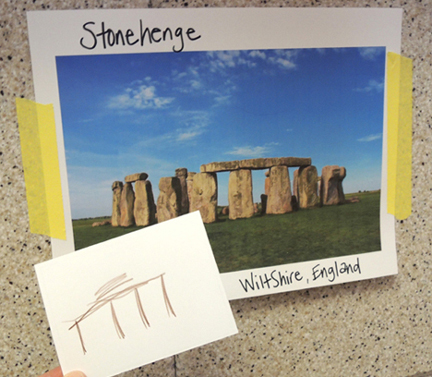
Katie printed up photos of different places (thank you, Google image search!), and taped them up around the gallery. Katie wrote the names of the locations or landmarks, as well as the country, on the photos as well. Underneath each photo was a basket of color pencils.
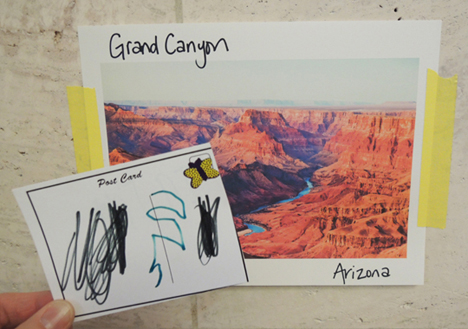
We invited kids to grab 6-8 blank postcards and visit different locations, sketching what they saw in the photos on their postcards. Here’s someone visiting London, England:

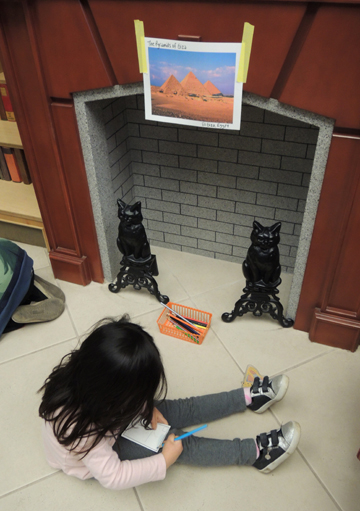
And another traveler enjoying the Pyramids of Giza in Egypt:
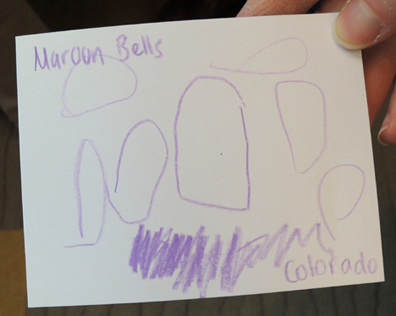
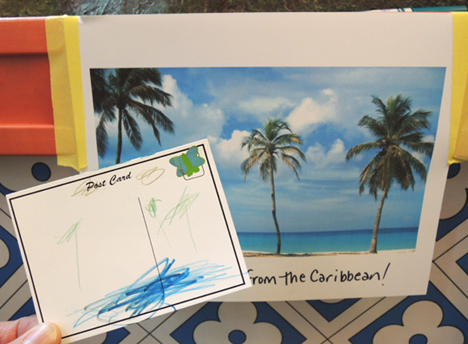
Ready to see some postcards from around the world?
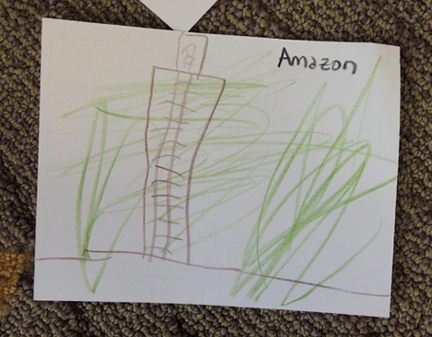
 We even got postcards from places we didn’t include! Here’s a postcard from the Amazon, even though it wasn’t one of our photo locations. I think that’s a person on top of a giant tree with a ladder? Cool.
 To make the postcard activity official, Miss Melinda donned a stamp-selling visor and circulated the gallery, “selling” stamps that were actually cute little stickers.
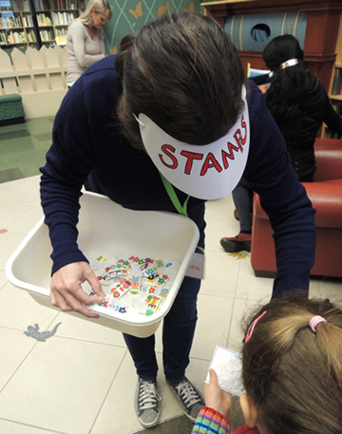
Melinda joined us this fall – she’s a Cotsen volunteer who works at the Princeton Writing Program. I went easy on her the first couple weeks, but slowly, inevitably, Melinda will be drawn into the vortex of ridiculous story time tasks. Today, a visor-wearing stamp seller. Tomorrow, a giant paper cookie!
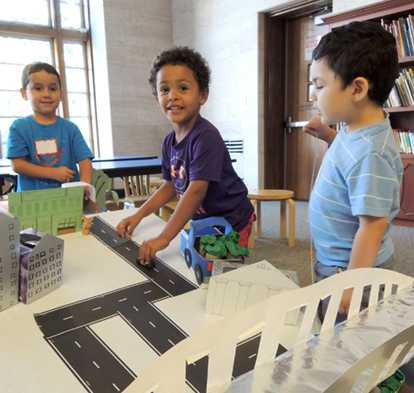
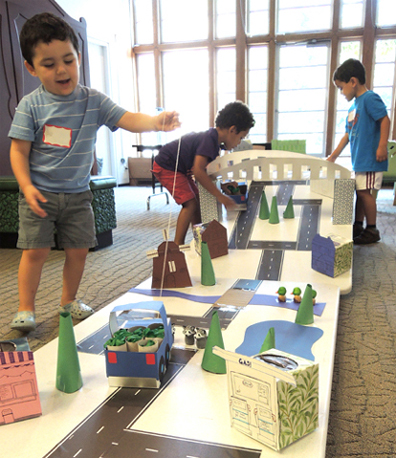 Hit the road in a totally stylin’ pull string truck. Your mission? To deliver produce to the city market. But first, you have to navigate a 12 foot obstacle course packed with trees, animals, buildings, water, and bridges!
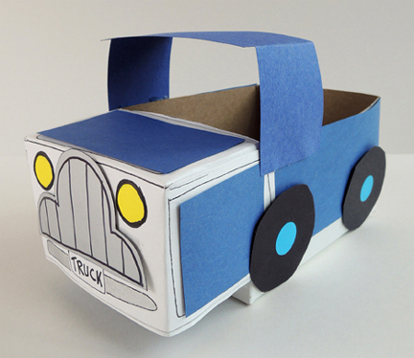 First, the pickup truck! I used a craft box with a lid, but I’ll also demonstrate how to use a small tissue box. If you’re using a craft box, begin by cutting the lid and tabs off the box. If you’re using a small tissue box, turn the box on its side and cut the side off.
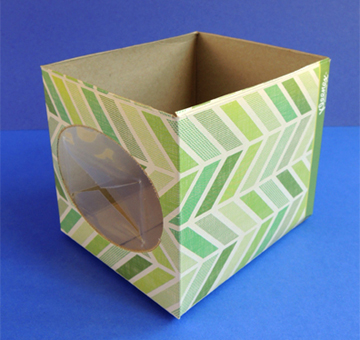 Set the box aside for a moment. Cut the front of the truck from the template. There are 5 folds you’ll need to make on the template. Each fold is marked with a dotted line. First, fold the 2 tabs on either side of the hood.
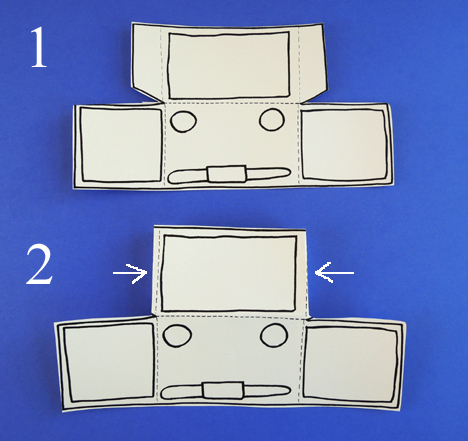 Next, fold the 2 panels on either side of the truck’s headlights.
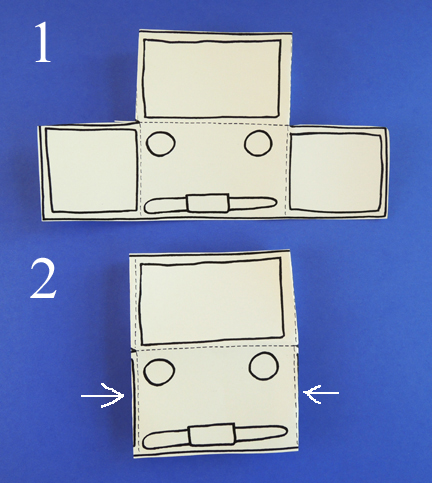 Finally, fold the hood down to meet the side panels, and secure it with tape.
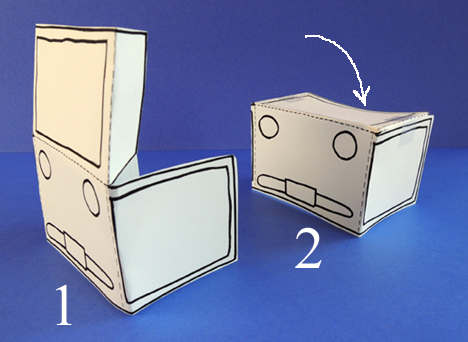 Tape the front of the truck to the front of the box like so:
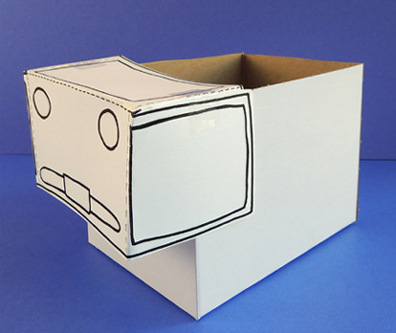 Here’s the tissue box version. As you can see, this results in a slightly shorter (but still very serviceable) truck.
 Next, cut the roof piece from the template. Fold along the dotted lines and tape the roof to the top of the box.
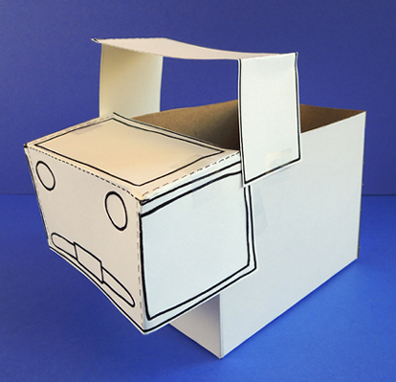 Draw some lines on the grill template, then tape it to the front of the truck. Finish by taping black construction paper wheels to the sides. Make sure the wheels don’t extend past the bottom of the truck!
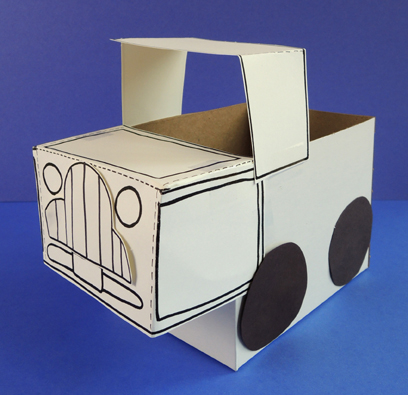 That’s the basic construction, but there are a couple variations on it. You might, for example, want to wrap the box with construction paper first. Also, we traced roof and grill templates onto different paper. Our roof was blue construction paper, and our grill was silver poster board. We also added some
 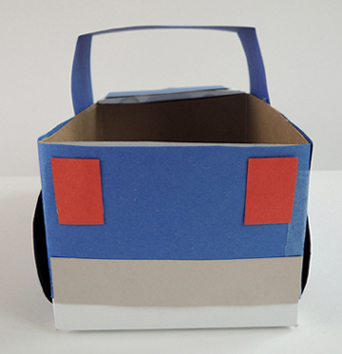 Of course, you can also skip these variations and just use the template pieces and markers! If you decide to go that route, have the kids decorate the template pieces with markers before they tape them to their boxes.
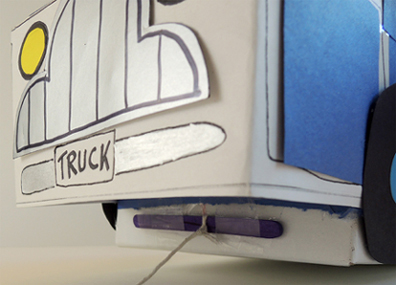 To make your “produce,” stuff the tops of 2-4 toilet paper tubes with green tissue paper. Place the tubes in the back of the truck. We didn’t secure the tubes down with tape. We wanted them to wiggle and wobble while the trucks navigated the obstacle course.
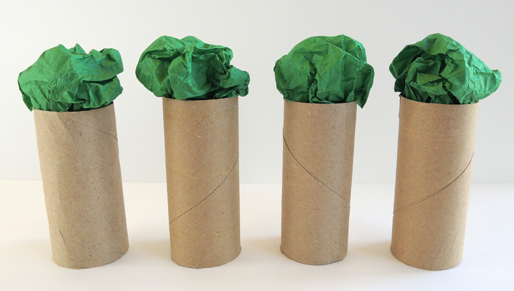 And what an obstacle course it was! We used two, 6′ plastic tabletops to create it. These tables have shown up on the blog before – once for
 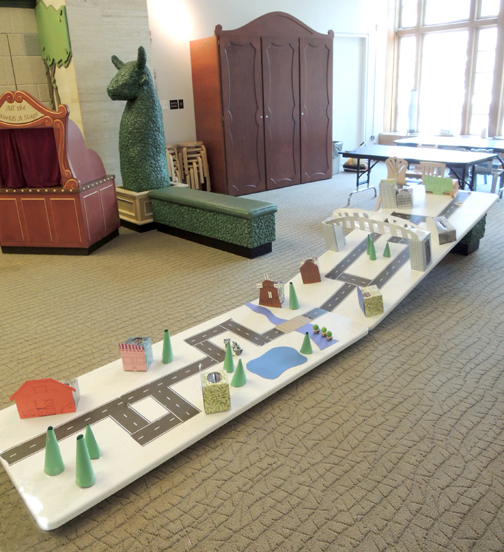 One of the tables was (securely) propped up on a cushioned stool to add a challenging hill to the course. You can also see how we made the buildings…facades taped to tissue boxes, which were then secured to the tabletop with packing tape.
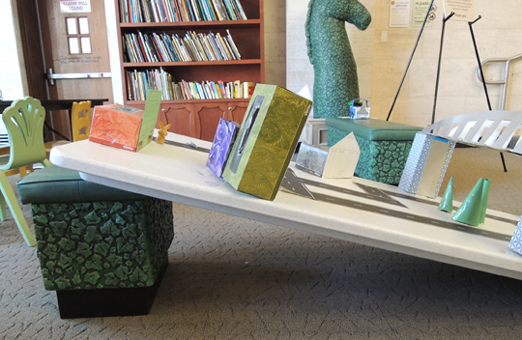 The building facades were Marissa’s handy work! Out in the country was a big red barn…
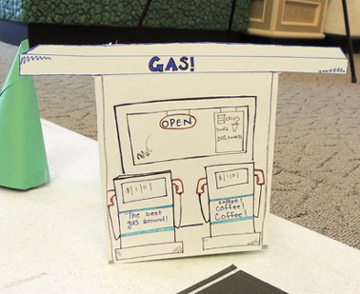
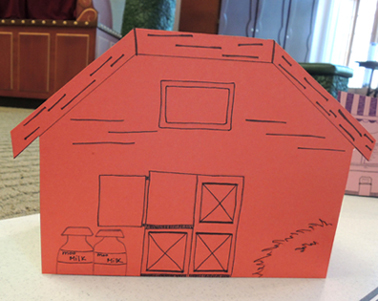 As well as an ice cream stand, a gas station, and a windmill…
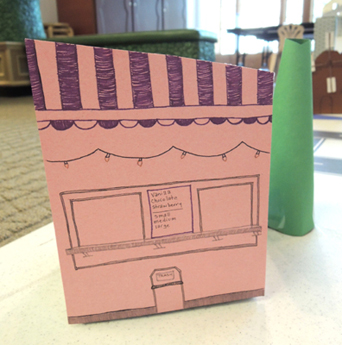
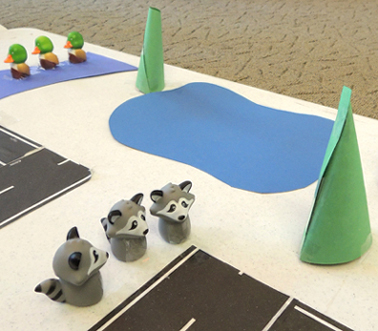
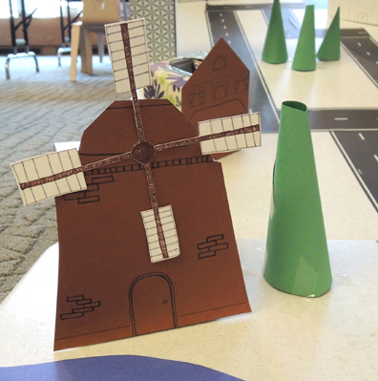 There were ducks by a river bridge, and a trio of raccoons near a pond…and how do you like those towering conifer trees?
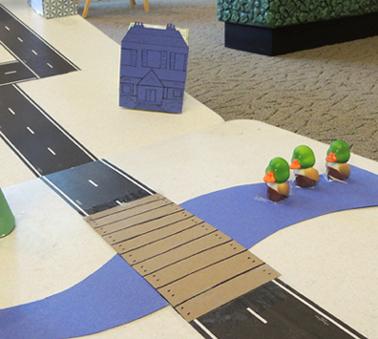
 The entrance to the city was marked with a big bridge. I made it out of a strip of cardboard, tin foil, tissue boxes, and silver poster board.
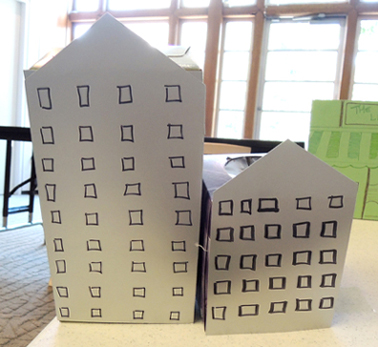
 Once in the city, there’s a bank and a couple of skyscrapers…
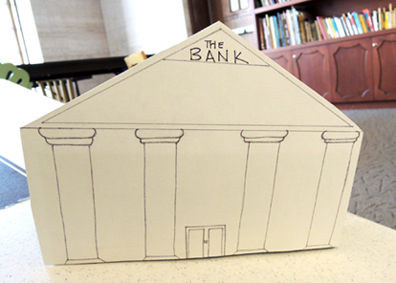
 And finally, at the veeeery top of the course, was “The Leafy Lettuce.” This is where you delivered produce to your eager customers.
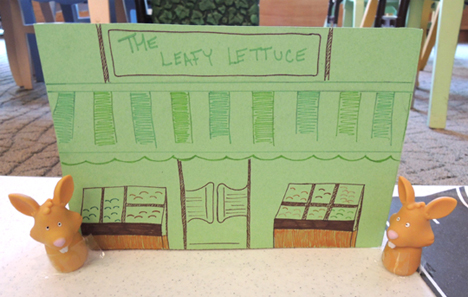 While constructing the course, we taped the buildings down first, and then added the road. We considered using long strips of black paper, contact paper, or masking tape outlines (similar to what
 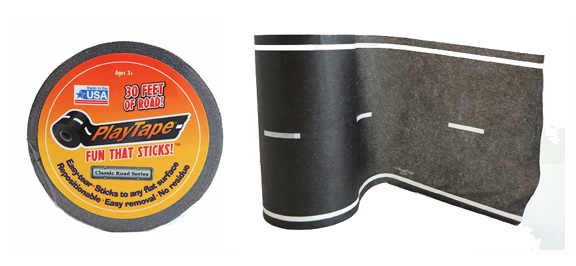 PlayTape is basically masking tape with road printed on it! The 30′ rolls came in 2 widths (2″ or 4″). I went with the 4″ size, which was $13 a roll (the 2″ size is $9). I found the tape on Amazon as well (in different colors, with special curved pieces, as train tracks, and there’s even a “Mud Madness” version!). The tape was awesome. My only complaint is that at times, the ends curled up off the plastic tabletop. The tape did much better on the rugs and hardwood floors of my home. It peeled easily off all surfaces, and left no residue behind.
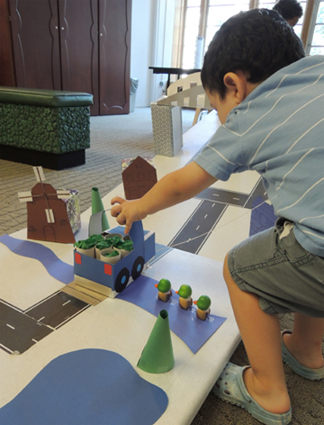 Make sure you tape everything firmly in place (even the animals) because there will be plenty of hilarious crashes. Oh yes, there will.
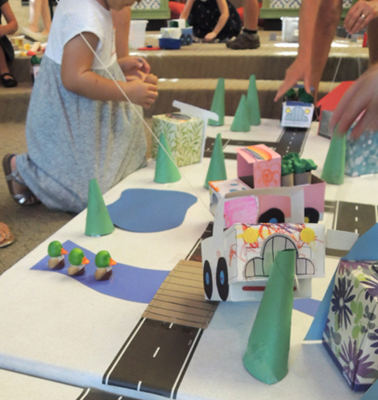 Here’s one of my favorite trucks on course. Look at that fantastic rainbow roof!
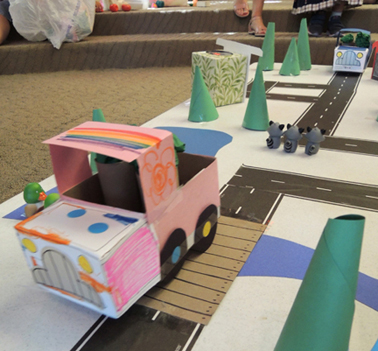 Eventually, all the trucks found their way to The Leafy Lettuce. We left the course open for a good 20 minutes after story time. It was very busy. A few Hot Wheels cars even showed up to take a drive…