 Katie, our resident queen of escape rooms, stumbled upon this little gem on a road trip, and decided to give it a go in the spirit of fun! Take it away, Katie!
Tucked away on a lower shelf in the toys/games aisle at the Walgreen’s Pharmacy outside of Sevierville, Tennessee was where I found the next at-home escape room to test for Pop Goes the Page. Created by Professor Puzzle, the mini game is titled “Escape from the Museum” and includes everything you need for the solve in a handy and travel friendly 3.5-inch by 5-inch box. Recommended for ages 12+, the list price on Amazon is $20.98, though I got my game on clearance for $3.99.
After reading the explanation story and glancing through the instructions, I carefully laid out the 11 puzzle cards and accompanying materials, which included a museum map, a calendar of events, a selection of rare postage stamps, and a foldout titled the “Cabinet of Curiosities.” Never fear: there are solutions provided for all of the puzzles if you get stuck.

I worked my way through the cards, starting with what I could solve the fastest to what I found was the most difficult. My personal favorite puzzles were mazes that cleverly hid a clue within the walls of the maze; it was a puzzle style I had never encountered before, but now hope to recreate myself.
It took me just over 3.5 hours to finish. I only needed to consult the solutions list once when I could NOT figure out the connection between two words. It was obscure enough that even after I had the answer, it still didn’t make sense. And when I say the way to escape was in plain sight, it was right there and I totally glanced over it until I solved all of the puzzles!

My only complaint is the game can only be played once. I have found other at-home escape rooms are able to be solved by taking notes on scratch paper, but that’s not the case here. It would be impossible to finish without writing directly on almost all of the provided cards.
“Escape from the Museum” is ideal to bring on vacation, pull out on a rainy weekend afternoon, or play anytime you need a fun challenge. It can absolutely be solved by just one person, but the individual cards easily allow for more players to participate. I agree with the suggested age range for kids who want to tackle the game on their own, but younger children can definitely play with help from their grown-ups. Since the box is not much bigger than a deck of cards, it can easily be tossed into a backpack or suitcase for play while on the go. It gets my enthusiastic recommendation!

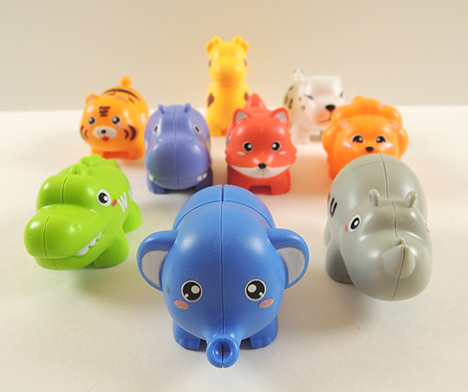
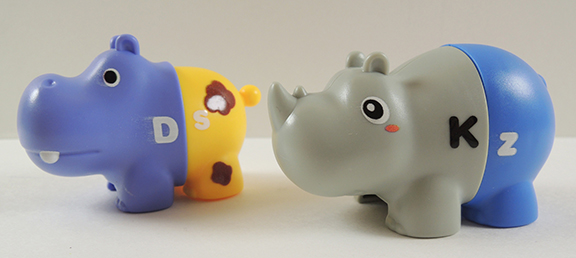
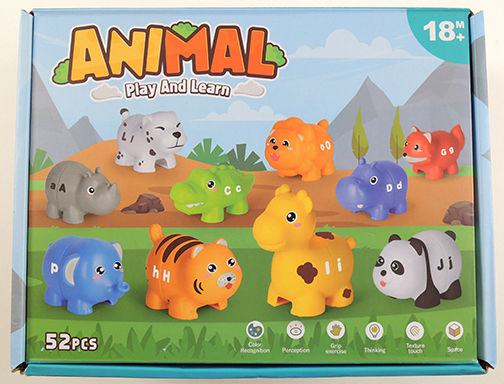 The “Animal Play and Learn” set by Jetbotell retails for around $15 on Amazon, and is intended for ages 18 months and up. The 52 piece plastic set features 10 kinds of animals printed with uppercase and lowercase letters. Each animal is about 3″ long, and easily pulls into two halves:
 Bright, chunky, and easy to wipe clean, this set checked all the boxes for us! Special bonus: the set’s pieces are interchangeable, resulting into some very interesting animal combinations, not to mention two letter words and initials.
 If you are looking for an terrific letter identification set that is an inexpensive addition to round out your baby story times, early literacy classrooms, and toddler play areas, we definitely recommend this fun little set!
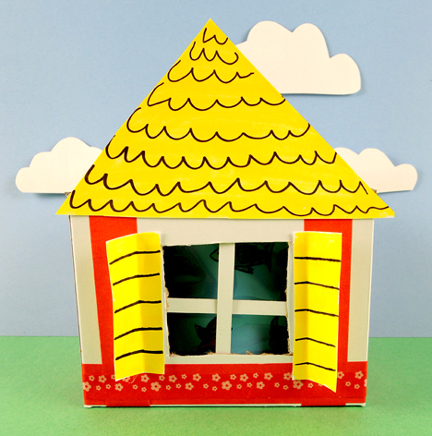
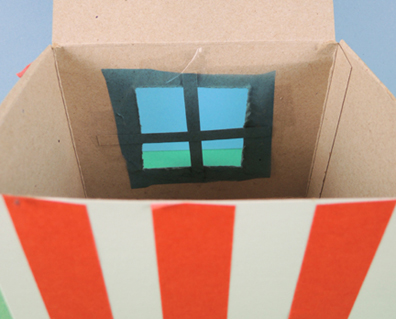 Now decorate the outside of your house! We offered construction paper,
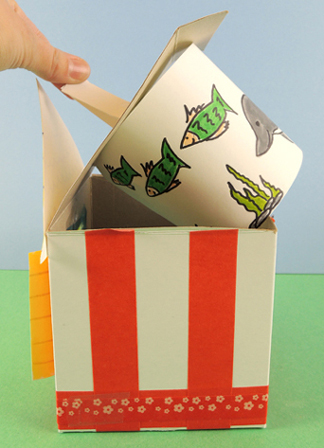
  The final piece of the project is the spinning cylinder. This is a plastic cup attached to the roof of the house with a brass fastener. Two tabs extend from the top of the box, allowing you to easily turn the mechanism:
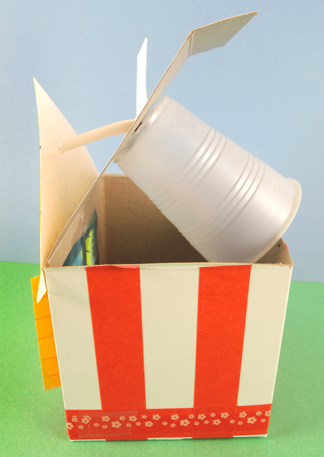 Our tabs were created with a 0.75″ x 3″ snippet of poster board. Punch a hole in the center, then thread a brass fastener through the hole. Push the ends of the fastener through small slits cut in the top of the box and the bottom of a plastic cup. Unfold the fastener’s prongs inside the cup.
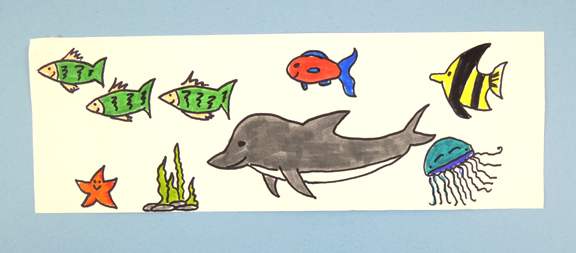
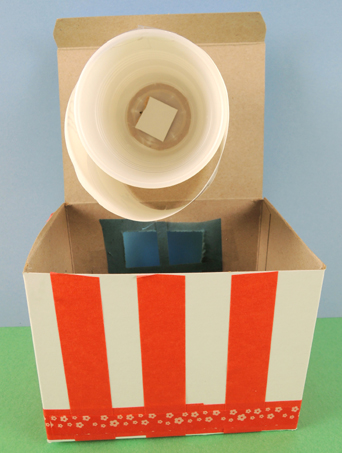 Finally, wrap your strip of ocean critters around the cup. As you can see in the above photo, the cup is tapered, so the strip won’t wrap around it in a perfect circle. No problem! So long as the strip is secured tightly to one point of the cup (we suggest the strip’s seam) it will work. Here’s a shot of the finished mechanism, which is then tucked inside the house. Secure the lid down with tape.
 Ready to see this little contraption in action? The colors were a little muted in the video, so I removed the blue cellophane from the window to showcase the ocean critters more clearly. Swim my little friends, swim!