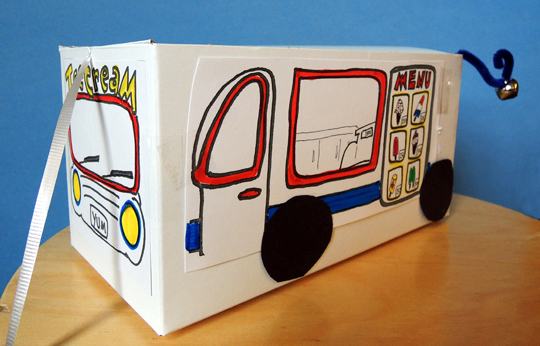
 Become an ice cream entrepreneur! The lid of this fabulous pull toy opens to reveal a delicious variety of flavors to serve to your happy customers.
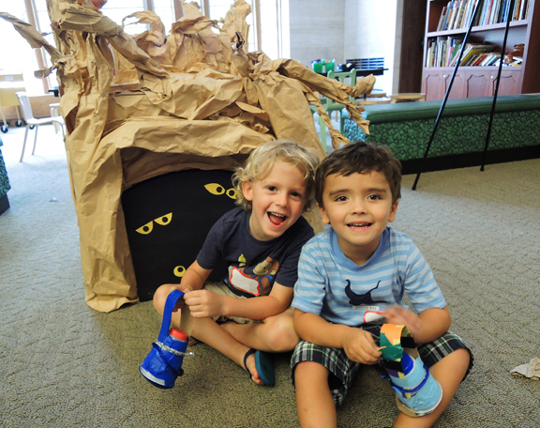
 In addition to being simple, this project is highly portable. This summer, I brought it to a reading program hosted at the community pool and it was a big hit.
We read Issac the Ice Cream Truck by Scott Santoro (Henry Holt & Company, 1999). Issac is a relatively happy ice cream truck, but he can’t help fretting that other trucks seem to have more important jobs than him (lifting, hauling, moving, building). One day, a building fire traps Issac between several enormous fire trucks. After the fire is put out, the hardworking firemen (and firewoman!) are delighted to see a little ice cream truck waiting for them. Isaac realizes that he does have an important job after all…making people happy.
You’ll need:
- 1 box. I used a 9” x 4 ½” X 4 ½” box
- An ice cream truck template, printed on 8.5″ x 11″ card stock.
- 4 black poster board wheels
- Hot glue
- 1/2 pipe cleaner
- 1 jingle bell
- 1 long piece of curling ribbon
- Markers for decorating
- Scissors and tape for construction
For the ice cream:
- 1 cone water cup
- 1 sheet of tissue paper (mine was 20″ x 29″)
- Masking tape
- 1 small pom-pom (mine was 1/2″)
- 3 toilet paper tubes
- Construction paper and/or patterned paper
- 3 medium-sized craft sticks
- Hot glue
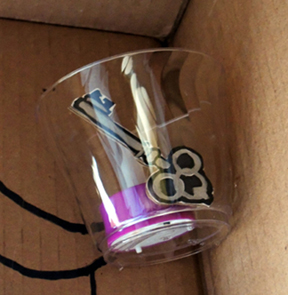
- 1 small plastic cup (mine was a 3 ounces)
- 2 jumbo pom-poms (mine were 2″)
- 1 small plastic spoon (or mini craft stick)
- Crayons for decorating
- Scissors and tape for construction
Start by using markers to customize your ice cream truck template. Cut and tape to the box. Then add the wheels. You can tape the wheels, or use hot glue to make them extra secure.
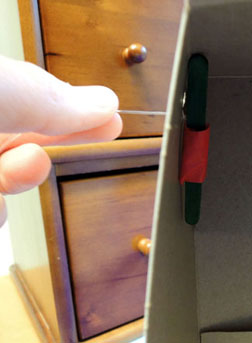
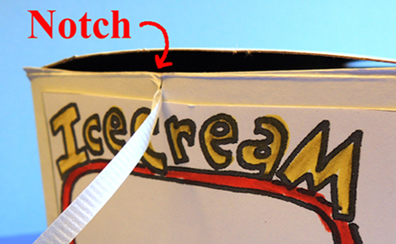
Next, cut a small notch in the front of the truck, right at the top. Knot one end of the ribbon and slide the knot into the notch. Then tape the knot inside the truck. This might seem like overkill, but trust me, these trucks take a real beating from their enthusiastic “drivers.”
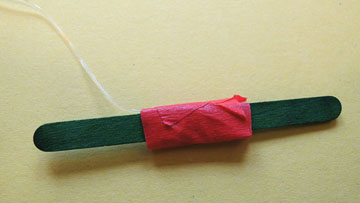
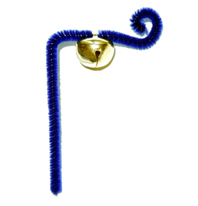
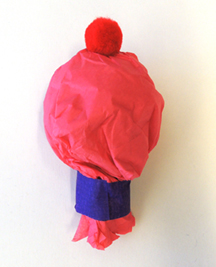
 Now it’s time for the bell! Bend1/2 of a pipe cleaner into an upside-down L, thread the bell on one end, then curl the end to keep the bell from falling off.
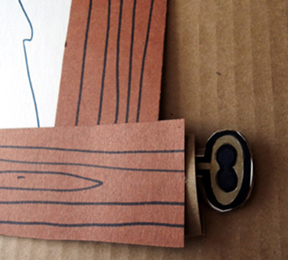
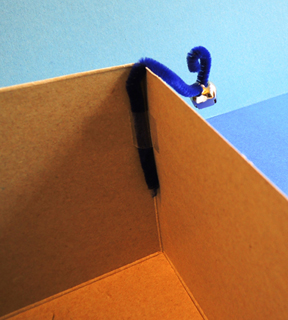
 Tape the straight end of the pipe cleaner on the back of the truck like so:
 Your truck is done…it’s ice cream time! I’ve included instructions for multiple types of ice cream, but you can modify according to your needs. For example, when I took this project to the local pool, we just did ice cream cups and single Popsicles (and I hot glued the sticks on the Popsicles in advance).
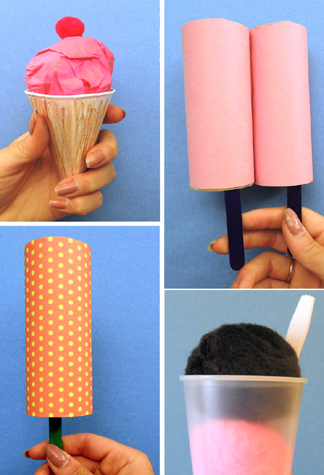
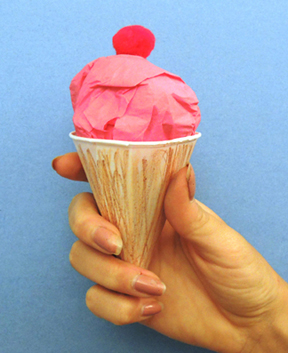
To make a cone, use crayons to color the cone water cup (marker just smeared on the cup’s semi-waxed surface). Then, take a sheet of tissue paper and gently squish it into a ball shape. Gather the bottom of the ball together and secure masking tape around it. This creates the “ice cream plug” for your cone.
 Hot glue a small pom-pom on top & pop it in the cone for the perfect finish!
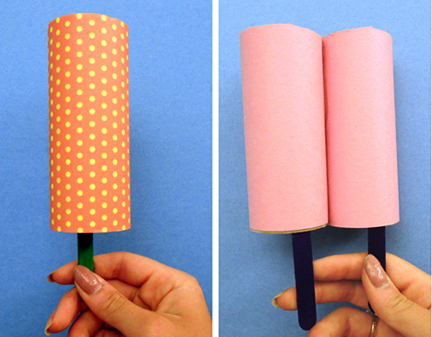
To make a Popsicle, wrap a toilet paper tube with patterned paper or construction paper, then hot glue a craft stick on the inside edge of the tube. To make it a double, simply hot glue two finished pops together.
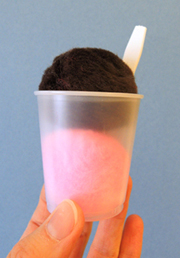
 For an ice cream cup, drop 2 pom-poms in a 3 oz. cup and add a small plastic spoon. If a spoon isn’t handy, use a mini craft stick.
 A few months after I did this project, a mom made a special trip to my library to see if there was any chance of getting another truck template and box. Apparently, the ice cream truck was her son’s favorite toy, and it had finally succumbed to his various adventures with it. She was hoping to build a new one with him. I was delighted to set her up with some fresh supplies and very flattered. You really really can’t get a better compliment than that!