People might think rocks are totally boring and just sit there. But this book proves them all wrong! Turns out when it comes to eras, rocks win the time travel marathon, hands down! Why be sedentary when you can be…wait for it…sedimentary?
We read Old Rock (is not boring) by Deb Pilutti (G.P. Putnam’s Sons, 2020). Tall Pine, Spotted Beetle, and Hummingbird are convinced that Old Rock is boring. He doesn’t go anywhere, see anything, or do anything. But Old Rock explains how many millennia ago, he flew from a volcano, gazed at dinosaurs, rode a glacier, tumbled down a ridge, and watched a forest grow around him. It’s all about perspective!
You’ll need:
- 1 small tissue box
- 2 foam beads
- A short piece of bamboo skewer (ours was 5″)
- A 7″ paper plate
- One time travel wheel template, printed on 8.5″ x 11″ paper
- Tin foil
- 1 rock
- Box cutter, scissors, glue and tape for construction
- Markers for decorating
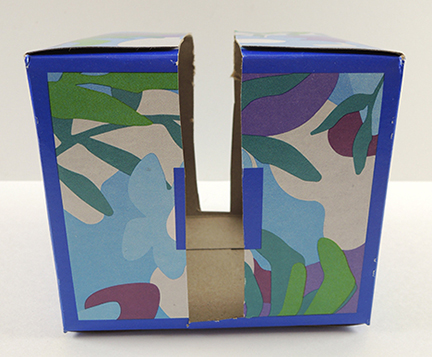
We loved the idea of time passing for Old Rock, so we created this simply time machine project! Begin by placing a small tissue box on its side. Use a box cutter to cut a 1″ wide space in the sides and top of the box (leave the bottom intact):
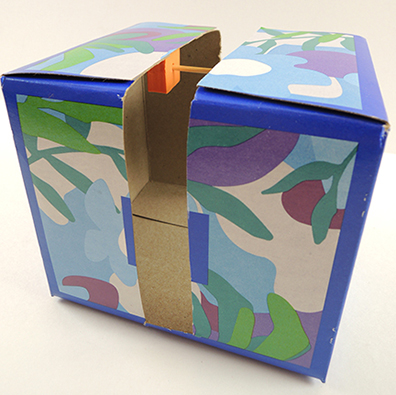
Next, glue a foam bead to the center top of the box. No foam bead handy? Use a small snippet of drinking straw instead. Repeat with a second bead on the opposite side of the box. The bamboo skewer should thread easily through them, creating an axle for your paper plate:
Now for your spinning time travel wheel! Cut the template from the paper and color. A special shout out summer intern, Malaysia for her volcano, dinosaur, and glacier artwork! You’ll notice the final panel on the template is blank. That’s where kids can draw their own homes.
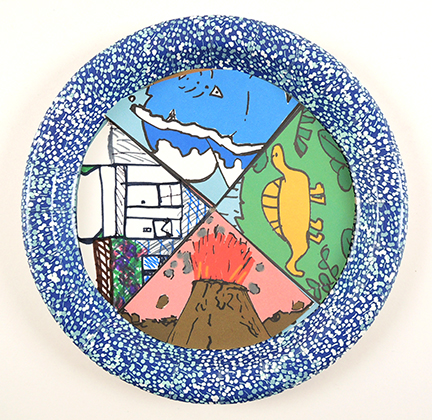 Use the bamboo skewer to poke a hole through the template and the paper plate. Thread the skewered plate through the foam beads to create your rotating time travel wheel like so:
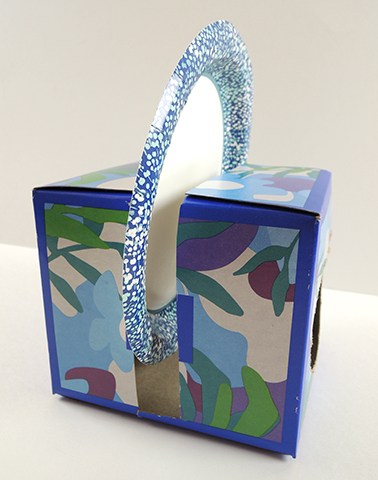 Decorate the outside of the box with tin foil (we offered embossed foil paper and sparkle stems as well). If you’d like the “Totally Rockin’ Time Machine” sign, here is the template. Make sure not to cover the open mouth of the tissue box open – that’s your time travel machine’s viewfinder. Finally…the rock!
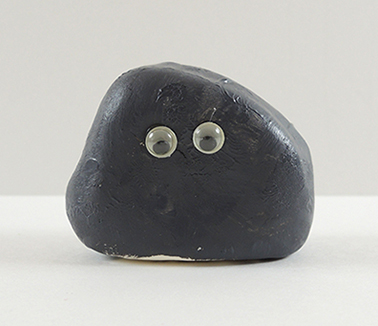
We didn’t have a supply of rocks handy, so we crafted these out of model magic. Just add grey craft paint and wiggle eyes and you have one very charismatic rock. Place the rock inside the time machine, spin the wheel, and watch the millennia fly by!
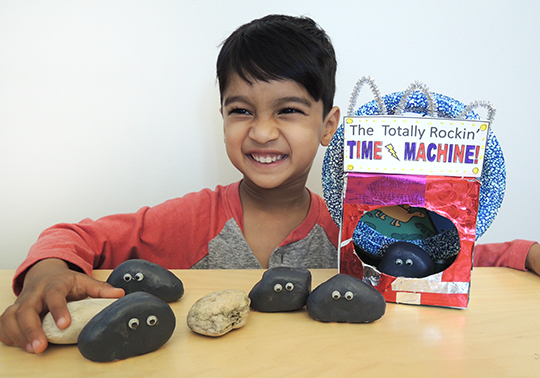
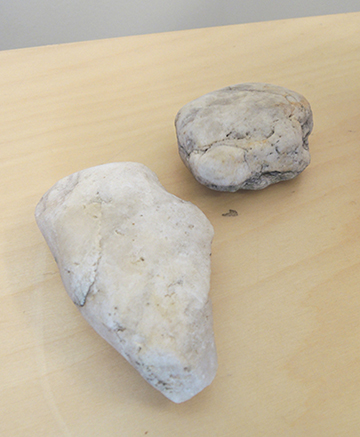
This book went over SO well at story time! It’s lovely, well-paced, and exciting. It’s no surprise it’s a multiple award-winner. The kids were absolutely riveted. But we were further delighted when, completely randomly, a youngster arrived with a couple rocks of his own! You can see them in the intro image, but we wanted to give his special rocks a portrait of their very own:

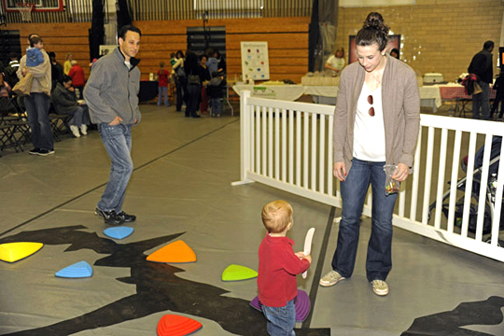
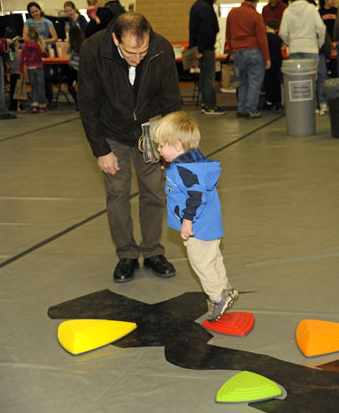 One, two, three, jump! Are you ready to meet our most popular toddler activity of all time? Ladies and gentleman, may I present…the Crevasse Challenge.
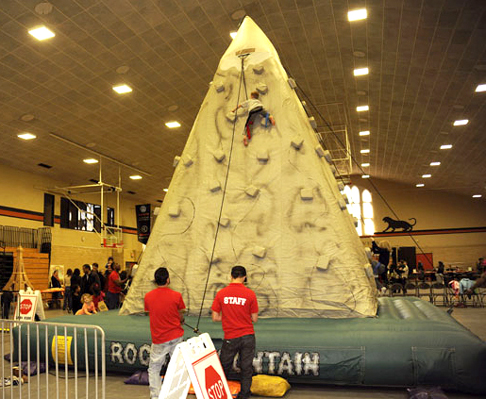 We needed something else. Something less vertical. Additionally, the climbing wall had age and height restrictions, so we wanted an activity everyone could try. So it needed to be adventurous, on the ground, with no age restrictions, and still rock related.
 It’s important to mark where the different pieces of the crevasse fit together. That way, on the day of the event, you simply match the pieces, peel the backing off the contact paper, and stick everything in place. We used the matching lettering system below to pair the side cracks with the main crack (the letters were written on the backs of the pieces in permanent marker):
 The crevasse is done. Are you ready to rock? I bought these “riverstones” from Discount School Supply. Not only are they colorful and sturdy, they have anti-slip bottoms. At $70 a set, they are a bit of a splurge (especially since we bought 2 sets). But I considered it an investment in quality and safety. After the event, we donated both sets to our local YMCA for further fun.
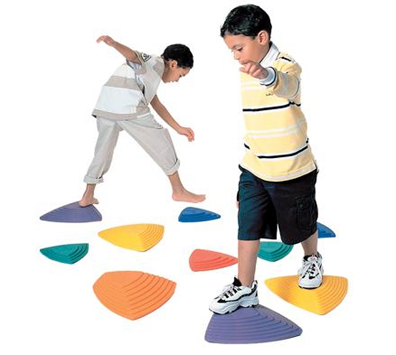
 The rules for the Crevasse Challenge were simple. Start on the first yellow rock and navigate the length of the crevasse until you land on the second yellow rock. If you fell off a rock, you had to start all over again (unless you were very young, and then you just climbed back up on the rock and tried again). If older kids wanted to increase the challenge, they had to complete the course only using the large rocks.
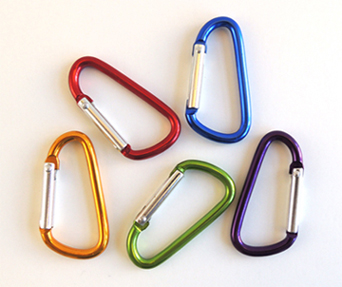 On event day, the Crevasse Challenge was hopping for five hours straight. Kids went nuts for it! The crevasse! The rocks! The jumping! The carabiners! The only challenge was keeping the course clear of kid collisions. But the YMCA folks were total pros, and we had no accidents.
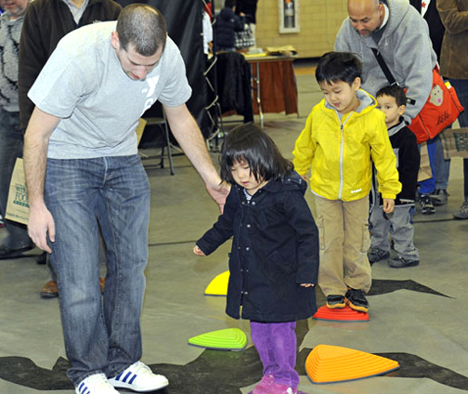 Big kids tried it, little kids tried it, grown-ups tried it, but the toddlers were they main players. They couldn’t get enough of it! My daughter, who was 2 at the time, spent 45 minutes hopping, jumping, running, and trying different rocks. And just look at this cute little guy!