 In 2014, College & Research Library News published an article I wrote about teaching children using rare books and special collections materials. I’ve posted it here as well!
The Cotsen Children’s Library at Princeton University is a Rare Books and Special Collections Library devoted to children’s literature. It has an extensive and engaging collection, and part of our mission is education and outreach to children. Rare books and children…can the two mix?
The answer is yes, absolutely. For seven years, I’ve had tremendous success bringing collections education to New Jersey schools. This outreach initiative, which I call Cotsen in the Classroom, consists of six staff-lead programs that are available, free of charge, to K-5 classrooms in public schools, private schools, and home schools. To date, over 14,000 children have participated in the programs.
Each Cotsen in the Classroom program is set at a particular grade level and is based on items from our special collections. Beatrix and Peter, the kindergarten program, features the natural history drawings, family photos, and picture letters of Beatrix Potter (for more Potter fun, take a look at this post). Kamishibai, the first-grade program, includes historic photos, story cards, and performances of kamishibai, a type of street theater popular in Japan from 1930-1950 (you can read more about kamishibai in this post). Mr. Andersen, the second-grade program, follows the life story of Hans Christian Anderson, using a number of his personal paper cuts and century-spanning illustrations for The Ugly Duckling.
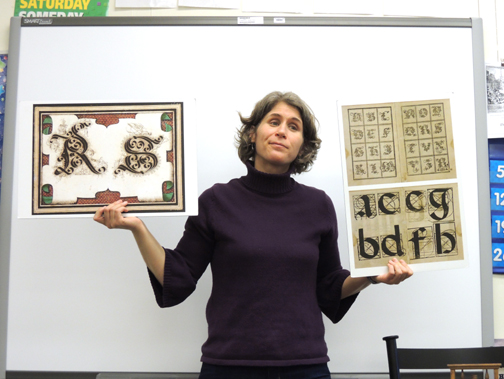
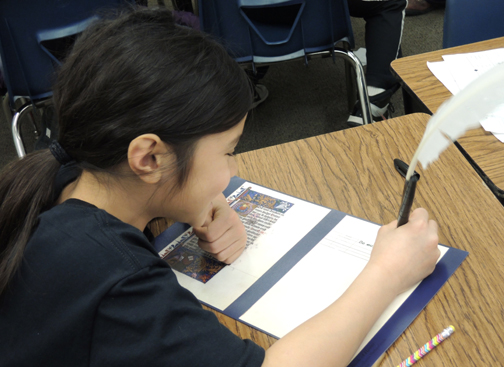
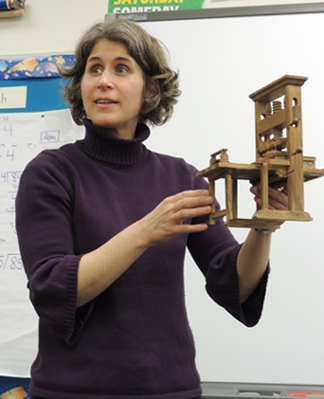
Colonial Classroom, the third-grade program, features a day in a Colonial American classroom, complete with horn books, copy books, primers, and writing blanks. Illuminate Me, the fourth-grade program, demonstrates the process of creating illuminated manuscripts and discusses the world-changing invention of the Gutenberg press, and the advent of the printed book (manuscript fans, click here). You Are Here, the fifth-grade program, exhibits 18th-century geographical objects from London, England, and discusses how, over the century, they reflected changes in education and social structure in Europe. To see the full program descriptions, click here.
 Since the programs travel out of Cotsen and into local schools, I don’t use actual collections materials. Instead, I teach with enlarged high-resolution photos mounted on foam board, reproductions of historical items, and objects that have been purchased (or specially constructed) for the programs. Students work with (and take home) full-color reproductions of collections items, as well. The visual material is reinforced by a lively lecture, hands-on activities, and a succession of question and answer opportunities designed to keep the students engaged during the 45-minute presentation.
Are the programs successful? Do students gain an appreciation for the collections material? Do they retain the information in the programs? Do they enjoy the programs? The answer to all of these questions is yes.
The entire programming year for Cotsen in the Classroom (which runs for 38 – 40 weeks during the academic year) consistently books within 48 hours of the opening registration date. I’ve observed students exclaiming over a 15-century illuminated manuscript, avidly searching for the publication year on a 1776 copy book, and racing each other to locate New Holland on a paper globe from 1830. Students often recognize me when I return to their schools and eagerly share what they enjoyed the previous year. Teachers repeatedly relay stories of students making further connections to, and initiating personal projects on, topics inspired by the Cotsen in the Classroom programs.
 There are also the thank-you cards I receive from classrooms. While some are obviously form letters dictated by the teacher, others recall key pieces of the presentations, make personal connections to the material, or accurately replicate, through their illustrations, the collections material presented in the programs.
It’s definitely possible to bring special collections to school children, including those who visit your library on tours. Whether designing a new program or adjusting a current one, I offer the following recommendations for developing successful programs for your young patrons.
Allow hands-on whenever possible. Rare materials are, by their nature, not things to be handled frequently or casually. Therefore, I use reproductions of collections items. A large poster to pass around the classroom, a reproduction of a period object, even a contemporary version of a historical object can all be used to great effect. For children, being allowed to touch an object creates an instant connection to it, and promotes absorption and retention of the information. It doesn’t have to be elaborate. Whisper sticks, for example, were a form of punishment in Colonial schools. Pupils caught whispering were forced to clamp sticks in their mouths. I use wooden Popsicle sticks, purchased in bulk from a school supply company, to replicate this experience.
Adjust for your audience. The younger the children, the more activities, transitions, and visual changes you will need. The Beatrix Potter kindergarten program, for example, starts as a group sitting theater- style on the floor, then quickly moves back to tables/desks for some natural history sketches, then returns to the floor for the remainder of the program. In between these transitions, there are plenty of visuals. The fifth-grade program, in contrast, takes place almost entirely at the students’ desks, with the visuals presented at the front of the classroom and a collaborative group activity at the end of the program.
Leave time at the end for Q & A. Answering questions is my favorite part of these programs, and a good way to assess if the audience was interested and engaged. I build in at least 5 minutes at the end of each program to answer questions. One fourth-grade class kept me busy answering questions for 30 minutes! I’ve fielded a wide range of questions about these programs – questions about the content, questions about the Cotsen library and rare books, questions about my work and expertise, and questions about how the programs were researched and designed.
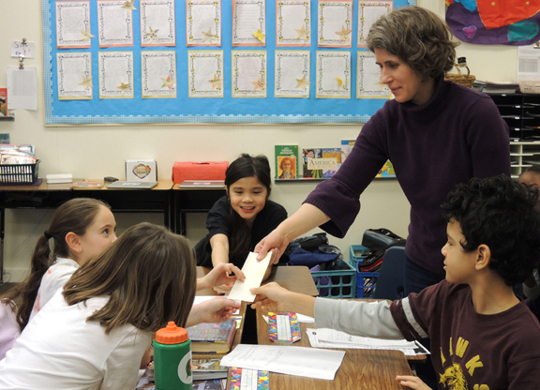
Send materials home. Every student who participates in Cotsen in the Classroom takes home a full-color reproduction of a collections item. “We get to keep this? Really? Cool!” is the refrain I often hear as I pass materials out. Sending materials home allows students to connect with what they learned, and share it with their families. One parent (who also happened to be the principal of the school) stopped me in the hall to tell me how excited his five-year-old son had been to show him the Beatrix Potter sketchbook he’d brought home from class that week.
Ask your audience to analyze your program. During the first three years of the Cotsen in the Classroom initiative, I gave every classroom teacher an evaluation form. On this anonymous form, he or she was asked to rate the program on a scale of 1 – 5. I also left space on the form for teacher comments, student comments, and general suggestions. I used the invaluable feedback I received on these forms to improve the presentations, clarify content, and assess whether the program was accomplishing its educational goals.
 Teaching the untouchable can absolutely be done through quality reproductions, replicas of historical objects, and a presentation designed to engage, enlighten, and empower young learners. It’s also incredibly rewarding. A kindergartener eagerly asking a question, a fifth-grader gazing thoughtfully at an 18-century map cabinet, a first-grader creating a kamishibai title card, a third-grader who wants to find books on the subject I just presented – after seven years of teaching these programs, I never tire of watching students making connections to the special collections material. I also enjoy their expressions of appreciation for my visit. “That was so cool.” “I never knew that!” “That was the best presentation ever!” “Can you teach us something else?”
But my favorite compliment of all time was one that was not expressed directly to me. As I left the classroom, I overheard a fourth-grade boy whisper to his friend, “I thought that was going to be boring but it totally wasn’t!”
Success!
“Teaching the Untouchable: Rare Books Education in Elementary School Classrooms“ was originally published in College & Research Library News, November 2014 (Vol. 75. No. 10). Full text version, click here. Pdf version, click here.

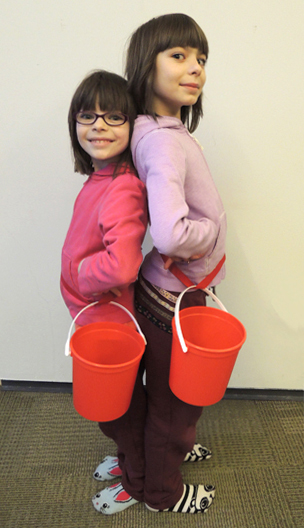 Prior to 2007, if you had asked a young reader to name a famous bucket, I’ll wager most would have replied “Charlie.” But that was before a new bucket arrived on the scene. A fire-engine red bucket, wielded by an acrobatic young lady with a blonde ponytail. I speak, of course, of Kate Wetherall. Katie is one of the fantastic characters in The Mysterious Benedict Society, written by Trenton Lee Stuart (Little, Brown, 2007).
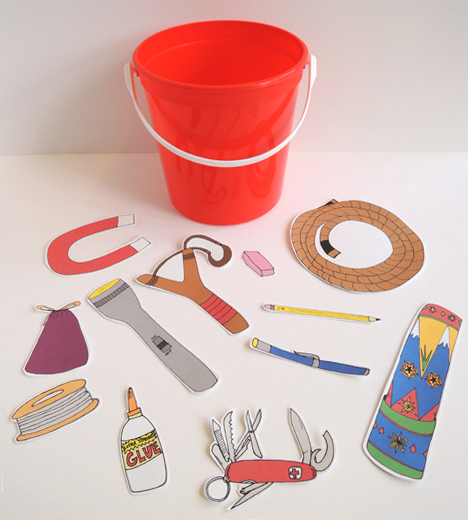 All you’ll need is 1 red bucket, a bucket game template printed on white card stock, and a copy of the bucket game scenarios. You’ll need markers to color in the template (or you can just go with the full color version), and scissors. I also gave kids a list of the bucket’s contents.
 To play the game, read a scenario aloud. Ask the kids to select the bucket items they would use to solve the scenario. Once everyone’s selections are made, go around the room and ask them to display which tools they selected, and how they would use them to solve the scenario. As you can imagine, there were some pretty innovative answers!
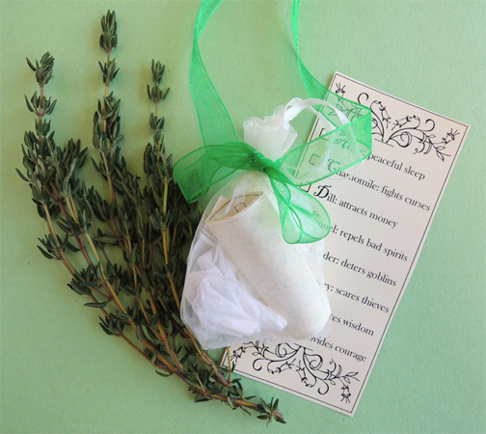
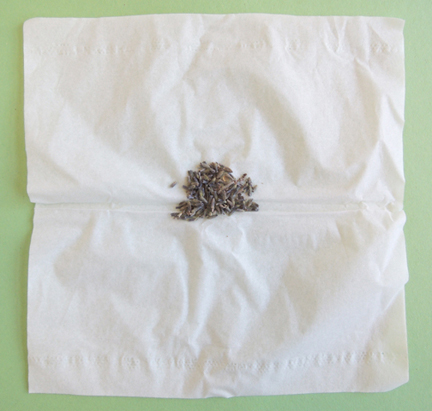
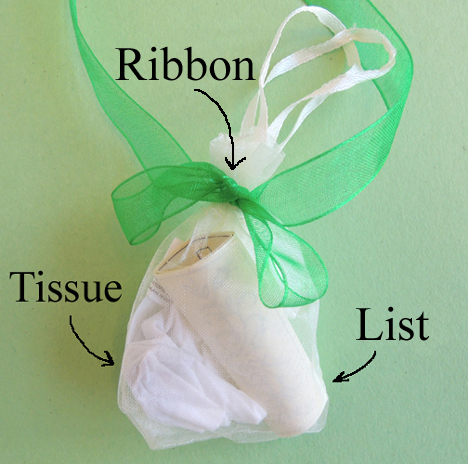
 At the event, kids checked off which herbs they wanted in their amulets. Then a student volunteer helped the kids put dried herbs on squares of tissue. A little herb goes a looooong way, so just a sprinkle is needed – especially if kids select multiple herbs. Here’s about how much you want in your amulet in total: