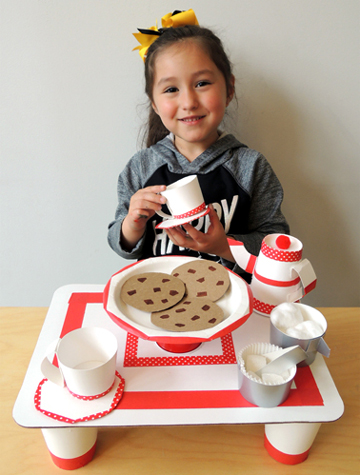
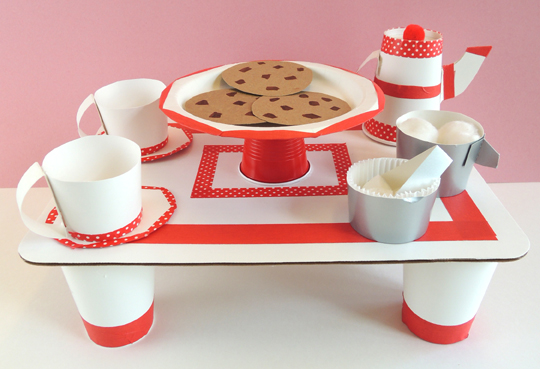
It might look like a proper tea table with matching teapot, cups, saucers, sugar bowl, creamer, and a platter of cookies. But beware! Your guests want those cookies something fierce, and aren’t afraid to get grabby in our fast-paced cookie snatching game! Video, of course, at the end of the post.
We read Tea Party Rules, written by Ame Dyckman, and illustrated by K.G. Campbell (Viking, 2013). A bear cub follows the delicious smell of cookies to a little girl’s tea party. Pretending to be the girl’s stuffed bear, the cub eagerly awaits the moment when he can devour the cookies. He’s got her completely fooled, but then the girl decides that her toy bear needs to follow the “Tea Party Rules.” In other words, he needs to be clean, neat, fancy, and dainty. Poor Cub is subjected to a bath, ribbons, perfume and a dress. But when it comes time for a lecture on dainty eating, he snaps. He attacks the cookies. When only one cookie remains, Cub stops. Suddenly, he realizes that he’s not only ruined the tea party, he’s made the girl very sad. So he gives the final cookie to her. Does she eat daintily? No she does not. She decides it’s time to play BEAR!
You’ll need:
- 9 – 10 paper cups
- 1 corrugated cardboard base (I used a 9.75″ x 13.75″ cake pad)
- A selection of patterned tape
- A selection of color masking tape
- 1 small paper plate (mine was 7″ in diameter)
- 1 spouts template, printed on 8.5″ x 11″ card stock
- Extra poster board for tea set handles, spouts, and sugar tongs
- 1 small pom-pom
- 2 circles of white poster board (approximately 3.5″ in diameter)
- 3 circles of tag board or brown poster board (approximately 3.5″ in diameter)
- 3 button magnets
- 1 rectangle of or brown poster board (approximately 2.5″ x 9.25″)
- 1 rectangle of white poster board (approximately 3.5″ x 9.25″)
- 2 jumbo paper clips (mine were 2″ long)
- Scissors and tape for construction
- Markers for decorating
- Hot glue
 This project consists of 1) A tea set with cookies; and 2) A pair hand grabbers for the snatching game. The cookies have magnets hot glued to them, and the hand grabbers have paper clips taped to them. Thus, when the hand slaps down on the cookie, it picks it up!
 We’ll begin with the tea set. To make the table, hot glue 4 paper cups to the bottom of a corrugated cardboard base. The cookie platter is a flipped-over cup hot glued to a small paper plate. You don’t want the cookie platter to be too tall, so you can either cut a full size paper cup down to 2.25″ inches, or use a shorter cup (we used 3.5oz plastic drinking cups from Target). Decorate the platter and table with patterned tape, color masking tape, and/or markers. Then hot glue the platter firmly to the top of the table.
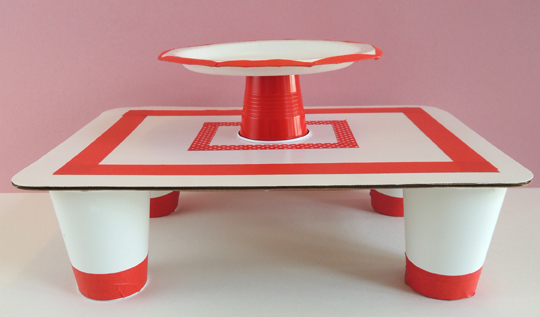 To make the teapot, flip a paper cup over, then tape (or hot glue) a poster board handle to one side. Cut the spout from the template and trace it onto white poster board. Fold the tea pot spout in half (the fold is marked with a solid black line on the template). Next, fold the spout’s tabs outward (the tabs are marked with dotted lines on the template). Attach the tabs to the tea pot with tape (or hot glue). Finish by hot gluing a small pom-pom to the top of the tea pot.
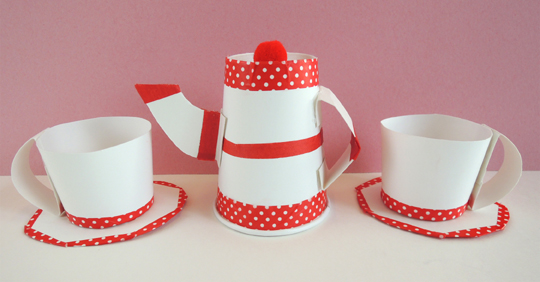 To make tea cups, cut 2 paper cups down to 2″. Use tape (or hot glue) to attach a white poster board handle to the side of each cup. Then place the cups on a white poster board “saucers.” Decorate the teapot, cups, and saucers with patterned tape, color masking tape, and/or markers.
Next up – the sugar bowl and creamer. To make the sugar bowl, cut a paper cup down to 1.5″. Drop a paper baking cup inside for extra flair. To make tongs, fold a narrow strip of poster board in half. Those cute little sugar cubes? Foam packing peanuts, cut in half.
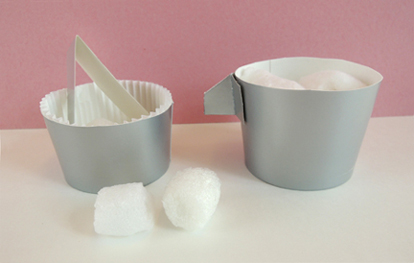 The creamer is a paper cup cut down to 2″. Cut the creamer spout from the template, and trace it into poster board. Fold the spout in half (the fold is marked with a solid black line on the template). Next, fold the spout’s tabs outward (the tabs are marked with dotted lines on the template). Attach the tabs to the cup with tape (or hot glue). We filled the creamer with white cotton ball “cream.”
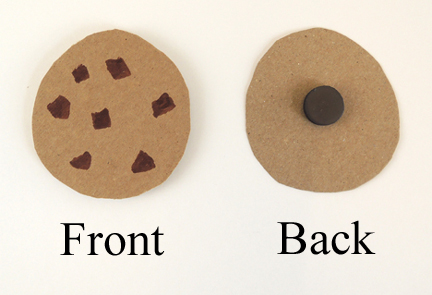
Finally…the cookies. These are circles of tagboard (or poster board) decorated with markers. We made 3 cookies per kid. Hot glue a button magnet to the back of each cookie.
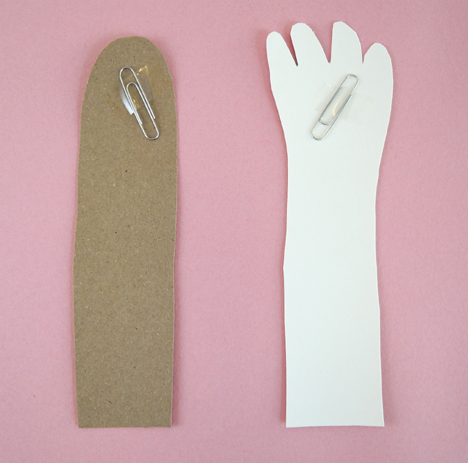
Now for the game! We had 2 hand grabbers – a bear paw and a fancy white glove. To make the bear’s paw, round one end of a 2.5″ x 9.25″ strip of tag board (or brown poster board). To make the glove, cut a hand in one end of a 3.5″ x 9.25″ strip of white poster board. Tape a jumbo paperclip across the palms of both grabbers.
 Ready to play? Have 2 kids select a grabber and sit down at the table. On “Go!” each kid must use his/her grabber to quickly remove cookies from the platter. The kid who grabs the most cookies, wins!

 A no mess, no carve, no flame, gorgeously glowing pumpkin? You got it! Bounce these LED pumpkin balloons around at your next story time, sneak a few on the shelves on the 31st, or take a spirited evening stroll.
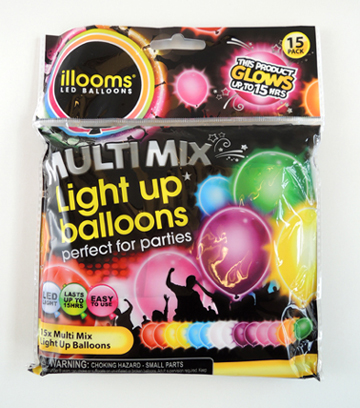 The illooms LED balloon has a round, hard tip at the top, and a tab sticking out of its neck. Pinch the tip while simultaneously pulling the tap to activate the LED. Then inflate the balloon (the directions suggest a pump, but I went with my lungs).
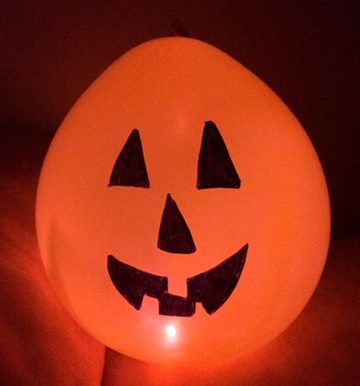
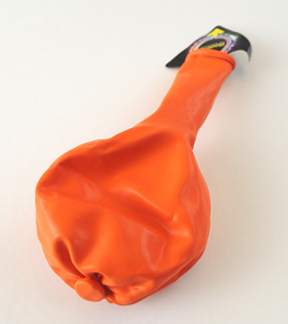 The round tip acts as a balloon weight that pulls the inflated balloon upside down, creating the the perfect pumpkin shape. Use a black Sharpie permanent marker to draw a pumpkin face on the balloon, and you’re good to glow!
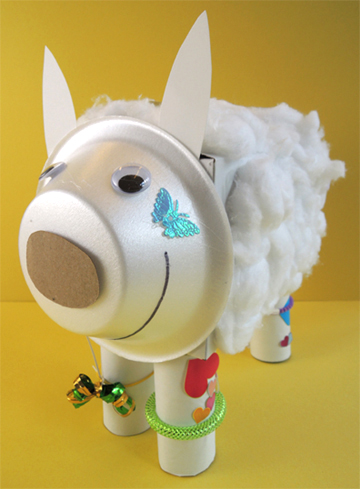
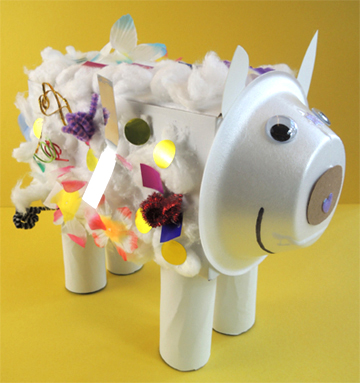
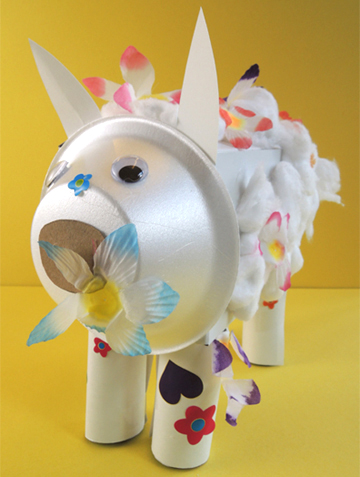
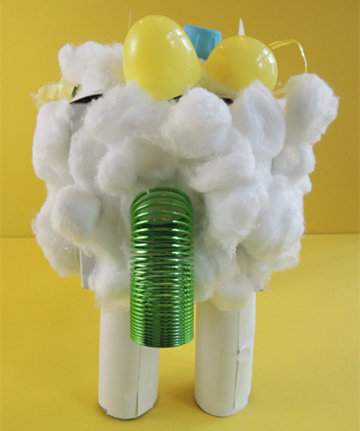
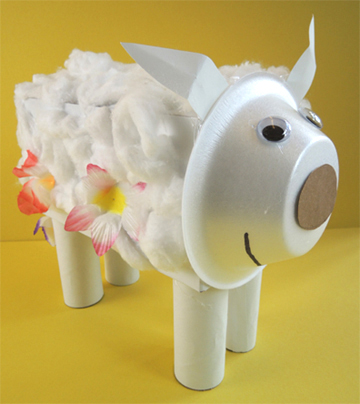
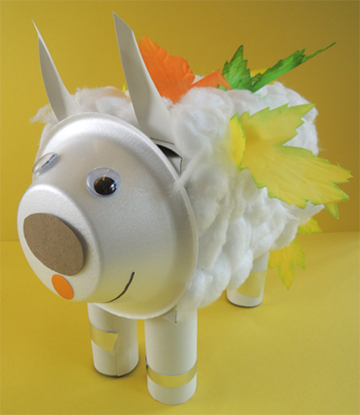
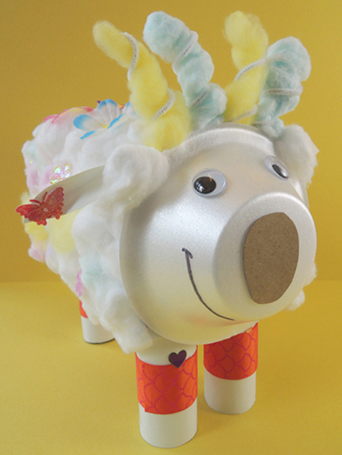
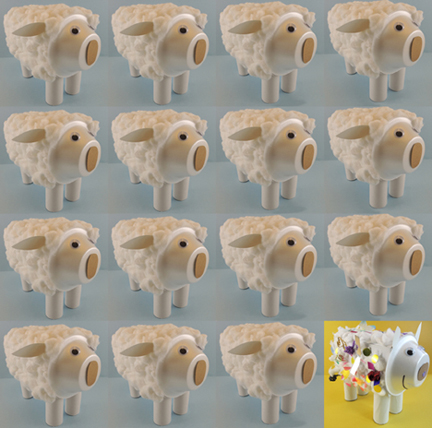 One of these sheep is not like the other! Revel in your creative individualism by designing a fluffy cotton ball sheep that is utterly unique.
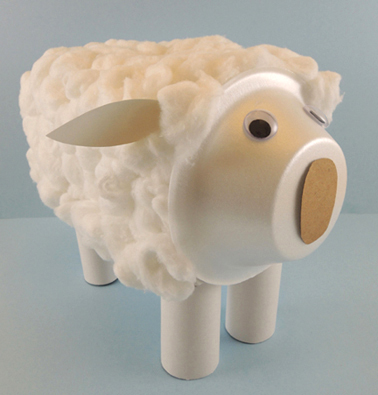 Begin with the basic sheep. Wrap 4 toilet paper tubes in white construction paper, then hot glue the tubes to the bottom of a box. Hot glue a brown oval nose and 2 wiggle eyes to a paper (or styrofoam) bowl, then hot glue the bowl to the box. Attach a pair of construction paper ears with tape (or hot glue). Finish by gluing white cotton balls to the box.
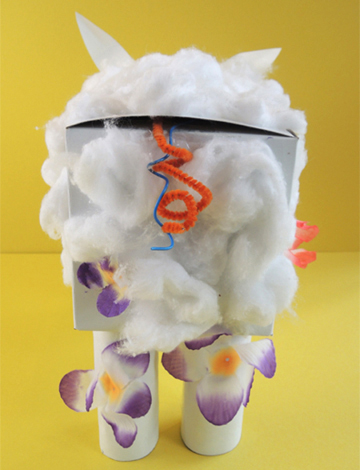
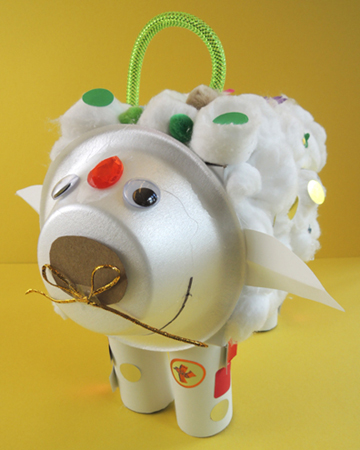
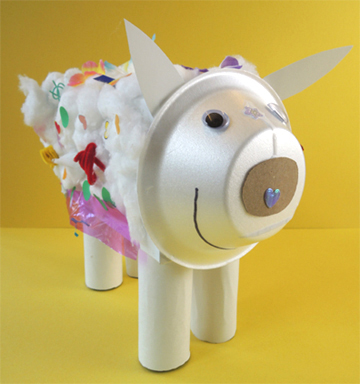
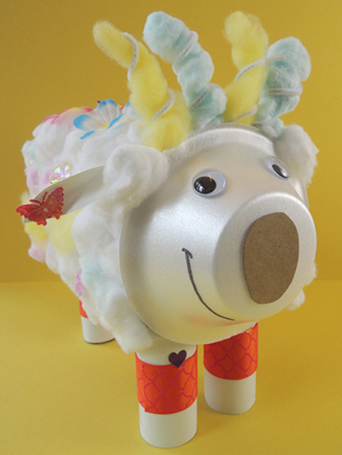 The results were fantastic. There were anklets, headdresses, bows, decorative wooly coats, and some very interesting tail modifications. Here’s our happy herd!