 March is Dr. Seuss’ birthday, and this year, the actual day (March 2nd) fell on a Saturday. Which we took as a big ‘ol green light to create a huge, crazy weekend event. Ladies and gentleman, I bring you…Seuss Mini Golf!
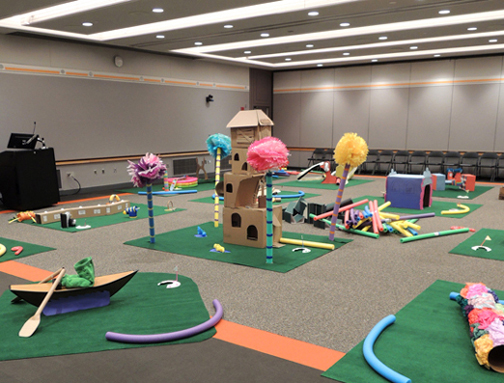 The art of Dr. Seuss is perfect for mini golf. The curves! the colors! The zaniness! But we wanted to encourage personal creativity as well, so we decided that, in addition to building a few holes, we would also provide the supplies for families to build-their-own. The results? 4 hours of 400 enthusiastic, highly artistic golfers!
This is going to be a long post, so I’ve split it into three parts: 1) The basics on how we designed the event; 2) The special golf holes we created; 3) An interview with our talented course designer, Ricky Feig!
PART 1: THE BASICS
The great thing about this event is its flexibility, both in size and in cost (especially when it comes to the materials you use for your course). Here’s a quick list of what we utilized for the event:
- Green 6′ x 8′ outdoor rugs
- PVC pipe
- Pool noodles
- Toilet paper tubes
- Wrapping paper tubes
- Paper plates
- Drinking straws
- Construction paper
- Plastic ball pit balls
This event really came together when Katie and I discovered these 6′ x 8′ green outdoor rugs at Lowe’s ($21 each). Their turf-like texture was perfect for the greens, and they didn’t have any backing, so they were easy to cut with fabric scissors.
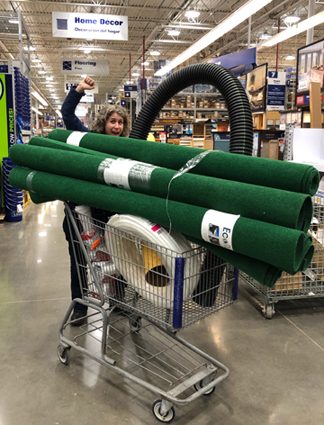
You could do the event without the rugs (and we priced green felt to cost approximately the same) but we highly recommend them. Not only do they give you a good physical parameter for each hole, they just make the course work visually.
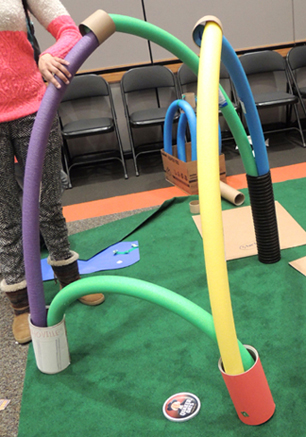
Also in the cart you’ll notice a BIG coil of white PVC pipe (a 0.5″ diameter x 100′ coil costs $12). We used the PVC pipe to make the barriers / bumpers for the course. You can use the PVC pipe on its own, or do what we did – shove them into pool noodles!
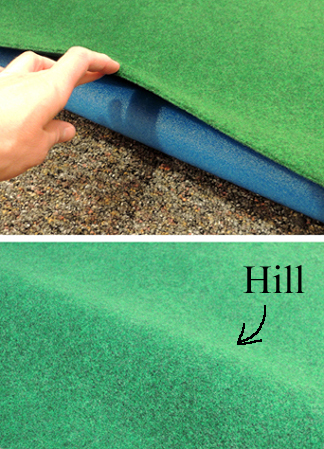
Pool noodles can get pricey (we purchased ours on Amazon – a 35 pack is $60), so you can save a little in your event budget by leaving them out. Or raid your local Dollar Store this summer. The kids LOVED sculpting with the noodles. We also discovered that if you put a pool noodle under the rug, it makes a really cool “hill” on your putting green.
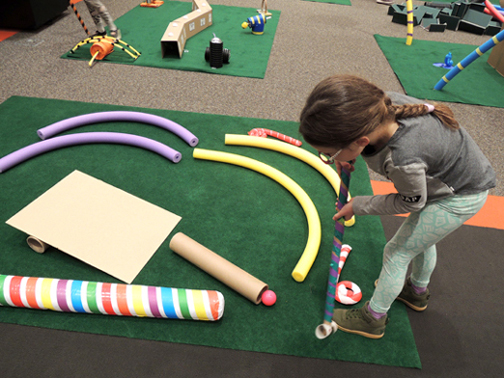
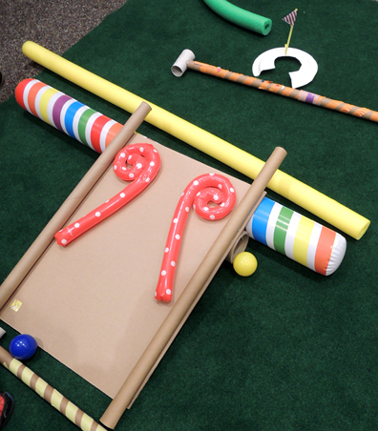
 Also on our course were pieces of cardboard, boxes, and tubes all scored from our library recycling program. Some of these we fashioned into ramps, which went over REALLY big at the event. We threw in stuff left over from other programs too. Like inflatable candy canes and Smartie rolls from our Willy Wonka escape room. And straight pool noodles sans PVC pipe. Here’s a shot of someone putting our items to good use…
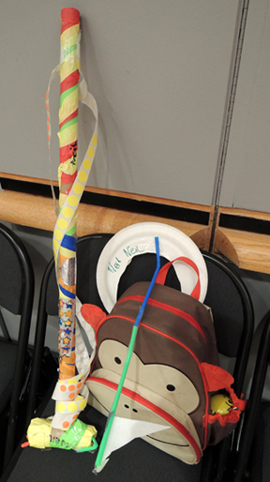
 At the top of that last photo is an example of the golf clubs and holes we created for the event. We wanted each kid to leave with a ball, club, and hole, so we kept it simple. The golf club is a toilet paper tube cut in the middle with a wrapping paper tube shove into it. Reinforce the connection with tape.
We had all the toilet paper tubes we needed at the office, but had to order the wrapping paper tubes online from Ace Paper Tube Corporation. We ordered 300 tubes and the total came to $300 (but mind you – shipping was $65 of that total). If you’d like to avoid that price tag, start saving wrapping paper tubes now, or explore the costs of PVC golf club handles. Lowe’s sells straight, 0.5″ x 10′ PVC tubes for $2.31. You can get four, 30″ club handles out of 1 tube. So you would pay around $175 for 300 club handles. Another option? Make a certain number of clubs in advance, and ask families to return them when they’re finished playing.
Ultimately, we splurged and ordered the wrapping paper tubes. At the event, we offered color masking tape, stickers, and markers to decorate the clubs. And decorate they did!
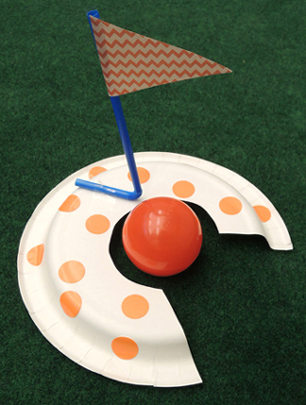
The golf hole is a paper plate with a drinking straw flag which kids could decorate with markers and stickers. Note the keyhole shape of the hole. After testing a couple different shapes, this is definitely the one that works, catching the ball in place as it rolls in.
 Finally, the balls. Ping pong balls were too light, golf balls too heavy (and a little dangerous when hit by an enthusiastic 5 year-old). Plastic ball pit balls were perfect. And inexpensive! On Amazon, 400 balls cost $45. That’s 11 cents per ball. Yay.
As far as event logistics, we had the club, hole, and ball tables as you entered the room, the greens laid out, and building supplies in strategic piles around the event floor. Did we have fun? Oh, we had fun.
In conclusion, if you’d like to budget down on this event, skip the green rugs and pool noodles and build your course using PVC pipe as bumpers. Add in recycled boxes, cardboard, and other odds & ends to the course and you’ll be set! You can’t go any cheaper then plastic ball pit balls and paper plate holes, but you can save by hording wrapping paper tubes and/or having a limited number of clubs at the event.
Oh! One last thing. Have Sharpies on hand to write kids’ names on the plastic balls. This will allow them to keep track of them in the golfing chaos.
PART 2: SPECIAL HOLES
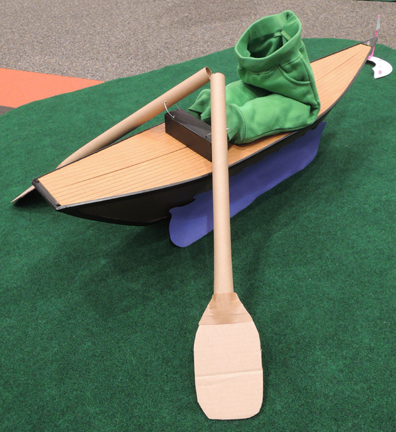
Never ones to rein ourselves in (please see Katie’s comments under #3 in this post), we decided to up the event a notch by having a few Seussian holes already in place. Katie led the charge by designing a “Pair of Pants with No One Inside Them.” The boat was salvaged from an art installation, and the waistband of those green toddler pants are strung with wire.
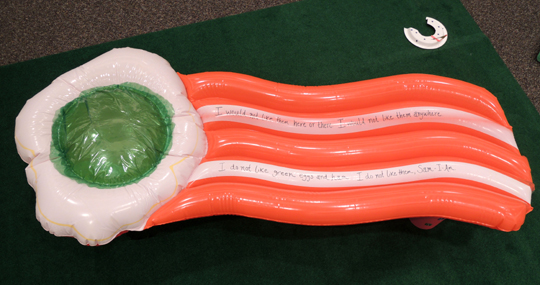
 Katie also used a deeply discounted pool float and cellophane to make a Green Eggs and Ham hole. The float was propped up on oatmeal containers. And, if you can’t see it in the photos, rhymes from the book are written on the white parts of the bacon. YES!
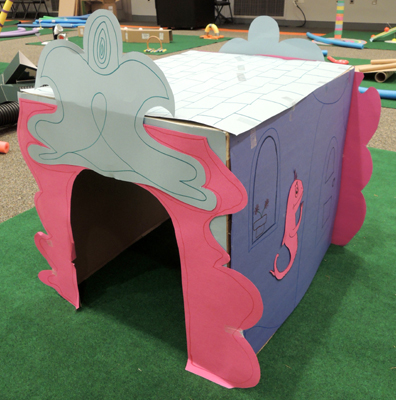
 Princeton University student Michelle Vilarino also crafted some holes. Here is her Seuss tunnel, which also doubled a secret clubhouse hideaway for many kids during the event…
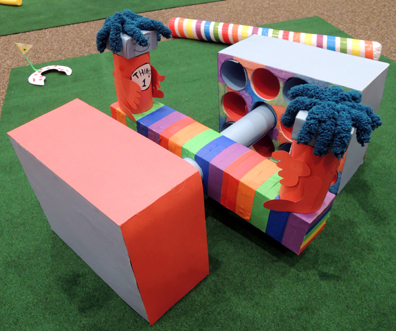
 And here are Thing 1 and Thing 2 on a teeter totter! By the way, those are Styrofoam wine holders, reused from this bee hive story time.
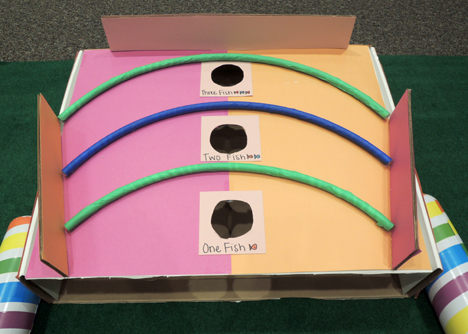
 Michelle also made a One Fish, Two Fish, Three Fish hole/ toss game for the younger kids. A ramp she built inside the box automatically rolled your ball back to you.
 And THIS special Whoville hole was designed by my 10 year-old son! #superproudmom
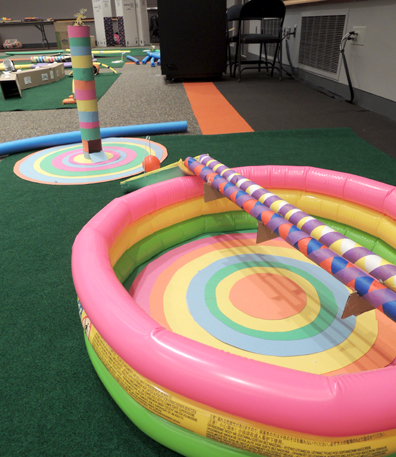
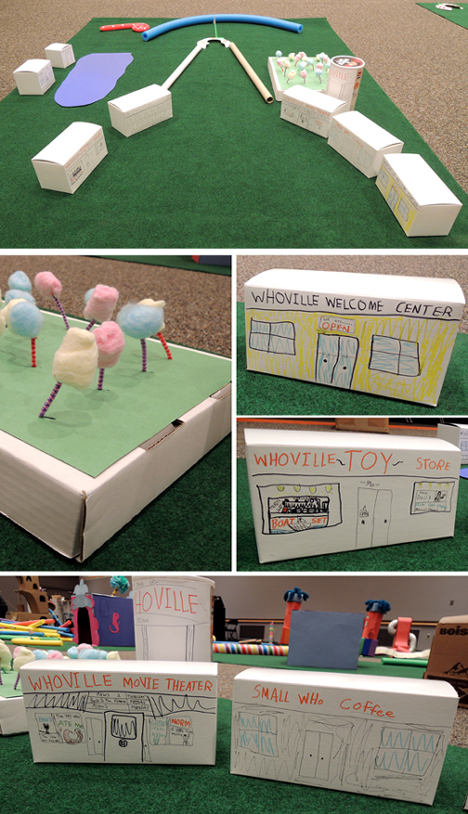 But the ROCK STAR of Seuss mini golf? That would be Princeton University student Ricky Feig. He put in many mighty hours of research, design, and construction to make something truly special. Beginning with Oh, The Places You’ll Go…
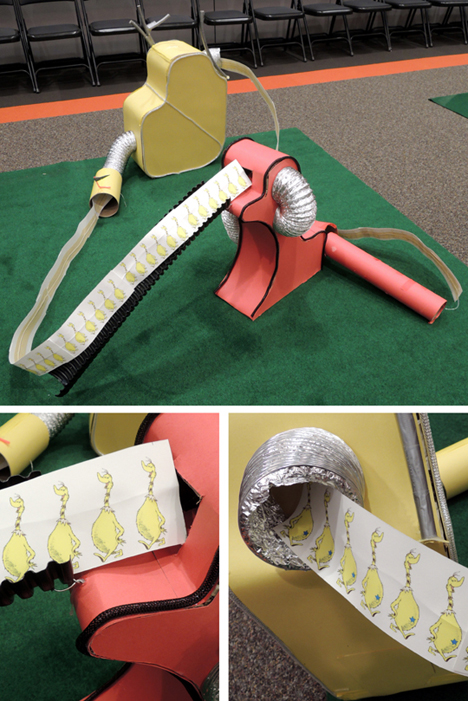
 And look at this! The Sneetches! By the way, if you’re wondering if the Sneetches coming and going from their respective machines have stars or no stars on thars, the answer is YES. Ricky didn’t miss a single detail.
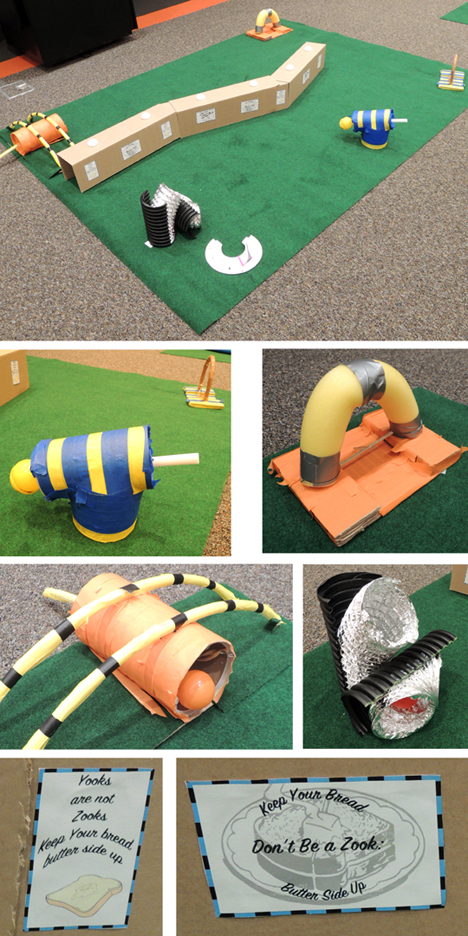
Below is Ricky’s rendition of The Butter Battle Book. His cleverly crafted mechanisms rigged with elastic bands allowed you to launch the ball in different ways. The cardboard wall was plastered with Yook and Zook propaganda posters…
But the total show-stealer was Ricky’s Onceler’s tower from The Lorax, complete with boarded up windows, a swooping wire ladder, fish swimming in ponds, and four gorgeous Truffula trees crafted from tissue and pool noodles.
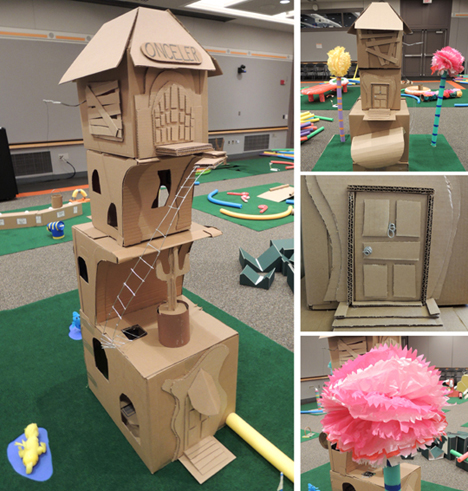
Ready to meet the artistic genius behind these amazing creations?
PART 3: AN INTERVIEW WITH COURSE DESIGNER RICKY FEIG
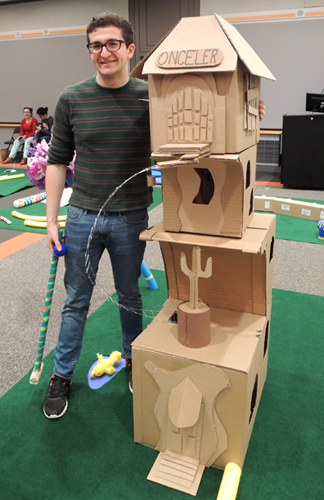
Tell us a little about yourself!
Ever since I was a little kid, I have liked building things. I started off with LEGO’s and train tracks, but in middle school I started doing Odyssey of the Mind (which is a creative problem solving competition for teams of up to seven students). The best part about Odyssey is that there are strict non-interference rules for non-team members (especially parents).
As a result, I built a lot of cardboard and PVC structures (most of which failed). On the other hand I feel like these failures mean that I’ve gained a deeper understanding of how to build things than I would have if I had just been told what was possible. Since starting at Princeton, I’ve become pretty involved in the tech theater community on campus. Though I would not consider myself artistically talented, since I started designing sets for Princeton University’s Theatre Intime, I’ve really enjoyed finding ways to apply my talents to artistic projects.
What was the research and development process for your creations?
I started by just looking through images from all of my favorite Dr. Seuss books to get ideas of what I wanted to build. My image for the course was to base different holes off of different Dr. Seuss books because while Seuss has a distinct drawing style, many of the books have their own unique look (especially the color scheme). Once I selected the books I wanted to recreate I made some sketches of each hole.
In many ways, it was the same initial process I would use for designing a set, except that Dr. Seuss has a strange aversion to right angles. The lack of right angles made it difficult to draft out more detailed designs, and I also knew that I would have a hard time recreating those sketches working with cardboard. So I decided to just dive right in and start building.
Is this the weirdest thing you’ve created?
Fortunately or unfortunately this is not the weirdest thing I’ve created. In Odyssey of the Mind, I built a twenty foot tall giant (which I think you can still find if you Google me). I also hope to continue to out do myself and create weirder and weirder things as I get older.
What was the greatest challenge?
The greatest challenge I faced was creating irregular 3 dimensional shapes out of cardboard. The construction method for the Sneetches holes and the Onceler tower were not techniques that I had used before. What I ended up doing was cutting out two irregular faces and creating an interior column to hold them at a fixed distance. Then I curved cardboard around strips around the edge to create a seal container.
Do you have a favorite hole on the course?
It’s hard to pick a favorite hole. I think the Onceler hole came out closest to how I pictured it looking, and was the most physically impressive because of how big the tower was.
What was it like to see kids play your course?
It was a lot of fun to watch people play the course. This is a little evil of me, but I really enjoyed how much trouble parents had with the Oh, The Place’s You’ll Go hole. That was the first hole I built and I only got the ball in the hole once, even when it was perfectly set up. There were a couple parents trying to up their kids golf game on that hole, and I really enjoyed knowing that I had them beat.
I also enjoyed watching kids have fun and be creative with the course. At the end some of the kids had figured out how to build some really cool structures with the pool noodles. This really impressed me because I had more or less given up on the noodles as an impossible material to work with.
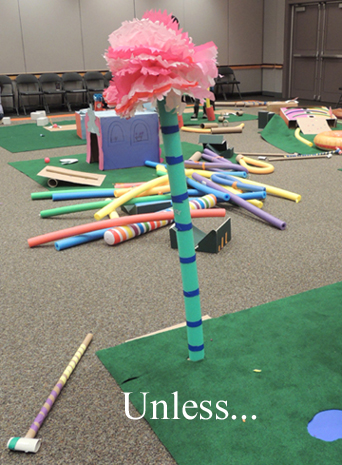
In conclusion, this event was a lot of work, but it was AWESOME. The room was a total frenzy of creative activity for 4 hours. All the holes took a serious beating and eventually succumbed to the crowds. Especially the Trufulla trees. However! At the end of the day, there was one Trufulla tree still standing. And so, I will end this post with a final nod to Seuss…

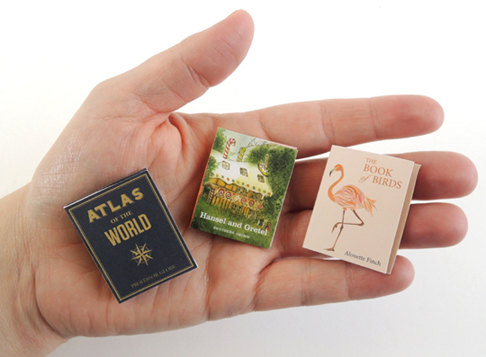
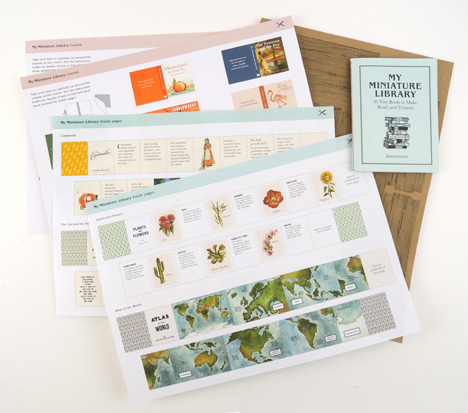
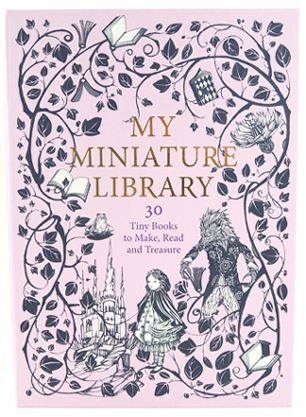 The packaging for My Miniature Library is a delightful cardboard box in the shape of a book. When you open the box, you are greeted with a small instruction booklet, 18 sheets of books covers and pages, and a cardboard punch-out bookshelf.
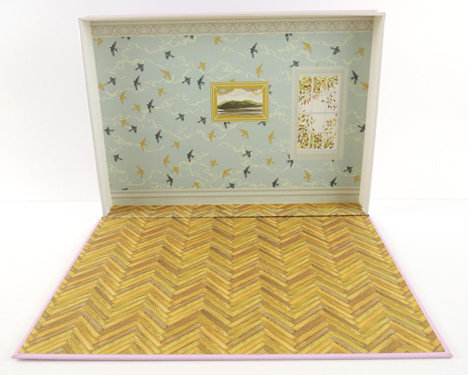
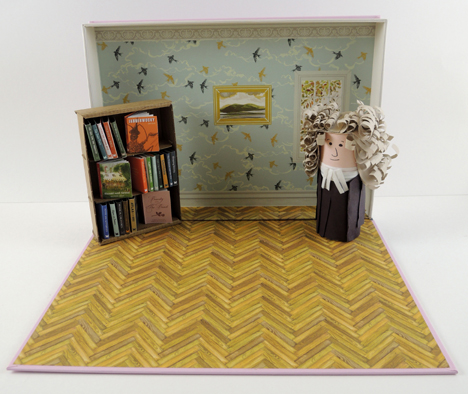
 The 9″ x 12″ box containing the kit (and this is really cool) is also the set of the library. Prop it up on its side, and it becomes your library, complete with chevron hardwood floors, birds in flight wallpaper, and a window framed with fall leaves. When you are done playing with your miniature library, you simply pack everything inside the box, close the lid, and slide the kit on a shelf until next time!
 The kit contains the makings for 30 tiny books: 20 pre-written (both fiction and non-fiction), 8 books with title prompts you can author yourself, and 2 completely blank books for whatever topic you desire. Here’s a set of the pre-printed book sheets (which were primarily fairy tales):
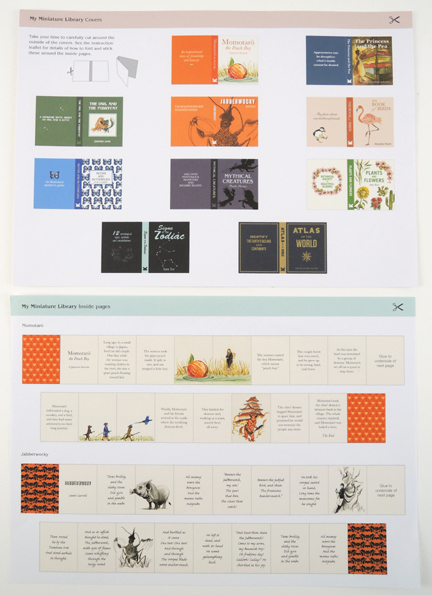 And here’s a set of the design-your-own sheets:
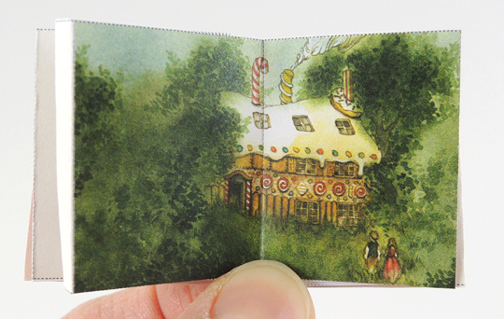
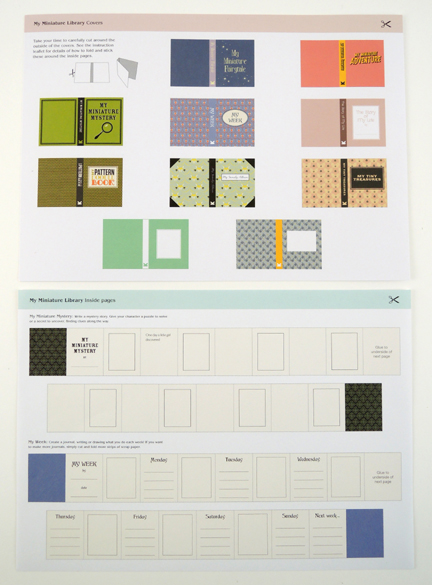 Generally, the instructions are very clear, concise, and easy to follow. Especially the cardboard bookshelf. The books are where I started to run into some trouble. To create a miniature book, you first cut out the 2 strips that become the book pages, and the cover of the book. Then you carefully accordion-fold the book pages together, and glue them inside the front and back of the book’s cover.
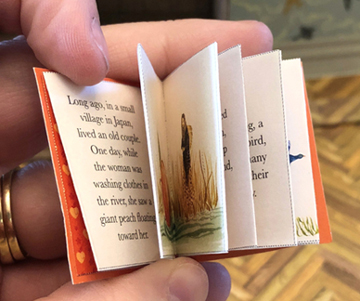 You have to carefully cut the 2 page strips in order to not lose any of the text or images. You also have to cut out the cover. For 30 books, that’s 90 pieces of paper to cut. That’s a lot of cutting.
 And here is the finished library, bookshelf and all. We placed my toilet paper tube portrait of Johnathan Swift (who you first met
  However, I disagree with the recommended age of 6+. I think children 10+ are better suited for the complicated cutting and folding to put these books together. With an estimated 3 hours to craft all 30 books (and that’s after all the cutting is done), I can imagine many children would give up well before all of the books are finished. Children under 10 might also have trouble writing small enough for the design-your-own books portion of the kit. Still, there’s no denying the awesomeness of your very own library with readable books and gorgeous hardwood floors!
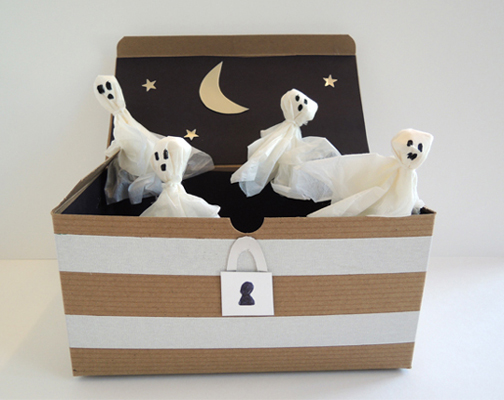
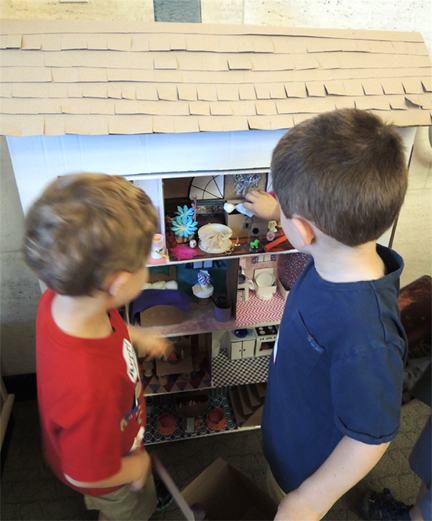
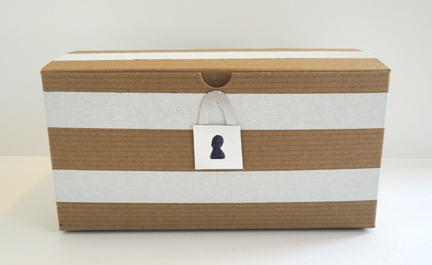
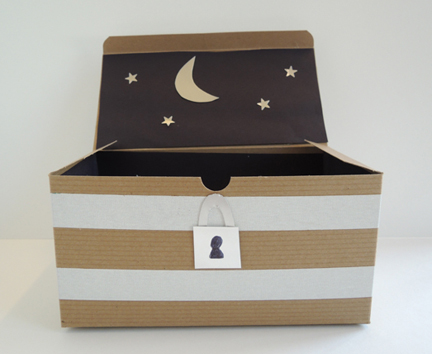
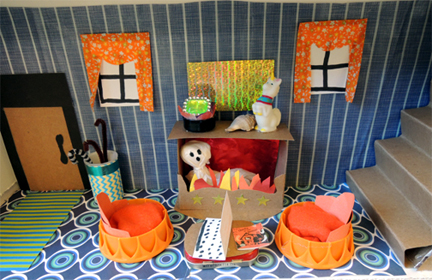
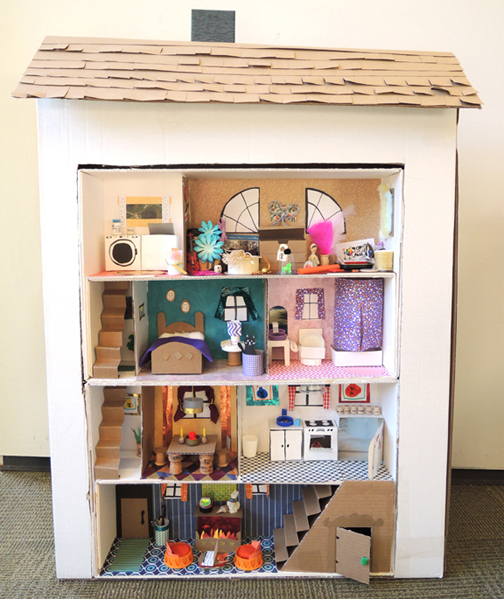 I hid each kid’s ghosts in various locations in the dollhouse and then invited him/her to find them and tuck them back in his/her ghost box!