Need a delicious summer snack that would absolutely delight Winnie-the-Pooh? Today, we’re testing Nordic Ware’s beehive mini cakelet pan with Melanie Zhang, our summer intern from the Philadelphia Area Consortium of Special Collections Libraries (PACSCL). Not only is she a history dynamo, she is also a very talented baker. Stay tuned for our interview with her at the end of this post! Take it away Melanie!
Hi friends! My name is Melanie and I love baking! As such, when Dr. Dana offered me the opportunity to bake up some honey cakes a la Winnie-the-Pooh—complete with ADORABLE beehive tins—I was overjoyed!
But I’m going to need you to be very gentle with me. I am choosing to be very vulnerable and brave. Generally, I pride myself on being a decent baker. A good baker, even. But these honey cakes… Well. You’ll soon understand!
In honor of Winnie-the-Pooh’s love for “hunny” I decided to make my little beehive cakes with plenty of honey in the batter. I followed a recipe from InLiterature, which has a great video to follow along with. However, I will note that the written recipe is missing something from its ingredients list—six teaspoons of brown sugar—so that is something to watch out for! In addition, I divided the recipe quantities by three to avoid having entirely too many honey cakes and summoning Winnie-the-Pooh himself.
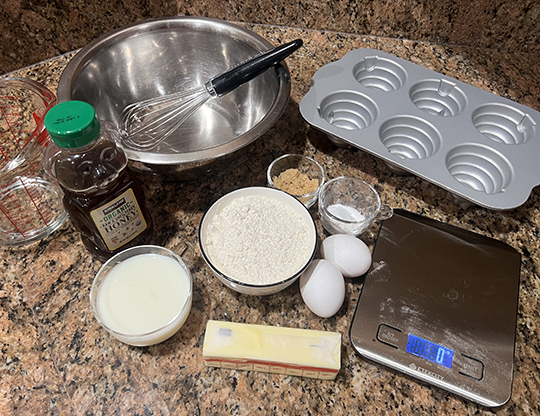
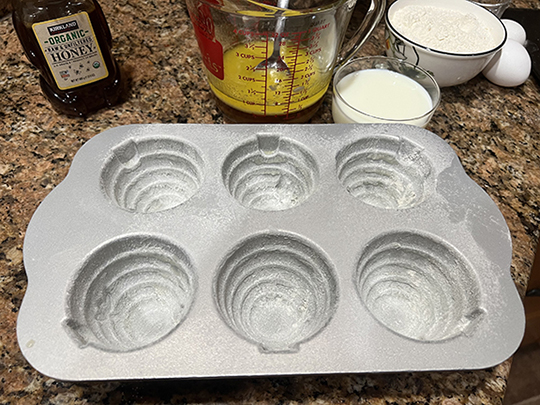
Another thing to watch out for is how you grease your tin! Tins like this one are absolutely adorable, but also a nightmare if not greased properly. Your batter will stick into all the little crannies, and your cake might get stuck or break. Whoever gets the unfortunate job of tin-cleaning will not have an enjoyable time. As suggested in the recipe, I brushed my tin with melted butter and then sifted some flour on top to get a nice non-stick coating.
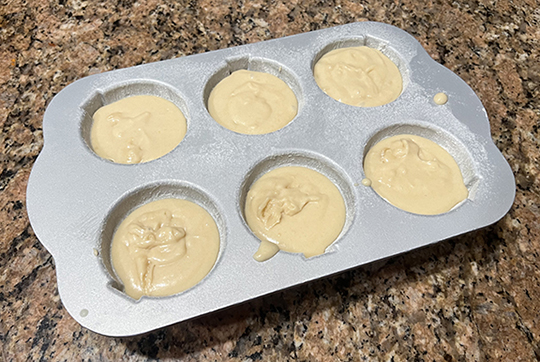
Here’s my batter, poured into the tin! She looked beautiful, and smelled delicious.
Coming out of the oven, these cakes were very promising. They rose beautifully and I was so excited to take them out of the pan after cooling.
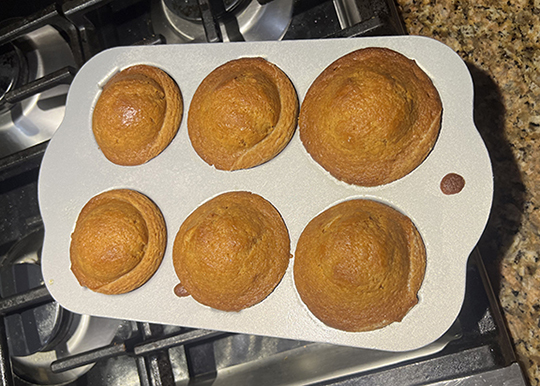
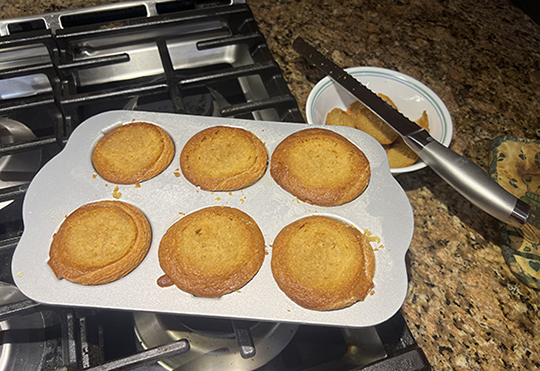
Here they are with their little dome hats trimmed off. Look at that crumb! Look at that beautiful golden color!
Unfortunately, my happiness would not last much longer. As I flipped over my tin, I was delighted to see that the cakes popped out beautifully and didn’t stick at all. But as for how they looked… I was a little less delighted.
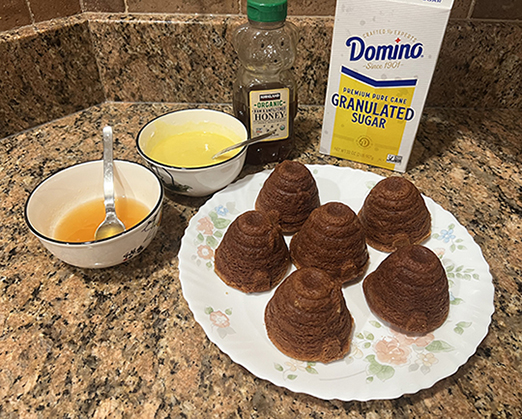
Winnie-the-Pooh cakes? More like Winnie-the-Poop cakes. Whoops. The little bear face on my bottle of honey looked like he was mocking me. Maybe he was reproaching me for my sins.
I did a little bit of research, and as it turns out, honey tends to make cake batters brown quite easily. Makes for tasty cakes, of course, but not the golden beehives that I was hoping for. But I wasn’t going to give up that easily! “Oh, bother!” I said, a la Winnie-the-Pooh, then rolled up my sleeves for another round of baking.
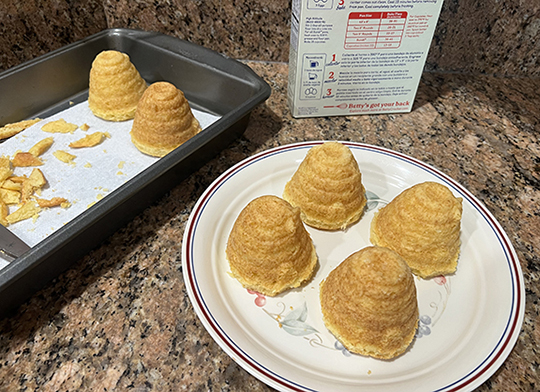
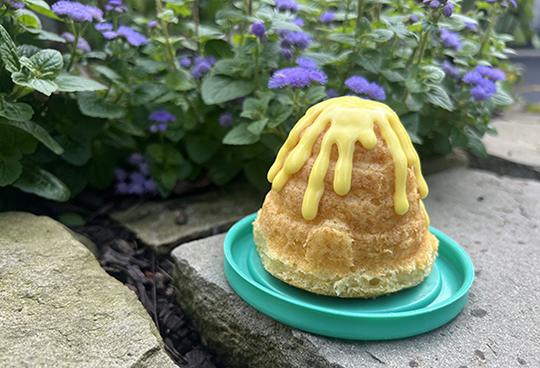
For this second try, I decided on more of a faux-honey cake instead. I used a box of yellow cake mix, and I am glad to say—they turned out golden and beautiful and exactly how I’d hoped! Because these cakes didn’t have any honey in the batter, I heated a couple spoons of honey in the microwave with a squeeze of lemon juice. Then I spooned this syrup over the cakes as they cooled in the pan. Now our beehives had some honey in there!
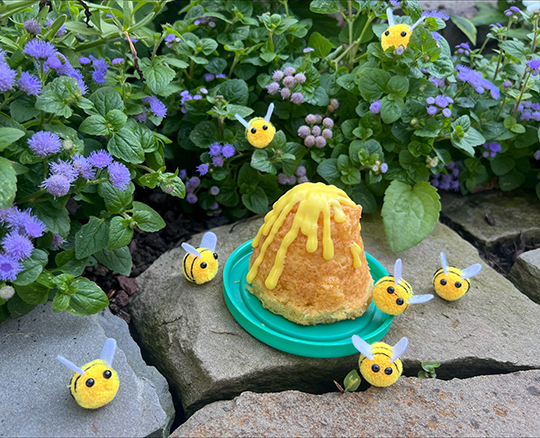
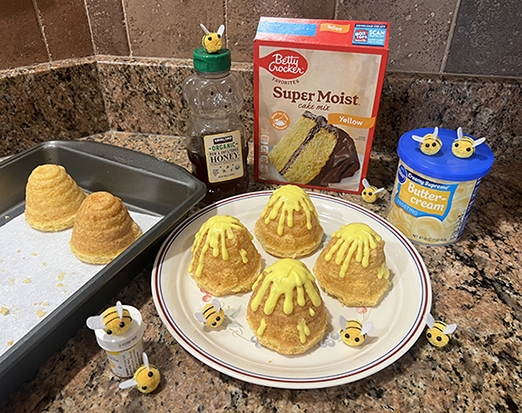
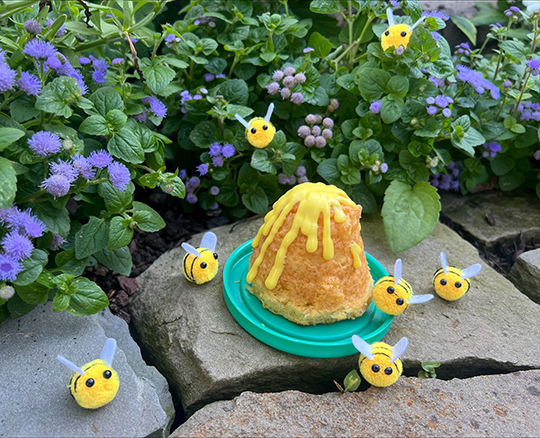
For some honey dribbles, I used canned buttercream frosting that I warmed slightly in the microwave. This gives it a slightly more liquid consistency, so you can spoon it on your cakes and it’ll flow down the sides like honey! I added a little food coloring to get a more yellow color. Some bees joined in on the fun too!
It was a beautiful day outside, so I brought my favorite honey cake out on a little field trip! Here she is in my neighbor’s BEAUTIFUL flower garden—thanks Jan!
Aaaand the bees are back. I’d better run!
The honey cakes were quite delicious – very moist and cake-y with deep rich notes of honey! But before I started snacking, I caught up with Melanie to ask her a few questions!
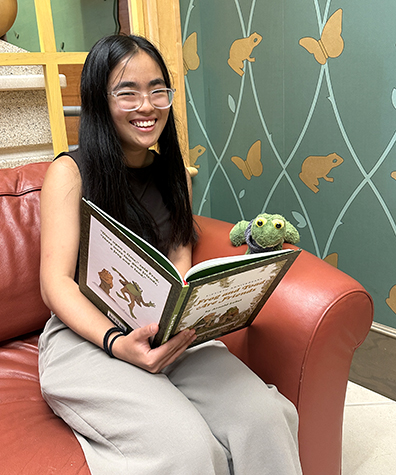
Hi! Tell us a little about yourself!
My name is Melanie and I’m a student at NYU studying History! It’s a lot of fun—I love learning random new historical facts and being nosy and reading antique gossip. In particular, I am obsessed with the Victorians as well as the medieval Catholic church and food history, among other subjects. I’m also minoring in English and dabble in a bit of creative writing. Outside of school I’m a big fan of going to museums and ogling old books, baking cookies, and petting my roommates’ adorable cats.
When did you first start seriously cooking and baking?
I would say high school! I started baking when I was around 9 or 10, but for a while it was just a lot of box cakes and cookies. I started baking from scratch my freshman year and trying out more baked goods like macarons and cream puffs. Of course, I’ll still use a box mix in a pinch, and to be honest, brownies sometimes taste better from the box. With cooking, I’ve been cooking for as long as I can remember—at one point I was seven or eight and my sister and I were tormenting my mom by repeatedly scrambling eggs while she was on the phone. But I definitely got more serious with it in high school as well, and nowadays one of my favorite things to do is have friends over for tea time or a little dinner party.
We heard a rumor that you rode NJ Transit with a roast duck in your backpack. True or false?
Fortunately, it was in a separate bag, so it couldn’t accidentally leak on my books! That bag also contained two pounds of lychees and all my clothes for the weekend though. Maybe not my best life choice, but the roast duck made it across two state lines safely, and there was much rejoicing!
Kitchen fails are not (ahem!) entirely uncommon on this blog…what was the most challenging thing about these honey cakes?
Beyond Maillard reaction mishaps, the hardest thing with these honey cakes was stopping myself from trying to take them out of the pan too early. I’m very impatient and I hate having to wait for things to cool. However, if you poke at baked goods and try to work with them before they’re ready, they will tear and then it will be very sad. With these cakes, I was very intently watching them with my hands behind my back to fend off temptation.
Tell us one awesome, totally random fact.
The word “zucchini” is actually the plural form of the singular word “zucchino” in Italian. I learned this when I was studying abroad, and the idea of eating a singular “zucchino” haunts me to this day. I wouldn’t say this is necessarily an awesome fact, but it is very random.
What’s next for you after summer ends?
This fall I will be a senior in college, and I’ll be back in New York City with the pigeons! Unfortunately, I do not get to see any stars there—it’s way too bright out at night—but on the bright side (haha, get it?) I’m writing my thesis on Victorian food culture, which will be fun!
Photos courtesy of Melanie Zhang

