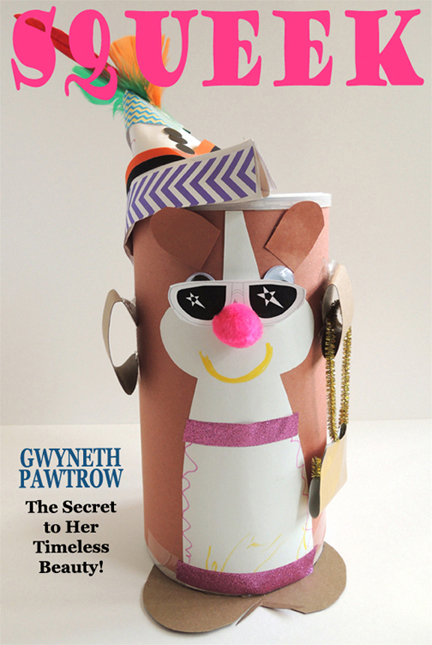
Furry & Fabulous

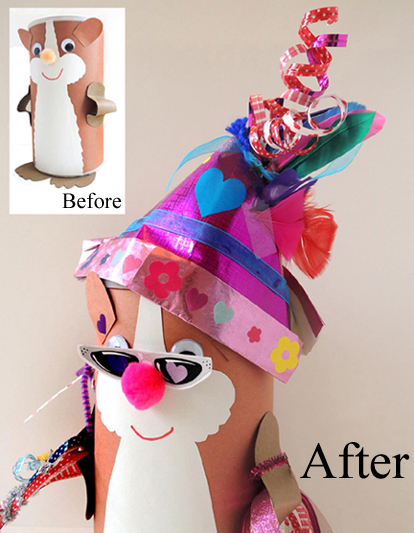
furry and fabulousWhy be a hamster when you can be…a GLAMster! With the proper hat, accessories, and a stunning pair of sunglasses, become a hamster who is sure to get noticed.

We read Glamsters, written by Elizabeth Cody Kimmel and illustrated by Jackie Urbanovic (Disney-Hyperion, 2008). It’s the big annual sale at Hamster World, and Harriet the hamster is worried that she and her sister Patricia won’t get noticed. When Harriet spots a magazine article about “glamsters” lining the bottom of her cage, she thinks she’s found the solution. She transforms herself with “high gloss-and-glo fur volumizer,” a new hat, and funky whisker extensions. Yes, Harriet’s feeling pretty glamorous until Patricia wakes up from a nap, sees Harriet, and screams. Definitely NOT the reaction Harriet was expecting. Patricia helps Harriet get back to normal and, best of all, the two hamsters get noticed by a lovely new owner. Just by being themselves.

You’ll need:

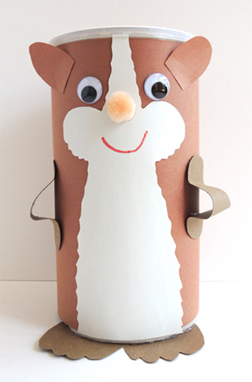
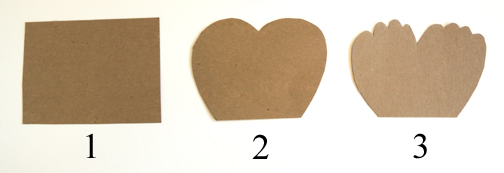
hamsterWe’ll begin with the hamster. Wrap the outside of a large oatmeal container with brown construction paper. Cut the feet from a square of tagboard (or brown poster board). I cut little toes as well.

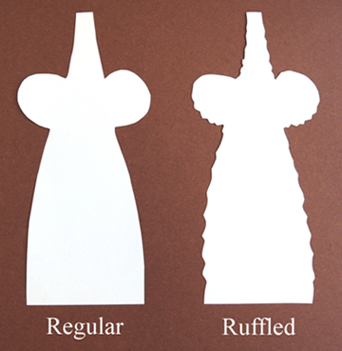
hamster feetHot glue the feet to the bottom of the oatmeal container. Next, cut the hamster’s bib from the template (the bib is the white “fur” that forms the hamster’s tummy, cheeks, and forehead). You can leave the sides of the bib just as they are in the template, or you can use scissors to cut ruffles in the sides to resemble fur.

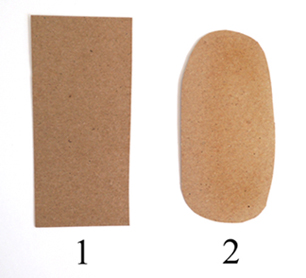
hamster bib rufflesHot glue (or tape) the bib to the front of the oatmeal container. Arms are next! The arms are  2 tagboard rectangles that are rounded at each end.

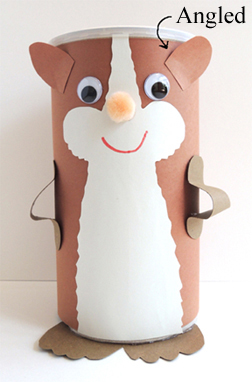
hamster armsAttach the arms to the body with hot glue (or tape). Hot glue on a pom-pom nose and a pair of wiggle eyes. Use markers to add a smile. Finally, use brown construction paper to make a pair of ears, and then hot glue (or tape) them on. You’ll notice that the ears are attached on the front of the container, above the eyes, and at a slight angle. This is so the hamster’s ears won’t interfere with the hat.

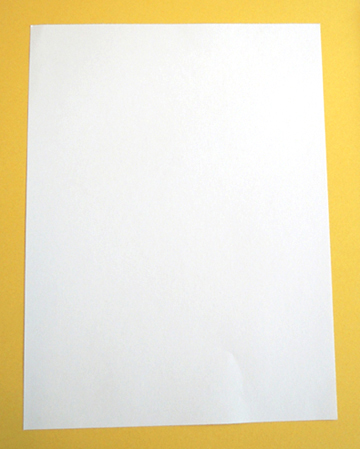
angled ear Your hamster is finished, now for some glamorous accessories! For the hat, I prepped a bunch of simple white origami hats. Start with a 9″ x 12″ sheet of construction paper:

hat step 1

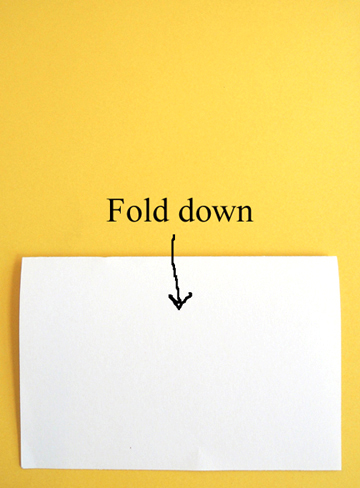
Fold the paper in half downwards

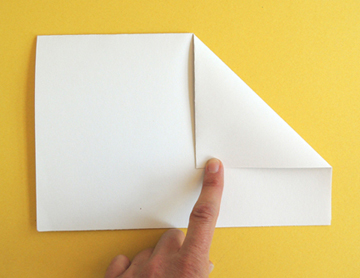
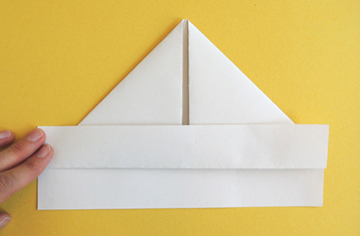
hat step 2Now fold the upper right-hand corner towards the middle of the paper like so:

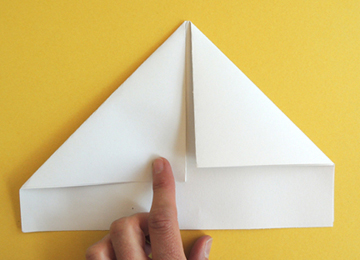
hat step 3Then repeat with the upper left-hand corner.

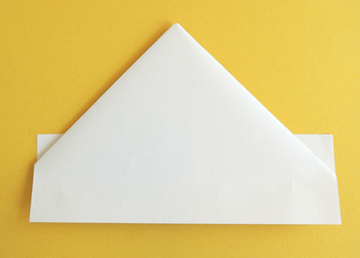
hat step 4Fold one side of the bottom up

hat step 5Then flip the hat over…

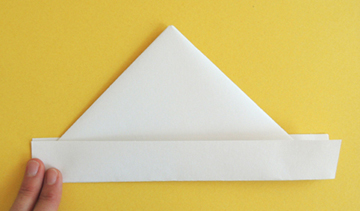
hat step 6And fold the remaining side up at the bottom.

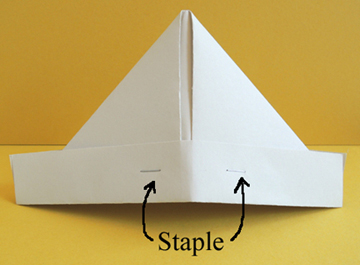
hat step 7Flip the hat back over, open it at the bottom, and secure it with 2 staples.

hat step 8The hat is ready, let the hamster makeover commence! I offered patterned paper, embossed foil paper, sparkle stems, craft-ties, heart stickers, small feathers, and dot stickers, as well as the Bling Bin. I also tested some glitter tape out on this project. I was dubious about its claim to not shed glitter, but it actually wasn’t too bad (see my issue with glitter in the FAQs).

Kids make hats, necklaces, belts, purses, ties, briefcases, etc. The final touch, however, was a pair of sunglasses. Color and cut a pair from the template, and perch them on your hamster’s pom-pom nose. Perfect dahling.

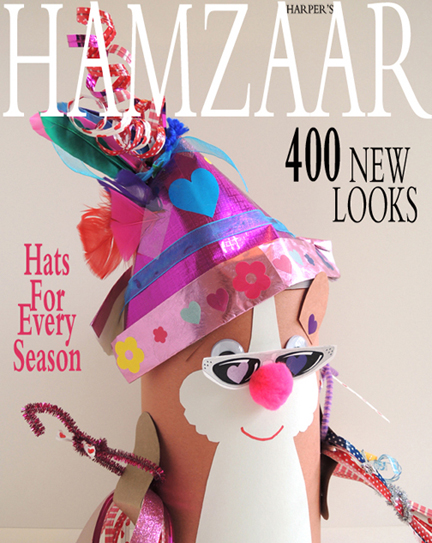
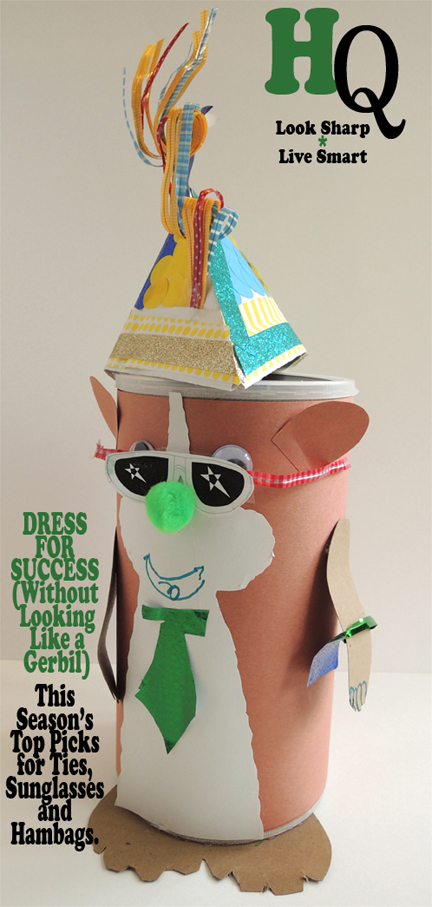
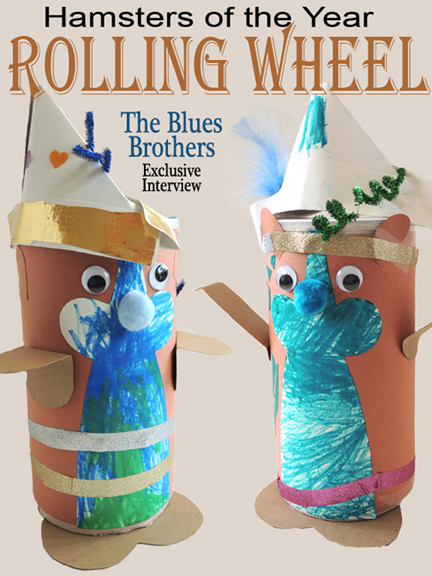
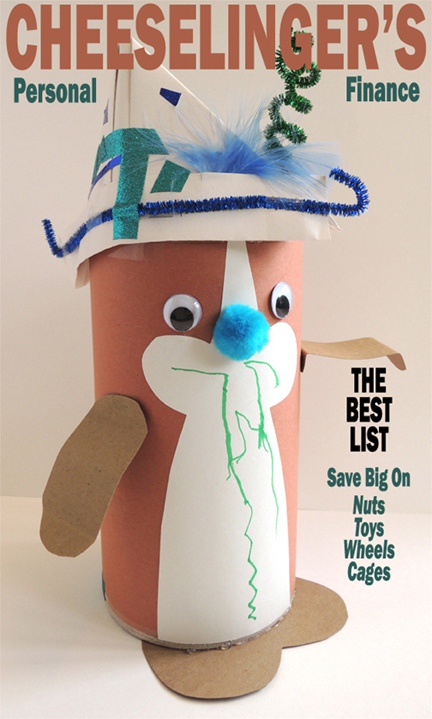
As you can imagine, we had some super glamorous hamsters at story time. I captured a few quick poses in my photo studio, and Katie whipped up some exclusive magazine covers…

Harper's HamzaarHAMQRolling WheelGood HamsterkeepingCheeselingersSqueek


Sneak Peek: Cinderella Story

dress on stairsCinderella’s fairy godmother managed to do wonders with rags, rats, mice, lizards and a pumpkin. Local high school artist Vicky Gebert produced something just as miraculous with plastic bags, forks, chicken wire, bubble wrap, and drinking straws!

bodiceWorking over the course of 25 hours, Vicky used wire cutters, hot glue, and scissors to sculpt the dress into existence. In total, she used 5 feet of bubble wrap, 30 trashcan liners, 60 straws, 100 t-shirt bags, 25 forks, 25 feet of blue cellophane lace, 1 Styrofoam box, and 5 feet of chicken wire.

This dress is the centerpiece of a “Cinderella Story” program we’ll be hosting in April. A slew of young stylists (ages 3 – 10) will design and model their own dresses constructed of different materials. In addition to exhibiting her creation, Vicky will be on hand at the program to answer questions and lend her “fairy godmother” artistic talents. I’ll definitely post pictures in April. But I couldn’t resist a little sneak peek today…

dress in archPhotos by Minjie Chen

Good Hair Day

wig montageBecause if you don’t look good…we don’t look good.

We read The Hair Scare by Jeffrey Fisher (Bloomsbury Children’s Books, 2006). Radbert has a talent for cutting hair, and his styles are simply amazing. Soon, the king comes knocking, demanding the best haircut of all time. Radbert delivers, but it is NOT to the king’s liking. He royally decrees that there will be no more haircuts, triggering a slew of shaggy dos, unkempt tresses, and general hair sadness. The king once again seeks out Radbert. Once again he asks for a haircut. But when the haircut is revealed and the moment of truth arrives, the haircut takes matters into its own hands!

You’ll need:

  • 1 plastic top hat (I bought mine from Oriental Trading Company).
  • A selection of 12″ x 18″ construction paper
  • A selection of 9″ x 12″ construction paper
  • A selection of craft ties
  • A selection of sparkle stems
  • A selection of foil star stickers (optional)
  • A selection of ribbon
  • Markers and unsharpened pencils for curling.
  • Scissors and tape for construction

We prepped the 12″ x 18″ construction paper in advance by fringing it lengthwise to create long locks. We used “natural” hair colors: black, brown, red and yellow. For more daring dos, I stocked up on smaller sheets of construction paper in multiple colors.

In addition to the construction paper, I offered craft ties, sparkle stems, ribbons, and star stickers to add flair. The craft ties worked especially well as barrettes and headbands. I also brought out the Bling Bin for extra touches.

To make your hair more wig-like, I would recommend cutting the brim off your plastic hat. This does, however, make it more wobbly. If the wobble is going to be a problem, leave the brim on (or wait until the very end to cut it off).

hat brimsBefore we got started the project, I gave the kids four quick “style” tutorials. Namely, the hair poof, the mohawk, the crimp & curl, and the crown.

1) THE HAIR POOF

Fringe a length of construction paper, and tape it to the front of the hat.

hair poof 1Bunch the ends together at the top…

hair poof 2Then tape it on the top of the hat.

hair poof 3Your hair poof is complete!

finished hair poof2) THE MOHAWK

Fringe two pieces of construction paper (I used contrasting colors to make it easier to see in the example).

mohawk step 1Tab the bottom of each fringe, then tape the tab to the top of the hat. The tab of both fringes should be pointing outward, causing the fringes to lean in and support each other.

mohawk step 2Finish by crimping the hair!

mohawk finished3) THE CRIMP & CURL

To add body and texture, employ the crimp & curl! Basically, this involves folding or curling the fringe strands. An accordion fold (i.e. folding the paper back and forth in squares) produces a nice crimp. Curls are produced by wrapping the fringe around a marker or pencil. Markers create long curls, pencils create tight curls.

crimp & curl4) THE CROWN

Since there was a king in the book, I offered a construction paper crown option with large gemstones available through the magic of hot glue. Attach optional mustaches, beards, and goatees to face with foam mounting tape.

model 4After the tutorials concluded, the kids took off running…or styling really. Check out some of these amazing dos!

The sleek “Band with Bows”

hairstyle 1The “Side Spider Surprise”

hairstyle 2The “Absolutely Adorable Duo”

hairstyle 3The “Crimped and Casual” (very popular with shark and dragon wranglers this year).

hairstyle 4The “Little Mermaid”

hairstyle 5The “Stacked Sparkler”

hairstyle 6The “Straight Up Sassy”

hairstyle 9The “Gravity-Defying Ponytail” and “King Gleaming Locks”

hairstyle 8The “Rapunzel Updo”

hairstyle 7