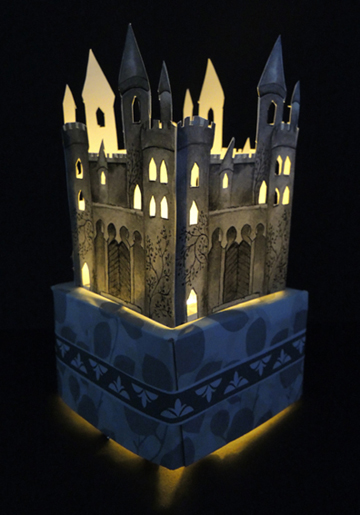
 On the market for some truly radiant real estate? Perhaps this elegant castle votive will do! This simple, but way cool project was part of To Be Continued, our story time for kids ages 6-8.
We read Castle Hangnail by Ursula Vernon (Puffin, 2015). Castle Hangnail isn’t the most ideal evil castle. For starters, it’s situated on grassy hills peppered with flowers (as opposed to, say, a wind-blasted cliff or a lonely moor). But an ever bigger issue is that currently, it doesn’t have a resident Evil Master or Mistress. Soon, it will be magically decommissioned and shut down for good. Desperate, the castle’s faithful minions send out a final round of invitations. They get just one response. A 12 year-old Wicked Witch named Eudaimonia. Or at least the girl says her name is Eudaimonia. In reality, her name is Molly, and she is a maybe-not-so-wicked witch who has told some whopper lies to her parents in order to fill the castle’s vacancy. Molly quickly falls in love with Hangnail Castle and the minions. In fact, everything appears to be working out beautifully – until the real Eudaimonia shows up. Will Molly and her friends be able to win Castle Hangnail back from the Evil Sorceress?
A shadow spell plays an important role in the book, so I wanted to do a project that involved castles, light, and shadow. Also, we had only 20 minutes at the program to complete the project, so I needed something simple. This castle votive project fit the bill perfectly!
 You’ll need:
- 2 castle template pages (more on this below), printed on 8.5″ x 11″ card stock
- An x-acto knife
- A small box with a window in the lid – the top of a small tissue box works great!
- 1 large square of tin foil (mine was 12″ x12″)
- 2 castle borders template pages, printed on 8.5″ x 14″ paper
- Scissors and glue for construction
- Metallic markers (optional)
- 1 LED votive
- Hot glue
Usually, I draw the project templates myself. But while researching the project, Marissa discovered this beautiful little castle votive by artist Lova Blåvarg. Lova’s castle is in color, but we thought it looked more Gothic when we printed it in black and white. The template and instructions for making Lova’s castle can be found here.
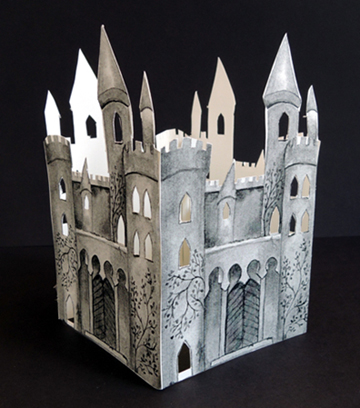
Castle by Lova Blåvarg for Sweet Paul magazine
The most time consuming part of the project is cutting all the little castle windows out with an x-acto knife. Marissa, the champion of all things x-acto, printed, cut, and hot glued 16 castles in preparation for the program. That’s 64 castle panels and 640 tiny little windows! Daaaaang.
You could make the castle, drop in the LED votive, and stop there. But I wanted to add a base to give the project a little more heft. I used these window boxes from Discount School Supply. The boxes are nice and sturdy, but a set of 12 costs $17, which can get pricey.
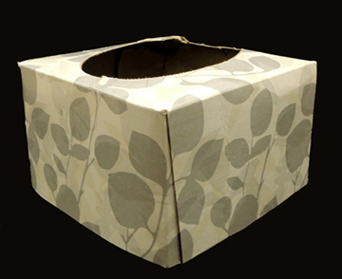
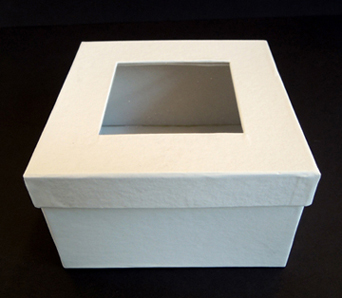 A cheaper option is to use the top of a small tissue box. Cut approximately 2.5″ off the bottom of the box. If you don’t like the pattern, cover it with your choice of construction paper. Remove any plastic from around the mouth of the box, and your base is ready to go!
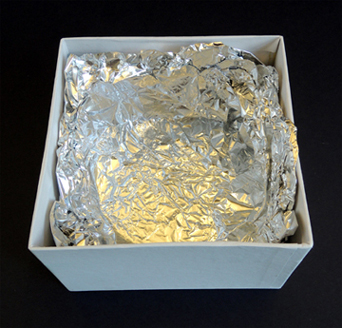
 Line the inside of the box with a square of tin foil (if you’re using a tissue box, you’ll need to secure the tin foil in place with tape and peel it back from the mouth of the box).
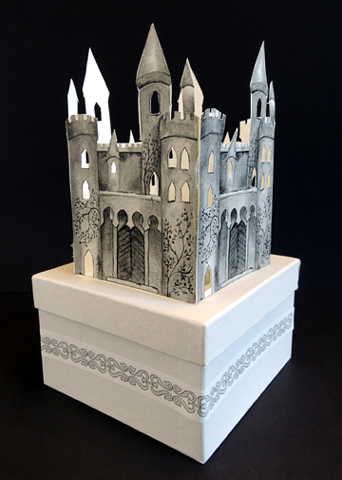
 Next, print the castle borders template and select your favorites. Glue the borders to the sides of the box, Then hot glue the castle to the top of the box. Done! Here’s the finished window box version:
 And here’s the finished tissue box version:
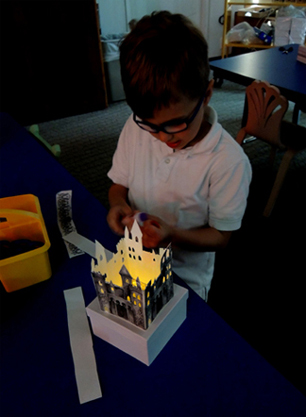
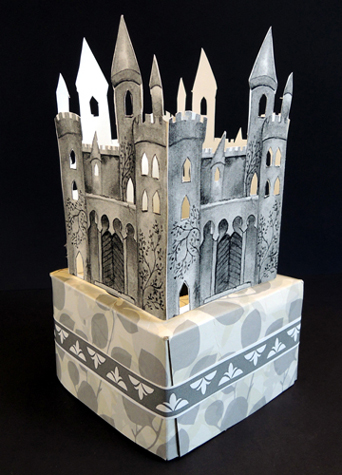 We offered the kids metallic markers for additional decorating, but this step is totally optional. Finally, drop an LED votive into the box and bask in the glow! Here’s the illuminated window box version:
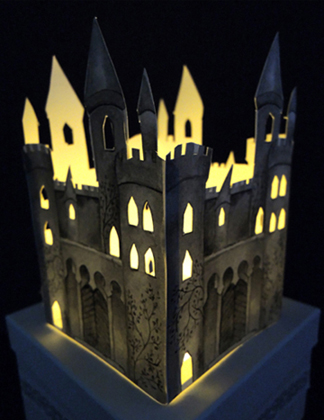
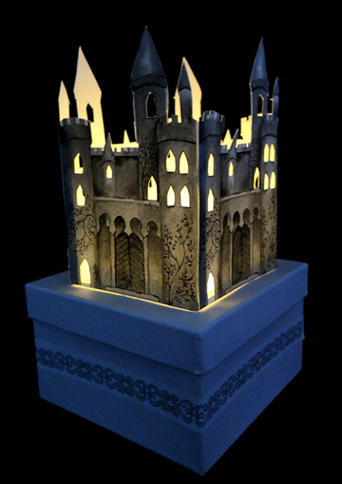 And here’s the tissue box version! The halo of light coming out of the bottom is rather cool, don’t you think? In fact, I believe I like the tissue box version better than the more expensive window box version.
 And speaking of glowing, when we did the project for the program, I darkened the gallery, turned out the lights, and had the kids create by “candlelight.” The effect was very cozy actually. Ah, home sweet castle!
