 What crafter, artist, or DIYer doesn’t dream of making a living off their creativity? From the women who invented those awesome fabric snowballs to the vast empire of Young House Love, you always wonder how they managed to turn fun time into full time.
Today, we are delighted to introduce Alex Wer, a.k.a. The Pumpkin Geek. It all started in 2009, when Alex’s wife asked him to carve an artificial pumpkin for her office’s open house. It was a huge hit, and orders – from company logos to children’s portraits – started rapidly accruing. Alex’s carving talents and his expansion to Comic Cons earned him a Geekie Award in 2013. In 2017, he left his day job to be a full time pumpkin carver.
Katie caught up with Alex to ask him about his incredible creative journey that we’re NOT envious of. Well, maybe we’re a little envious. OK…we’re totally envious.
You started carving pumpkins as a favor as your wife, and now you do it full time. Did you ever imagine your career taking this turn?
Of course I never imagined it! At the beginning of what I call my “orange obsession,” it was just – how detailed can I get? Or, how photo realistic can I get? Then, my wife and I were talking and I said, “If I do a Comic Con instead of just waiting for people to find me, I’m going to be in front of tens of thousands of people. That will be a true test to see if anybody is really interested in what I do.” That conversation sparked what is now my full time job.
 How many Comic Cons do you attend each year?
I do two Comic Cons a month. I just came back from Baltimore and I think that was my 18th or 19th convention this year. I’ll be in Atlanta at the Walking Dead convention the last weekend of October. That’s my last convention for 2018, but I’ll start again in January.
What tools you use when you carve the pumpkins?
I use a Dremel. I basically have two Dremels with two different bits, so I don’t have to change them. I use a standard drill bit for cutting out things and then I use a shading and graving tool to flatten areas of the face when I need to smooth it out. It’s pretty much just two bits.
Can you describe the process of carving a pumpkin from start to finish?
Let’s say someone wants an Indiana Jones pumpkin. Unless they have a specific image they want me to use, I look online for Indiana Jones images that I think might work and will look good. Once I find the image, I create a template by enlarging it and stenciling it onto the pumpkin. Once it’s drawn onto the pumpkin, I start carving.
 What happens when you make a mistake?
I’ve been doing this long enough to tend not make mistakes. I tell people to think of me as a tattoo artist. Tattoo artists, once they place the image template on your skin, are just filling in the gaps. I’m basically tracing with the drill.
How long does it take to finish a carving?
The drawing and the carving portions – probably about 4 hours. The online research portion can be 5 minutes, to 5 or 10 hours. There are some images and some characters that are very hard to find, and sometimes finding the image takes me just as long, or longer, as the physical carving portion.
 Tell me about your five layer carving process.
If you look at my carved pumpkins, the brightest, almost white, portion is cut all the way through. That’s the first layer. Then there are three graded layers coming closer to the surface. This is where I define cheekbones, eyebrows, hair texture, things like that. Then there’s the fifth layer, which is untouched for dark eyes, black hair.
What is your most popular design?
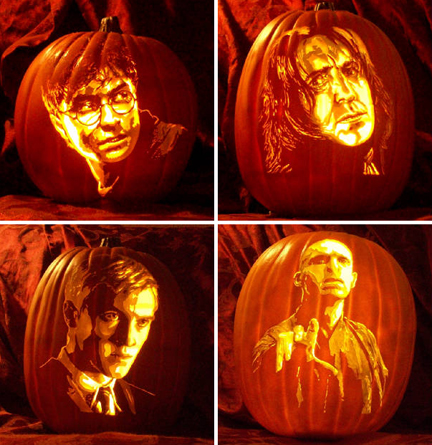
People are really shocked when they find out about my number one design. Number 3 is Beetlejuice, which makes sense. Number 2 is Harry Potter, which also makes a lot of sense because in the Comic Con world, Harry Potter is popular with both adults and kids.
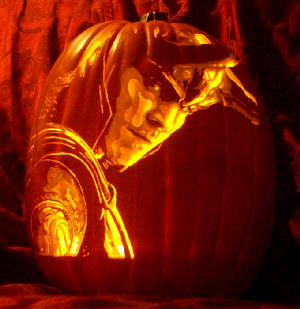
Number 1 is Tom Hiddleston’s Loki from The Avengers. I did conventions in Seattle and Chicago and he was at both conventions. I had no idea he had such a fan base! There were women who traveled from Indonesia, Australia, the UK, just to meet him! In one day, I got 17 orders for Loki. Before that, I don’t think I’ve ever had 2 orders for 1 character in the same weekend.
 What locations have your pumpkins shipped to?
Obviously anywhere in the US. I’ve also shipped to Hawai’i, Canada, Germany, and the UK. I just shipped 2 to London. I’ve shipped pumpkins to 7 or 8 different countries.
Are you on a first name basis with employees at your local craft store?
Yes, I am! Everybody there knows me, and have known me for about 8 years.
What’s your favorite pumpkin?
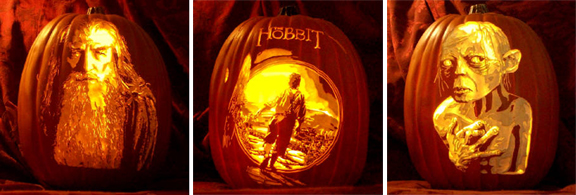
It’s hard for me to say! I enjoy projects of fandoms that I’m not necessarily familiar with. For example, I had heard of Doctor Who, but once I started doing conventions I realized Doctor Who has a big Comic Con and geek fandom. So it’s always fun for me to do something that’s outside of my fandom. And, of course, Star Wars and Spiderman were things that I grew up with. So I love doing those pumpkins.
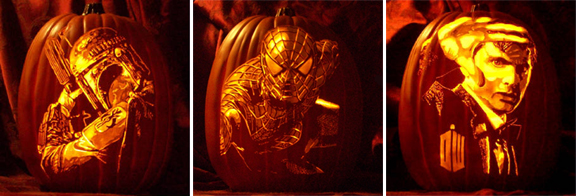
Images courtesy of The Pumpkin Geek

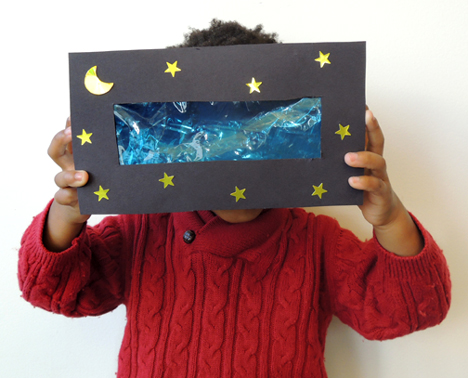 Change a familiar landscape to a nocturnal world full of shadow and intrigue. It’s our Snap Story Time version of night vision googles, ready to go in a few simple steps!
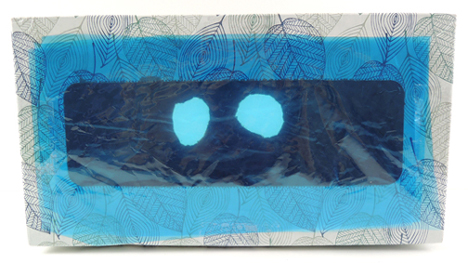
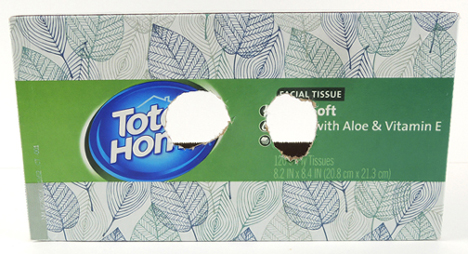 Then tape rectangles of blue cellophane over the opening of the tissue box. We did 3 layers of cellophane to darken things down quite a bit.
 We added a black poster board frame to the tissue box with a foil moon and stars as well:
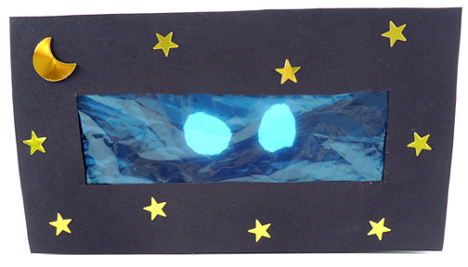 To operate, place the goggles up to your eyes and watch as your familiar space is transformed to a cool blue night world!
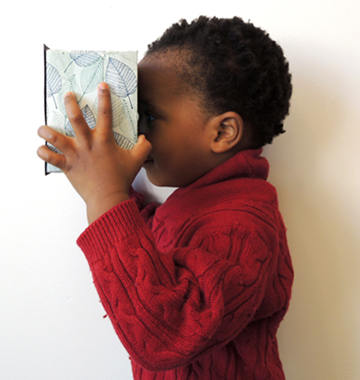
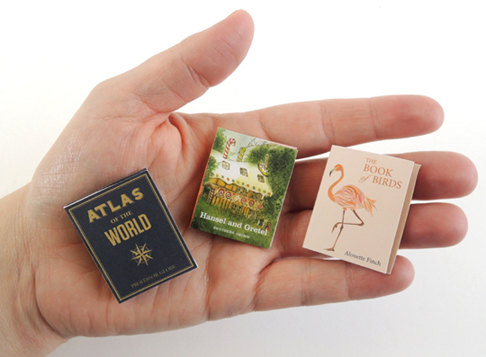
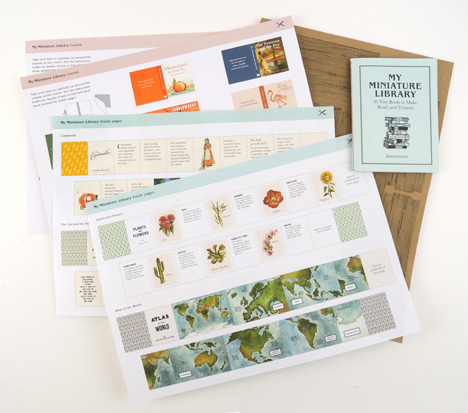
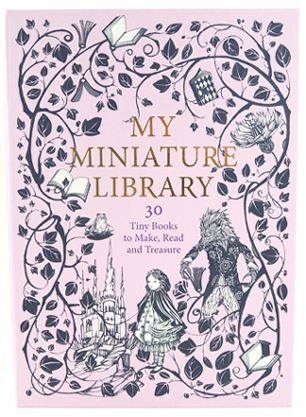 The packaging for My Miniature Library is a delightful cardboard box in the shape of a book. When you open the box, you are greeted with a small instruction booklet, 18 sheets of books covers and pages, and a cardboard punch-out bookshelf.
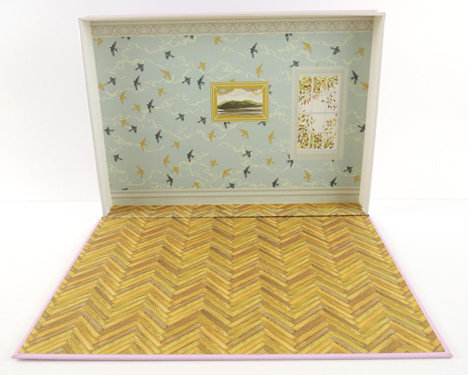
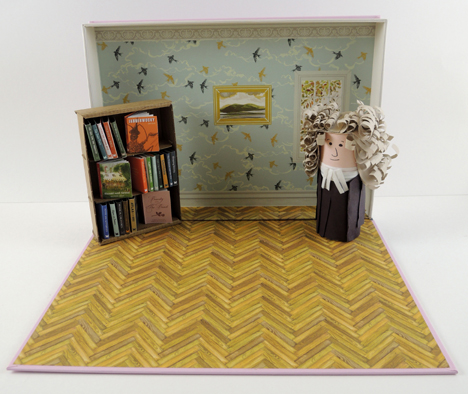
 The 9″ x 12″ box containing the kit (and this is really cool) is also the set of the library. Prop it up on its side, and it becomes your library, complete with chevron hardwood floors, birds in flight wallpaper, and a window framed with fall leaves. When you are done playing with your miniature library, you simply pack everything inside the box, close the lid, and slide the kit on a shelf until next time!
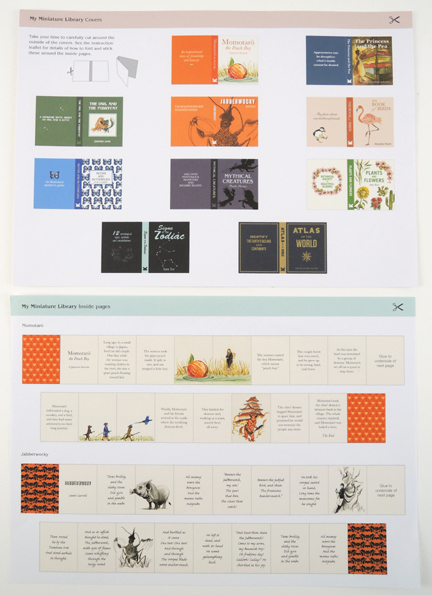
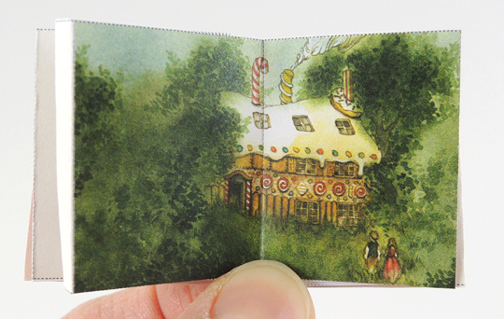
 The kit contains the makings for 30 tiny books: 20 pre-written (both fiction and non-fiction), 8 books with title prompts you can author yourself, and 2 completely blank books for whatever topic you desire. Here’s a set of the pre-printed book sheets (which were primarily fairy tales):
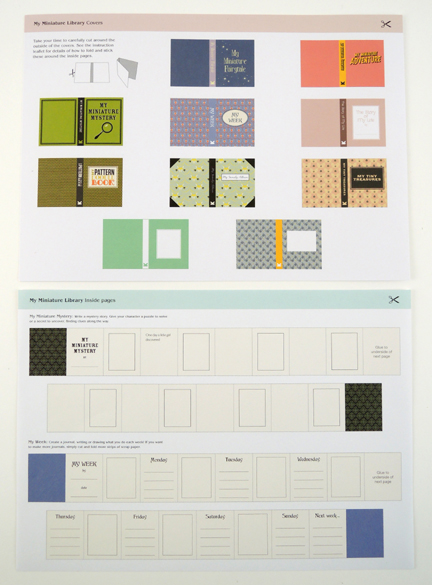
 And here’s a set of the design-your-own sheets:
 Generally, the instructions are very clear, concise, and easy to follow. Especially the cardboard bookshelf. The books are where I started to run into some trouble. To create a miniature book, you first cut out the 2 strips that become the book pages, and the cover of the book. Then you carefully accordion-fold the book pages together, and glue them inside the front and back of the book’s cover.
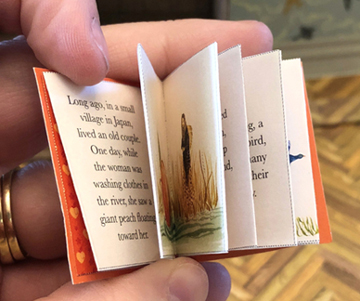 You have to carefully cut the 2 page strips in order to not lose any of the text or images. You also have to cut out the cover. For 30 books, that’s 90 pieces of paper to cut. That’s a lot of cutting.
 And here is the finished library, bookshelf and all. We placed my toilet paper tube portrait of Johnathan Swift (who you first met
  However, I disagree with the recommended age of 6+. I think children 10+ are better suited for the complicated cutting and folding to put these books together. With an estimated 3 hours to craft all 30 books (and that’s after all the cutting is done), I can imagine many children would give up well before all of the books are finished. Children under 10 might also have trouble writing small enough for the design-your-own books portion of the kit. Still, there’s no denying the awesomeness of your very own library with readable books and gorgeous hardwood floors!