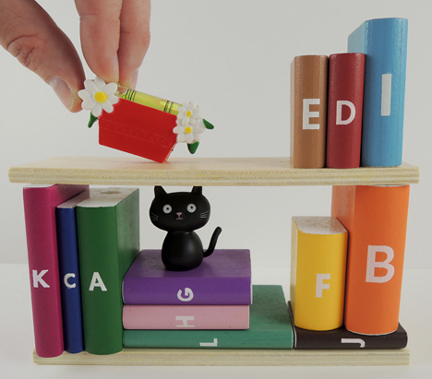
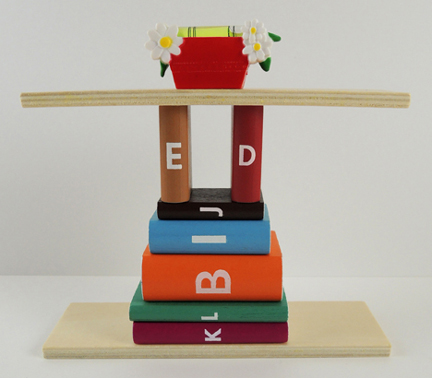
The objective? To arrange the books so that the top shelf is perfectly level. But you can only use certain books, in certain orientations, with a minimum of 2 books touching the top shelf at any time. Oh, and leave some room for a little black cat!
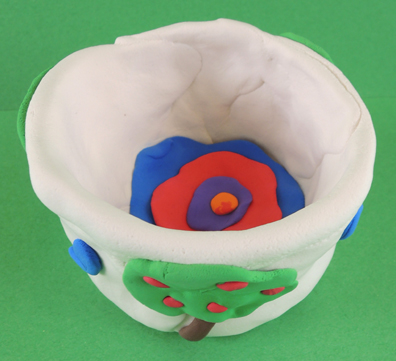
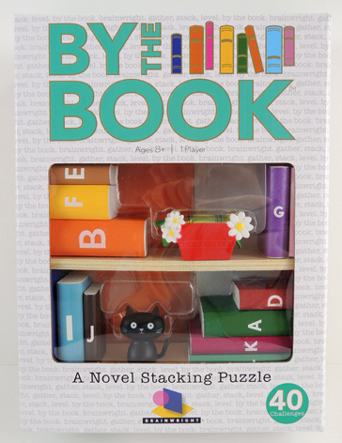
Today, I’m reviewing By The Book, a stacking puzzle for ages 8+ (Brainwright, $18). The game consists of 40 challenge cards, 12 wooden books, 2 wooden shelves, 1 plastic cat, and 1 balance level made to look like an adorable red flower pot.
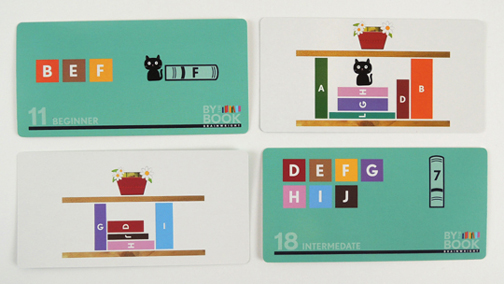
 To play, select a challenge card (which are graded as beginner, intermediate, advanced, or expert). The face of the card tells you which books you can use, if they need to be placed horizontally or vertically, or if they can’t touch at all. Sometimes, the card will require the cat to be included on the shelf as well. The back side of the card has the solution. Here are a couple examples of card faces and solutions:
 Once you’ve gathered all the relevant pieces, lay the bottom shelf on a level surface, then try configuring the books to the card’s specifications. Put the top shelf in place when you think you’re done, then place the balance level on top to see if your solution measures up. And remember – a minimum of 2 books much be touching the top shelf at any time.
If your solution passes the level test, flip the card over to see if matches the official solution (and the rules do mention there may be other ways to solve the challenge). Some of the solutions, however, are not what you expect! Look at this creative configuration!
When playing this game, it’s important to work on a level surface. If your work table is tilted, you’ll never reach a solution. So use the level to make doubly sure you’re nice and even before you start playing.
So, what did our kid testers (ages 6, 8, and 10) think of By The Book? They loved it! The game requires analysis, trial & error, testing, and re-testing, but it’s very calm, non-competitive, and you can take as long as you like to reach the solution. By The Book is labeled as a 1 player game, but our kid testers found ways to collaborate. The cat adds a nice touch, and the kid tester found it very satisfying to put the level on the top shelf to see if their clever arranging worked!

By The Book is the best (a “bestseller,” if you will). It’s fun, intelligent, works with a large age range of kids, and the pieces are really nice quality. This would be a terrific classroom chill-out activity, the perfect addition to library game nights, or an awesome gift from that super cool librarian aunt or uncle. Plus, it comes with a CAT! Five out of five stars.
 Q: What books inspired you to do the creative things you do today?
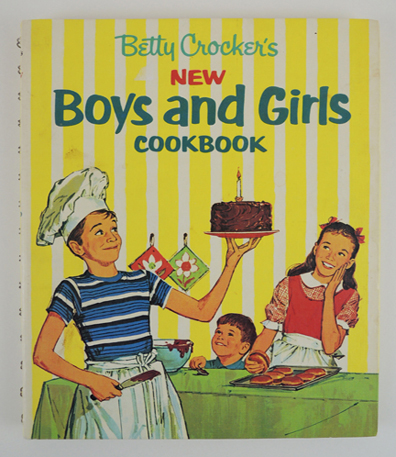 I would look at this book for hours. I would slowly flip the pages, eagerly anticipating the arrival of my favorite section. Can you guess which one it was? Yup. “Cookies, Cakes, and Other Desserts.” Here is the cake of my childhood dreams:
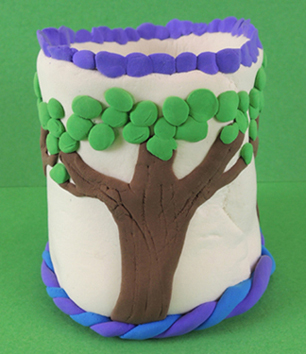
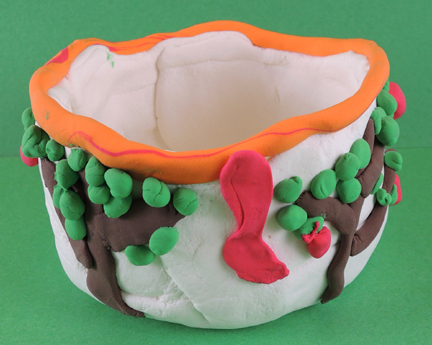
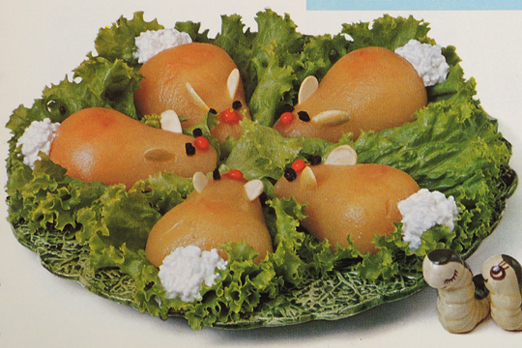
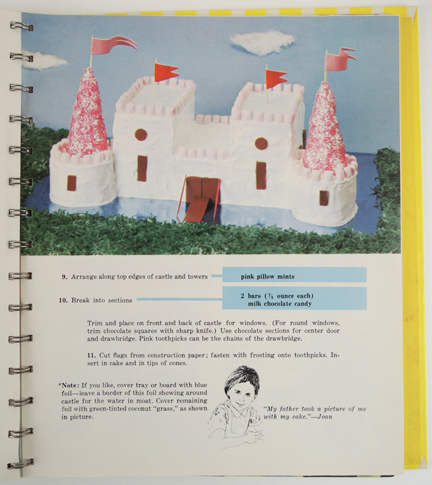 Oh where do I start? I was wholly enthusiastic about cake (and those pink pillow mints – wow, do they even make those anymore?). But even more, I loved that someone had taken food and sculpted it into something imaginative and fantastical. Then fearlessly added non-edible items (such as the toothpick drawbridge chains) to complete the picture. Also, they didn’t just photograph the cake on a table. They set the scene with grass, a shiny moat, and a blue sky with cotton ball clouds. And how about this beautiful creation…
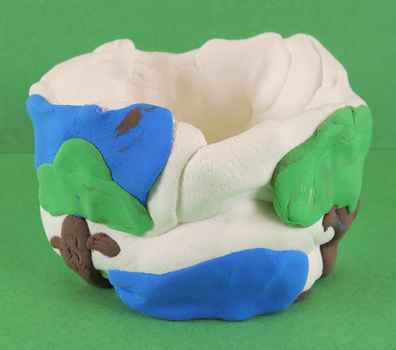
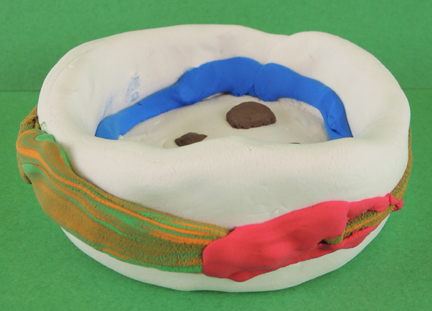
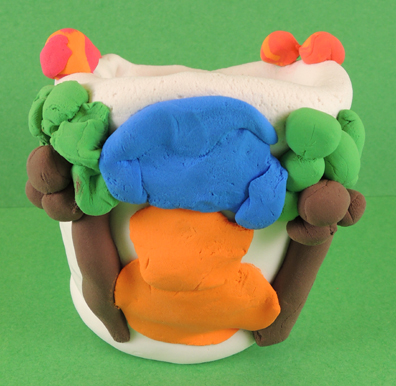
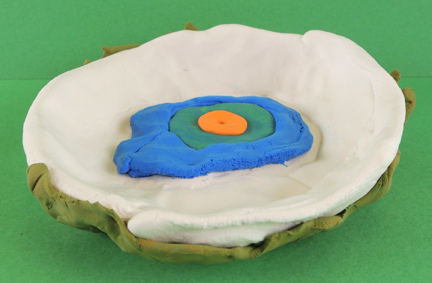
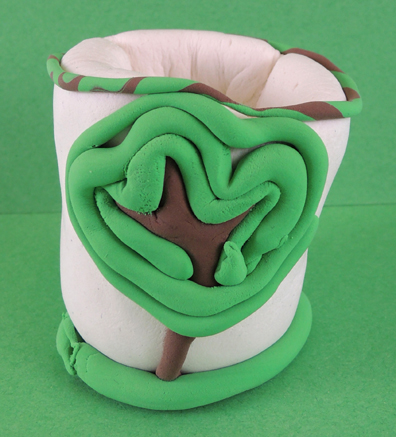
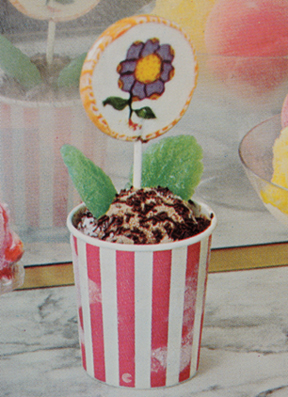 It’s an “Ice Cream Flower Pot.” A waxed paper cup, ice cream and crushed cookie “dirt,” candy leaves, and a frigging lollipop flower! You can put lollipops and ice cream together and make it look like a flower pot? My mind was officially blown.
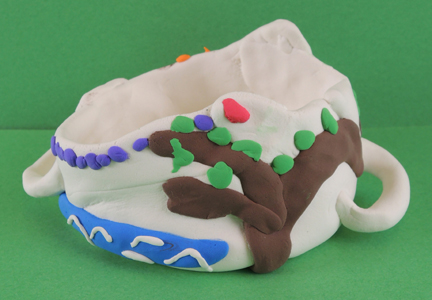
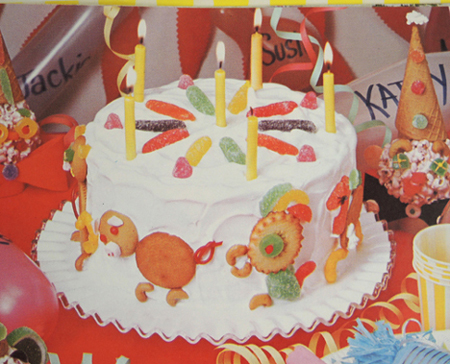 Those wild and crazy Betty Crocker bakers even used holiday-specific candy…on cakes that were totally unrelated to that particular holiday! Like candy canes on a 4th of July “Drum Cake”:
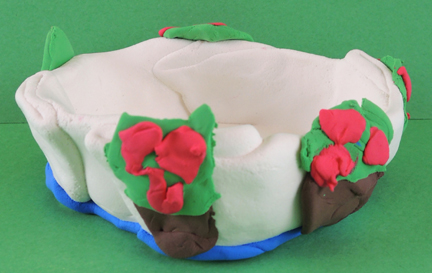
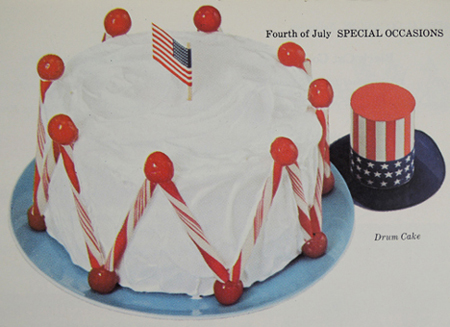 This taught me that you could look at an object, even a familiar one like a candy cane, and see it used for a different purpose or in a different context. That, my friends, is a pretty abstract lesson to be learned from a cake. I still want to eat those cherries too.
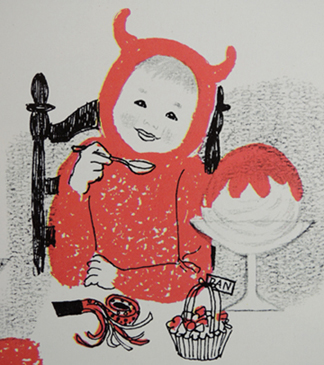 When it came time to dress my firstborn for Halloween 2009, what costume did I choose?
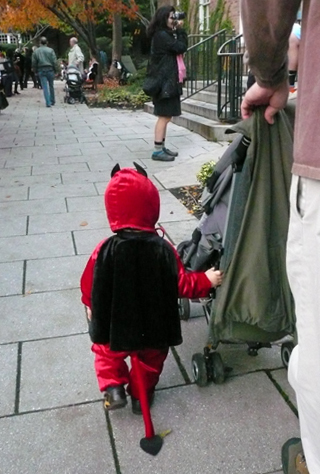 Coincidence? I don’t think so.