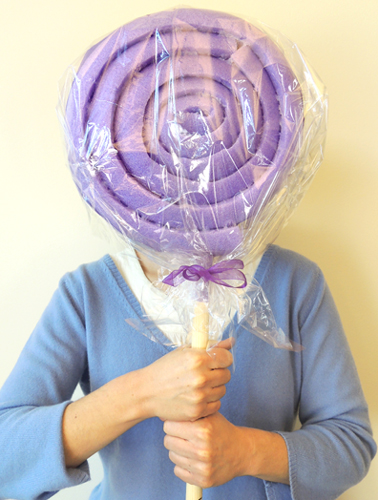
 Now that’s a large lollipop! Tomorrow, our library is hosting an original Willy Wonka escape room, designed by the same genius (i.e. Katie) who brought you our Sherlock Holmes escape room last year. And I must say, she’s outdone herself this time.
The premise is thus: there’s a job opening in Willy Wonka’s top secret Inventing Room, but in order to make the cut, teams of 6 kids will have to solve the puzzles he’s left behind. And this isn’t your ordinary lab, of course. For one thing, the candies are unusual sizes, including this humongous lollipop, which we hope will measure up to the escape room challenge (heh heh, that’s a hint!).
We’ll have a complete breakdown of the escape room puzzles and solutions for you next Friday (and here it is!). But today, here’s how we made this giant lolly!
You’ll need:
- 1 pool noodle
- 1 large wooden dowel
- Clear cellophane
- Ribbon
- Scissors and a box cutter for construction
- Hot glue
This project starts with a pool noodle, which are the long, Styrofoam tubes you can find for a couple bucks in pool toys section of Target, or even at the Dollar Store during the summer months. We bought ours bulk from Oriental Trading company, because we plan to use them for another event. Our noodles were 46″ long, with a 2.5″ diameter.
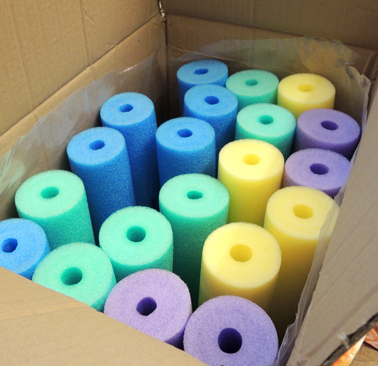 Start by cutting a pool noodle in half. Katie used a box cutter and scissors. She found that neither tool was ideal, but the scissors worked a little better for her. Both methods, however, resulted in shredding, so definitely work over a trash can.
To create the spiral head of the lollipop, glob a bunch of hot glue on the end of a pool noodle half, then roll it inward. Keep globbing and rolling, and Katie advises LOTS of hand pressure to make sure the glue really adheres.
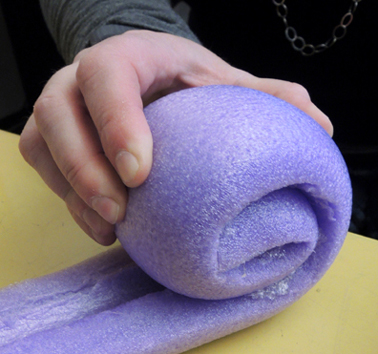 When you get to the end of the first noodle half, glue on the second half and keep rolling! Note: there will be a gap where the two halves meet, but it’s not too bad:
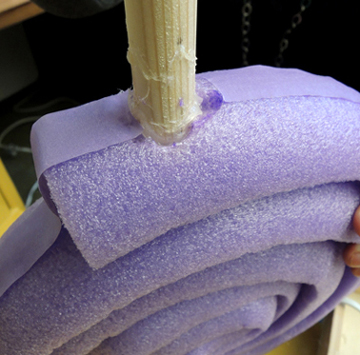
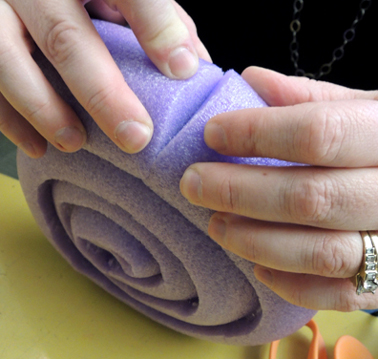 When the lollipop head is finished, use a box cutter and scissors to create a small hole in the bottom of the spiral (about 1.5″ deep), for the lollipop’s stick. We used 36″ wooden dowel that was .75″ in diameter. I found them at Michael’s Craft store for $1.60 a piece. Insert the stick, and glob a ton of hot glue in and around the hole to secure the stick in place. Katie’s also used color masking tape to reinforce the perimeter of the lollipop spiral.
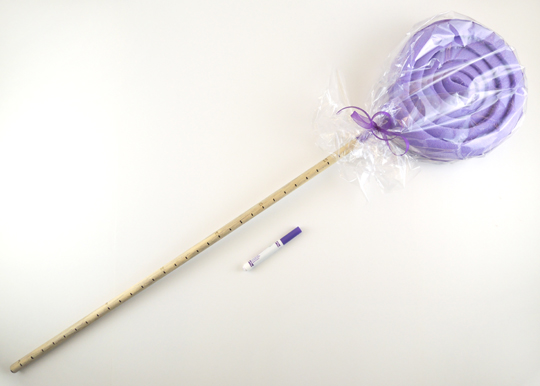
 Finally, use clear cellophane and a ribbon to wrap your lollipop head. Here’s our finished lollipop…the final length was a whopping 46″. I included a marker to show you the size ratio. Notice the measurement notches along the stick? Shhhh! It’s a clue!
 And just in case you’re wondering, yes, it is a lot of fun to run around the office wielding giant lollipops. Definitely recommend it.
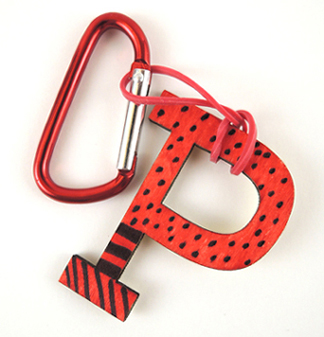
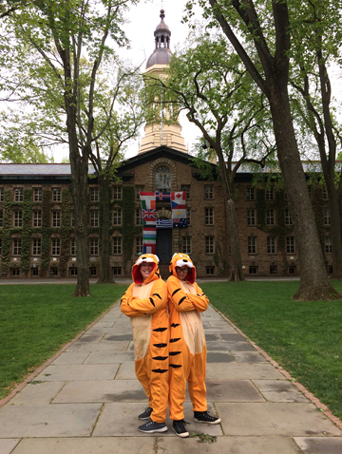
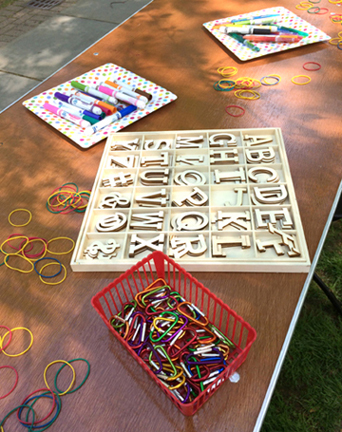 At the event, we simply laid everything out and invited kids to decorate! I think we made around 350 keychains that day. Also, since we were representing Princeton University, Katie and I wore tiger onesies (like we needed an excuse, right?).
 The project was quick, easy to explain, inspired a lot of creativity, involved alphabet letters, and kids of various ages (plus a few college students!) really enjoyed it. You can’t get much better then that!
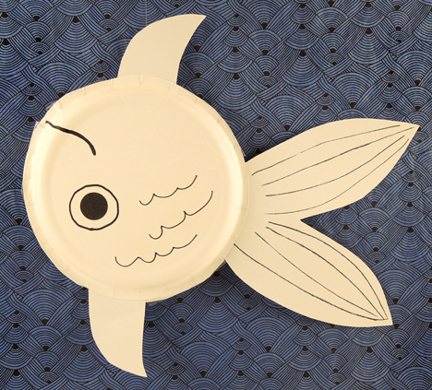 After spotting the fabulous upside down goldfish ghost
 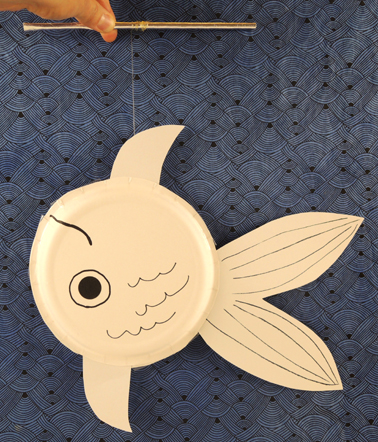 To make the marionette, trim the outside perimeters off 2 paper plates. Use marker to draw eyes, a mouth, and scales on the plates.Next, tape a white construction paper tail and fins to the inside of 1 plate.
 Now that’s a large lollipop! Tomorrow, our library is hosting an original Willy Wonka
 Start by cutting a pool noodle in half. Katie used a box cutter and scissors. She found that neither tool was ideal, but the scissors worked a little better for her. Both methods, however, resulted in shredding, so definitely work over a trash can.
 When you get to the end of the first noodle half, glue on the second half and keep rolling! Note: there will be a gap where the two halves meet, but it’s not too bad:
 When the lollipop head is finished, use a box cutter and scissors to create a small hole in the bottom of the spiral (about 1.5″ deep), for the lollipop’s stick. We used 36″ wooden dowel that was .75″ in diameter. I found them at Michael’s Craft store for $1.60 a piece. Insert the stick, and glob a ton of hot glue in and around the hole to secure the stick in place. Katie’s also used color masking tape to reinforce the perimeter of the lollipop spiral.
 Finally, use clear cellophane and a ribbon to wrap your lollipop head. Here’s our finished lollipop…the final length was a whopping 46″. I included a marker to show you the size ratio. Notice the measurement notches along the stick? Shhhh! It’s a clue!
 And just in case you’re wondering, yes, it is a lot of fun to run around the office wielding giant lollipops. Definitely recommend it.