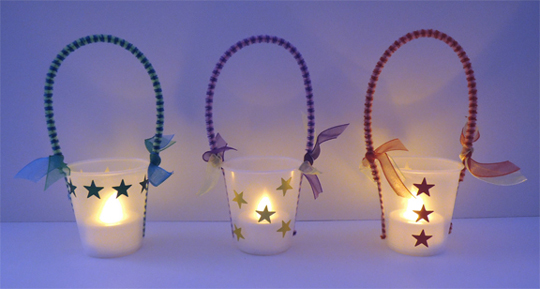
 This sweet and simple lantern was created at our Let it Shine story time. A younger sibling, upon seeing her brother’s fabulous painted lantern, tearfully asked if she could have a little lantern too. I whipped this one together in seconds, mostly using leftover program supplies. She was very, very happy (and, her mom reports, still using it)!
You’ll need:
- 1 LED votive candle
- 1 3oz. clear plastic cup
- 1 pipe cleaner
- A few pieces of shimmer ribbon
- A selection of foil star stickers
- Tape
Drop the LED votive candle in the cup (this provides some ballast when you are attaching the pipe cleaner and the ribbon). Tape the ends of the pipe cleaner to the cup, then knot some shimmer ribbon on either side of the pipe cleaner. Decorate the cup with foil star stickers.
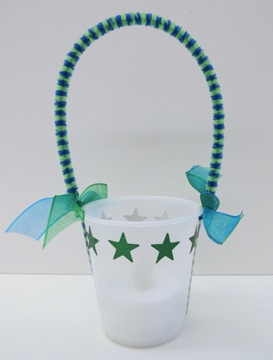 At the original story time, we turned off the lights and decorated our lanterns with their LED lights twinkling and lullaby music playing. You can do this during the star sticker attaching phase of the project. Or, you can gather together with your lanterns and sing “This Little Light” or “Twinkle Twinkle Little Star.”
If you’re looking for a all-together different sort of lantern, check out our Spooky Old Classic story time.

