 It’s a fusion of form and function as a classic self-portrait is transformed into bubbly pop art. Don’t miss the gallery at the bottom of this post!
We read Lester Fizz, Bubble-Gum Artist, written by Ruth Spiro and illustrated by Thor Wickstrom (Dutton Juvenile, 2008). Everyone in Lester’s family (Frieda, Winslow, Cornell, Pablo, and Georgia) is an artist, but Lester just can’t seem to find his medium. Then one day, during a visit to Uncle Edgar’s studio, Lester discovers his amazing talent for creating art with pink bubble gum bubbles. Confidence growing, he decides to enter the art competition at his school. But disaster strikes when Lester loses a front tooth on the big day! Fortunately, recalling a bit of artistic wisdom, Lester is able to rally and produce the most tremendous bubble ever.
You’ll need:
- 1/2 sheet of white poster board (approximately 14″ x 22″)
- Multiple pieces of tagboard or brown poster board
- 2 small pieces of white poster board (approximately 1″ x 1.5″)
- Hole punch
- 1 piece of yarn (approximately 10″)
- A box cutter
- A selection of multicultural construction paper
- A selection of construction paper
- 1 pink balloon
- 1 pencil
- Markers for decorating
- Scissors, glue stick, tape, and hot glue for construction
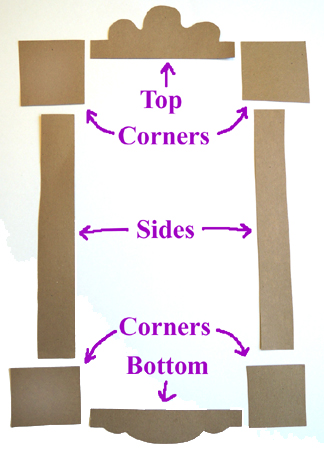
The project begins with the creation of your portrait frame. We prepped the following tagboard (or brown poster board) pieces in advance:
 If it helps, here are their approximate sizes:
Top piece: 3.5″ x 8.5″
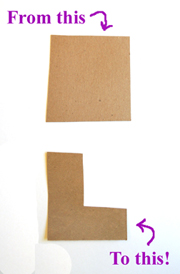
Corner pieces: 3.5″ x 3.5″
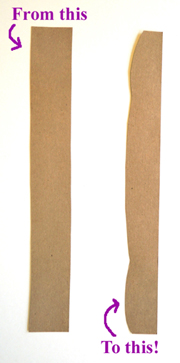
Side pieces: 2″ x 14″
Bottom piece: 2″ x 8.5″
The frame pieces were laid out on top of the white poster board “canvas.” Then we encouraged the kids to customize the corners and sides by shaping them with their scissors. A corner, for example, could be shaped into something a little more delicate:
 And the sides could be given a bit of a curve:
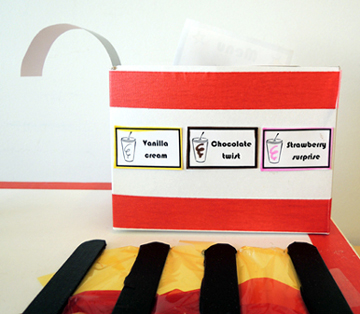
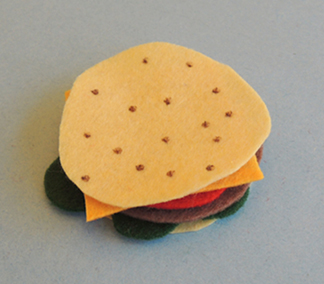
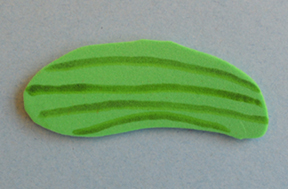
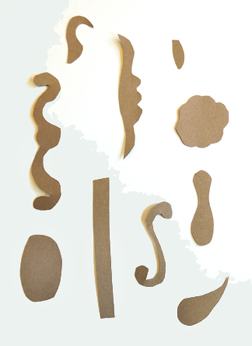
 Then, we invited the kids to select some “frame doodads” from a big pile to bulk up their frames. We were very proud of our doodad pile. Here are a few of our lovely choices:
 Use markers to create scrolls, lines, and shapes on your frame pieces (metallic Sharpie markers worked great too). Then use a glue stick to attach the pieces to the poster board canvas.
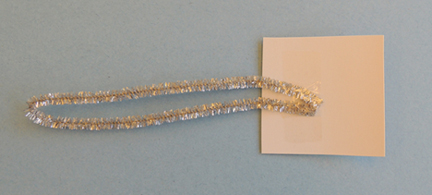
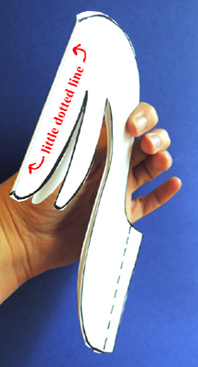
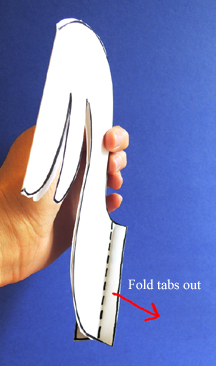
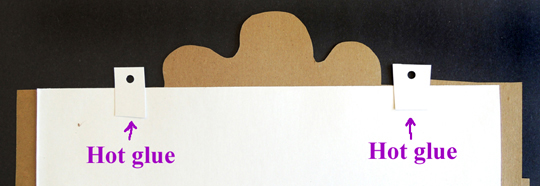
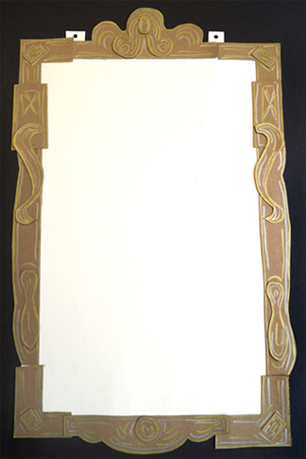 The last step for the frame is adding your “hangers” (you can see them sticking out of the top of the frame in the image above). To create the hangers, take two small white poster board pieces, punch holes in them, and then hot glue them to the back of the canvas like this:
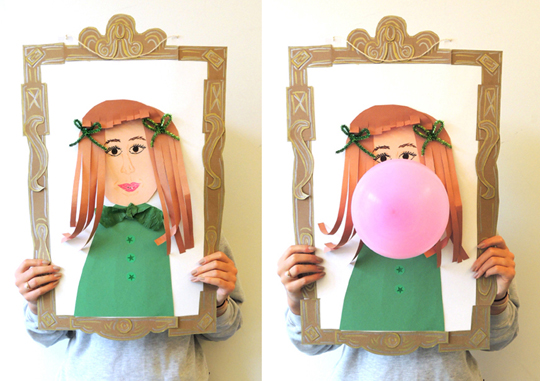
 Knot the ends of the yarn in each hole, and the frame is ready to hang. The only thing that’s missing, of course, is the portrait! Use the regular and multicultural construction paper to create a shirt, face and hair. Draw the facial features with markers. I brought out the Bling Bin for artistic embellishments as well.
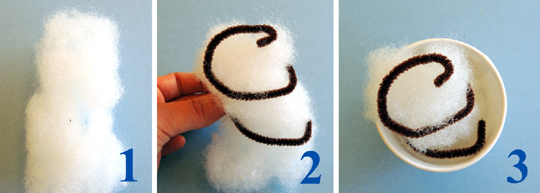
Now all you need is bubble gum! Use the box cutter to cut a slit in the portrait’s mouth, then poke the pencil through the slit to enlarge it. The goal is to make a hole large enough for the mouth and neck of the balloon to go through.
Starting on the outside of the portrait (i.e. the finished side) push the mouth and neck of the balloon through the hole to the other side. Here’s what the back of your portrait should now look like:Stand behind the portrait and blow into the balloon. Your portrait will blow a bubble! You can also blow up the balloon, knot it, push it through hole in the portrait, and hang it on a wall to admire your work from afar.