 Every year, our library has a writing content called 350 for 50. We challenge kids ages 6-16 to write a short, 350-word story that includes a sentence of our choosing. This year, the sentence was “The image blurred, then darkened.” Our judges select winners from three age categories and not only do the young authors get published on our website, blog, and print publication, they enjoy a $50 shopping spree at Labyrinth, our local bookstore!
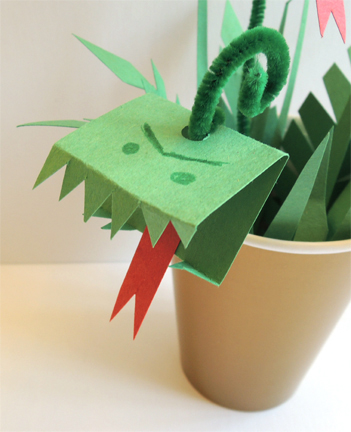
It is our great delight to present this year’s winners. The artwork for each piece was created by Princeton University student, Aliisa Lee.
Every Day is a Bad Hair Day
Lucy McCulloch, age 9
Bordentown, NJ
 I am Meddie. I am in 5th grade at Blockwood Elementary School and I am considered a complete freak by most of the girls in my class. The same girls, who for the past six years have tormented me because I wear an enormous hat to school. If they only knew the truth hiding under my hat.
It all happened one day during a chaotic indoor recess. As usual, the room was divided into four corners containing the “bookworms”, “the artists”, “the fashionistas” and “the gamers”. I took my usual seat with the artists and began to draw cartoons.
From across the room I heard a loud commotion. I looked and saw a boy named Quincy stick out his tongue and make the “gag me with a spoon” action. I didn’t know what was going on, but I saw all eyes in the room turn and look at me. Quincy had a note in his hand. Before I could even ask what was going on, our teacher Ms. Birdfitch, swooped in a grabbed the note from his hand and read it out loud. “Dear Quincy, I love you. Love, Meddie.” The whole class broke out into laughter. Ms. Birdfitch told everyone to get quite and take a seat.
The note was the last straw. I rushed out the door, and ran down the hallway. I slipped into the bathroom and stumbled to the cold tile floor. Those girls had done it again. But this time it wasn’t a silly name, it was a lie!
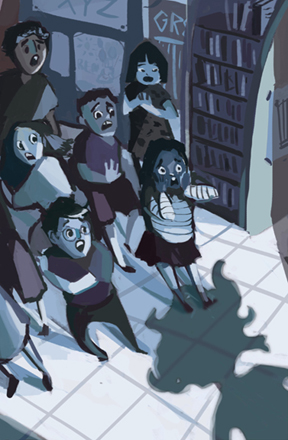
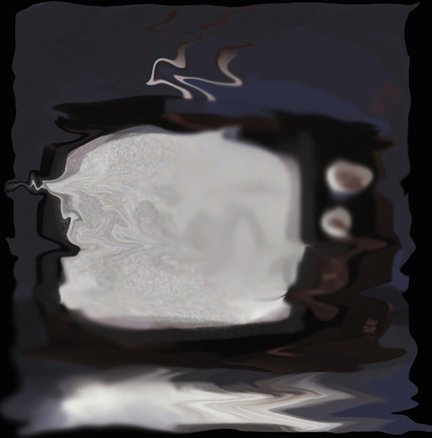
I got up to wash my face and looked in the mirror and that is when it happened. I looked at my reflection, but it didn’t look like me. The image blurred, then darkened. I felt my insides getting colder. I couldn’t hide my anger or true self any longer. I took off my hat and let my snakes coil around my head. Finally free from the hat, I walked unafraid back to class. I opened the door to horrified faces. “Call me by my real name from now on. I am MEDUSA!”
Memories
Neha Aluwalia, age 13
Plainsboro, NJ
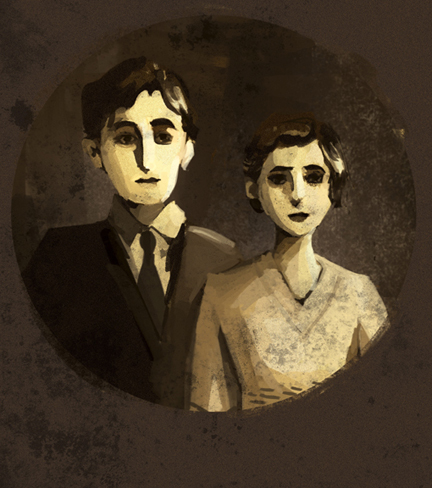 They had been one of the last to escape. A few more weeks, and the ship would have been stopped-and the Jews would never have made it to America. However, with luck on their side, the newly-wed couple Deborah and Joseph Rubenstein took a crowded, smelly ship to America, and wrapped their faith and hope around them like a warm blanket.
Upon arrival of New York City, things were not at all what they expected. For one, they were detained at Ellis Island for many days, and the mixture of languages, smells, and sickness were very overwhelming to the lonely couple who understood little English.
When all the papers were finally set straight, Deborah and Joseph used what scant money they had, all their families’ life savings, to rent a room in a crowded apartment complex.
While Joseph went to work at the docks, Deborah stayed at home and began to befriend the neighbors. She became good friends with a man named Leroy Caldwell, a handsome and curious journalist. He was interested in what happened to the Rubensteins, of the events that brought them to America.
The two became so close that Leroy asked Deborah if he could interview Joseph and her about being Jews who escaped from Nazi Germany. After a plethora of conversations about a myriad of war-related topics, the article was almost ready to go.
The one thing that was missing however, was a photograph. Leroy arranged Deborah and Joseph together, pillars of hope in the darkness, and hit the button. Flash! The camera spit out a photo. The image blurred, then darkened.
———————————————————————————————————————
“Grandma? Grandpa?” asked the small child perched on her grandparents, squinting at an old photograph, “Is that you?”
Pointing to the young couple, indifferent to their poverty and content, the elderly woman replied, “Yes child. That was me and your grandfather, living out our families’ dreams. We only had each other, but we made the most of what we could.”
The child agreed to this statement by snuggling next to her grandmother and falling asleep, leaving Deborah, Joseph, and the memories together.
Therapy
Roshni Mantena, age 15
Princeton NJ
 She’d learned later, that its name was Ischemia. She was suffering from ischemic loss of vision, caused by a blockage of the artery supplying blood to the eye. It was the most common reason for sudden visual loss, and left untreated even for a few hours, it could leave permanent damage. The last fact, she knew too well. At first, she’d blamed her parents. If they’d returned home, even an hour earlier. Then, it’d been her grandfather. Genetically inherited, artery blocking cholesterol. Finally, it’d been God. You sent this my way. Her bitterness had consumed her, pushing away her friends, family, boyfriend. She walked in the school hallway alone, whispers of that blind girl trailing behind her, but she wore them proudly like armor, deflecting whoever attempted to get close. It’d gotten old fast, the loneliness tearing holes deep in her heart, leading her here.
It’d been half past eight and her parents still hadn’t returned home from their dinner party. The summer sky had long since faded into hot, sticky, darkness, and her clothes clung uncomfortably to her skin. She was too lazy to change into pajamas, the horror movie flickering on the TV screen in front of her just interesting enough to keep her from leaving her comfortable place on the couch. The air shimmered, the image from television slightly distorted, from the heat, she told herself. Another minute passed, the beginnings of a headache pounding at her temples. She rubbed her head; dark spots appeared in front of her eyes, the characters onscreen swimming in her vision. The image blurred, then darkened. She could still feel her heart drumming loudly in her ribcage as she screwed her eyes together, squeezing them shut tightly before opening them again. Panic in the form of bile was rising in her throat as she rubbed at them frantically, trying to coax them back from the nothing-ness to no avail. She scrambled blindly for the phone, hands shaking.
She inhaled sharply, running fingers over the raised bumps, feeling out the words. Palm flat, pride swallowed, she pushed the door open into therapy.
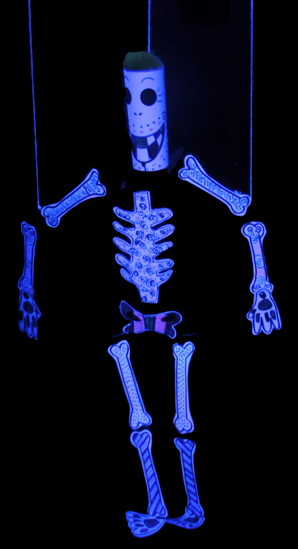
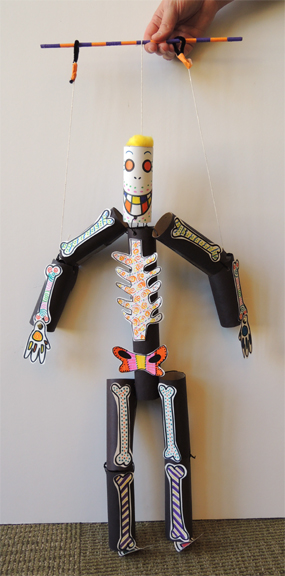
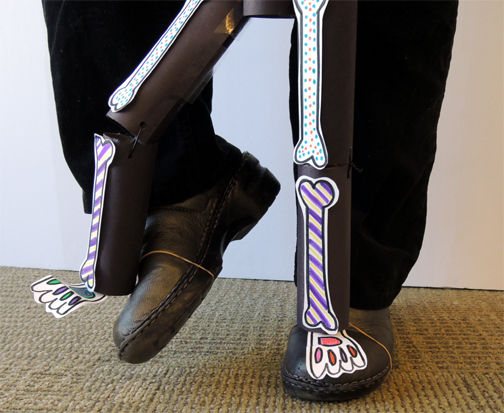
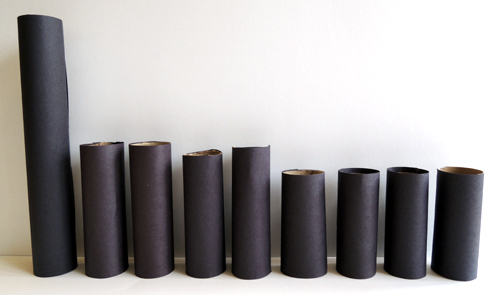
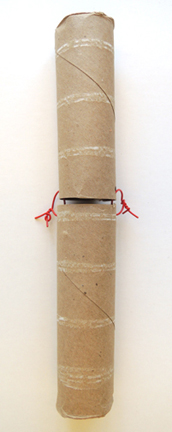
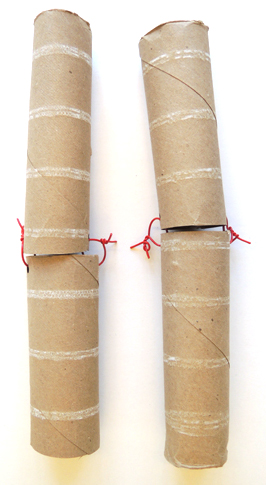
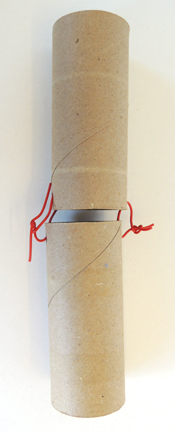
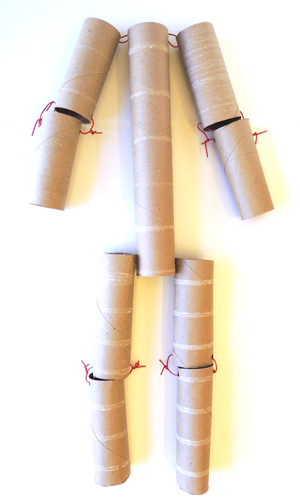
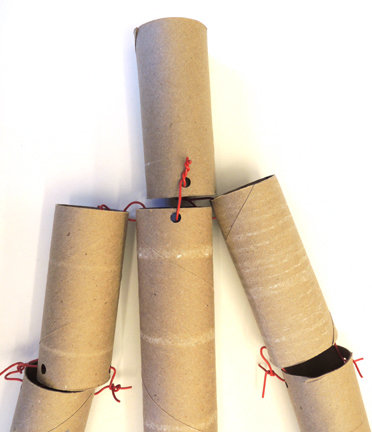
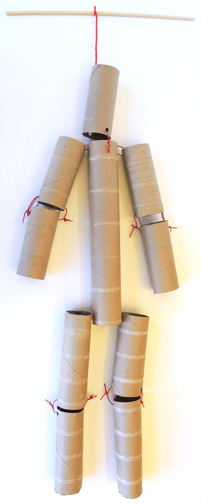
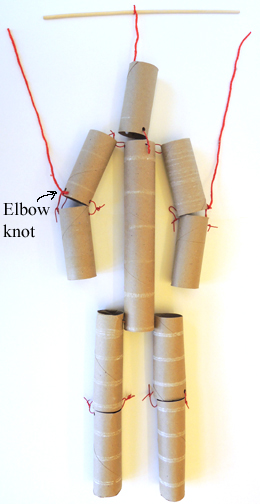
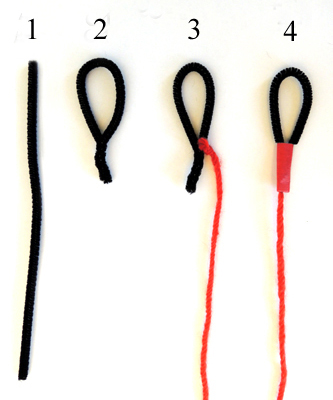
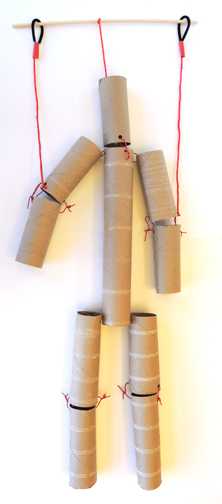
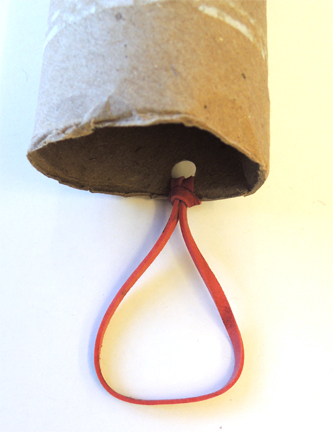
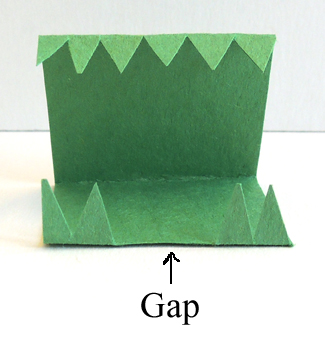
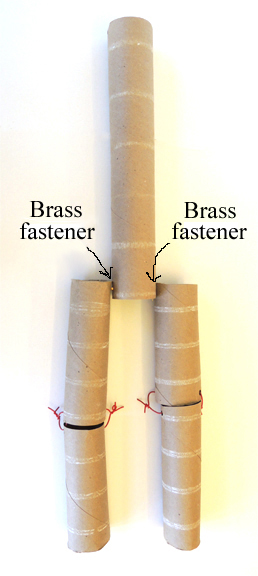 Making an arm is just like making a leg, except you’ll be using toilet paper tubes instead of paper towel tubes. Punch holes in the top of one toilet paper tube and the bottom of the other toilet paper tube. Thread twisteez wires though the top and bottom holes on each side of the tubes, joining them together. Twist the ends of the wire together.