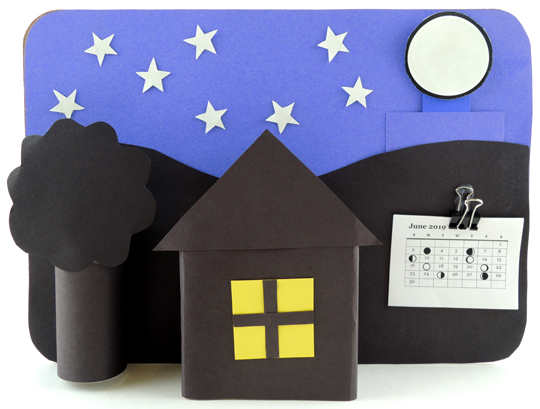
 Learn about the phases of the moon (and track them yourself!) using this awesome, 3D, double-sided, lunar calendar! Katie and I dubbed this “the story time project of the year.” Because STEAM power!
We read A Kite for Moon, written by Jane Yolen and Heidi E.Y. Stemple, and illustrated by Matt Phelan (Zonderkidz, 2019). A little boy on the beach spots the lonely, daytime moon and sends her a message on his kite. He promises to visit her someday. Years go by, and the little boy grows into a man who studies numbers, astronomy, and piloting. Eventually, he takes a rocket ship to space, where the moon has been watching and waiting for that promised visit.
You’ll need:
- 1 corrugated cardboard backdrop (we used a 10″ x 14″ cake pad)
- Dark blue and black construction paper
- 1 small box
- 1 toilet paper tube
- 1 star template, printed on 8.5″ x 11″ white card stock
- 1 phases of the moon stick images, printed on 8.5″ x 11″ white card stock
- 1 phases of the moon stick labels, printed on 8.5″ x 11″ paper
- 1 phases of the moon chart, printed on 8.5″ x 11″ paper
- 1 mini binder clip
- Scissors, tape, and glue for construction
- Hot glue
We’ll start with the front of the calendar. Use dark blue construction paper to create a sky on your corrugated cardboard backdrop. Glue or tape an 3.25″ x 3.75″ rectangular pocket to the right-hand side of the sky. Later, this will become your “moon stick pocket.”
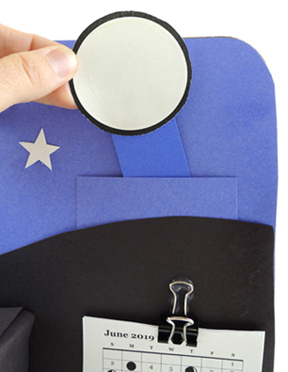 Next, use black construction paper, a toilet paper tube, and a small box to create mountains, a tree, and a house (we recommend adding a little yellow window to the house as well). The hot glue the tree and the house to the backdrop. Important! In order to get the calendar to stand up, the house needs to be attached in the center of the backdrop:
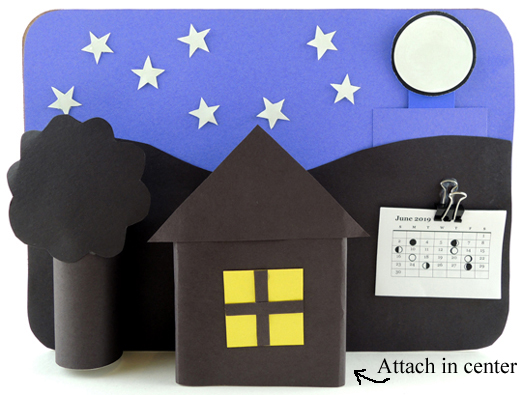 To the right of the house is a small lunar phase calendar. Tape or hot glue a binder clip to the backdrop, then clip the calendar in place. I custom designed our calendar for June-December 2019, but seeing as time inexorably marches on, you can find a current calendar with a Google search. Add some white card stock stars to the sky, and you’re done with this side.
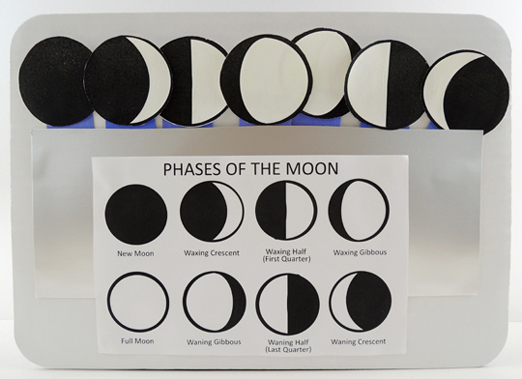 Above is the other side of the calendar. First, use construction paper or poster board to create a pocket (our pocket was 4.75″ x 12″ silver poster board), then tape or glue the phases of the moon chart template on top.
Finally, the phases of the moon sticks. Cut eight, 1.5″ x 4.5″ strips of dark blue construction paper (or, better yet, poster board), then glue or tape each phases of the moon stick image and a phases of the moon stick label to each strip like so:
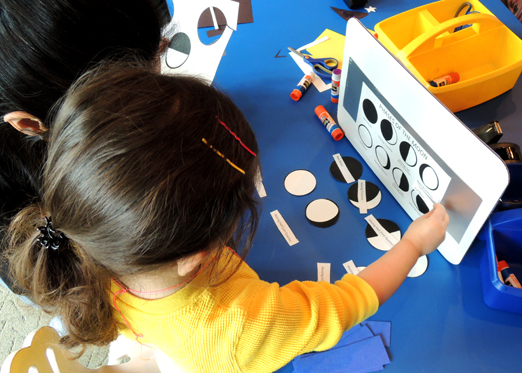
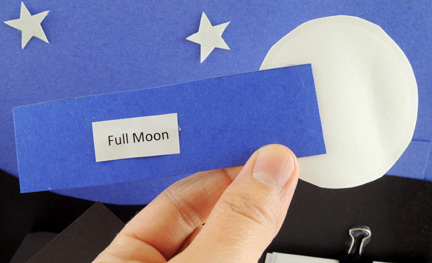 This was a great part of the story time project. Watching the kids methodically checking and matching the labels, to the chart, to the sticks was really sweet. And very science!
 To use your new lunar calendar, match the date on the calendar to the appropriate phase of the moon. Identify the correct moon stick, then slide it into your night sky pocket. Keep checking the calendar to track the moon’s phases. Oh, and we also used glow-in-the-dark paint to fill in our stars and moon sticks. So this calendar glows at night!
