 What do you do when your best friend – who happens to be a huge Harry Potter fan – is celebrating her quinceañera? You throw her a surprise party of course, with all the trimmings! Our kid tester, Hope (who you last saw here) researched, designed, prepped, and coordinated this party for her friend Liv, and I was invited for a sneak peek.
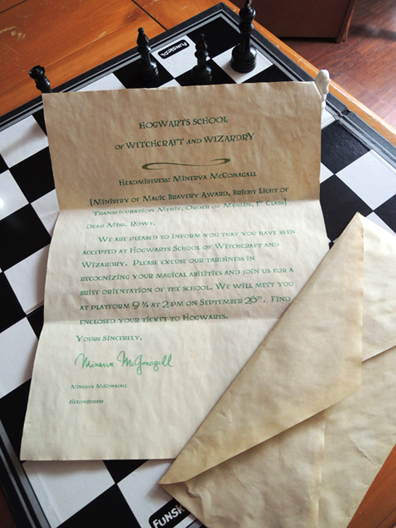
The party was announced when a mysterious letter arrived for the birthday girl, informing her of her acceptance to Hogwart’s. She was given no more information than a time and date (Liv’s mom, however, was filled in on all the details). Other attendees received similar invitations. Hope “aged” the paper by soaking regular old printer paper and an envelope in black tea. She used a cookie sheet for both soaking and flat drying the paper. Depending on your paper, you’ll need to soak for 30 minutes to an hour. If you’re doing a number of invites, have fresh tea water handy (the solution gets weaker with every soaking).
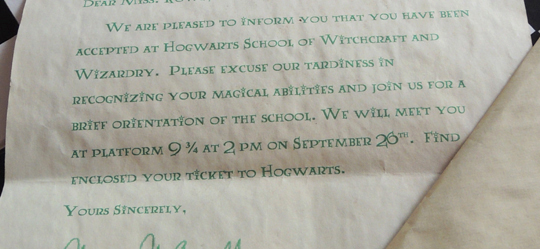 When the paper was dry, Hope ran it through her computer’s printer. I was curious to know how the printer handled the crackly papers? “For the most part they went through okay.” reports Hope. “Once or twice an envelope got stuck, and I had to get down on my hands and knees and yank it out of the printer.”
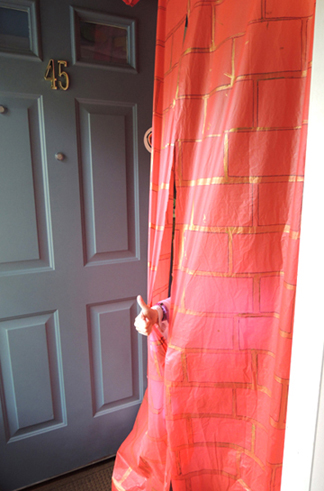
When guests arrived at the party, they encountered a “brick wall” at King’s Cross Station. Hope made a brick template out of card stock, and then repeatedly traced the template onto a red plastic tablecloth using a black permanent marker. Finally, she added gold mortar highlights with gold paint (it gives it a nice shimmer, doesn’t it?). The tablecloth was slit 3/4 of the way up so guests could walk through the wall…
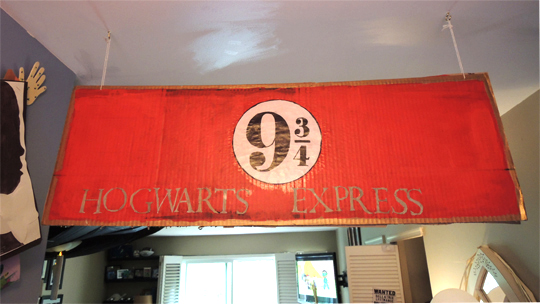
 …and arrive at Platform 9 3/4! Hope hand-painted the sign on cardboard and hung it from the ceiling using tea cup hooks and twine (original instructions for the sign here).
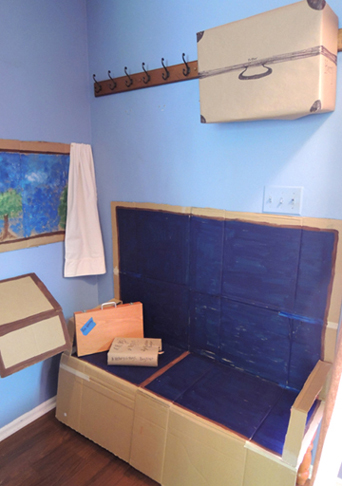
 To the right on the sign was a train compartment (and later photo booth) for the Hogwarts Express. Hope’s mom gets the credit for this one. She covered a bench with cardboard and secured it with packing tape. Then she added all the details. I love the armrests on the seat. And the window with the curtain!
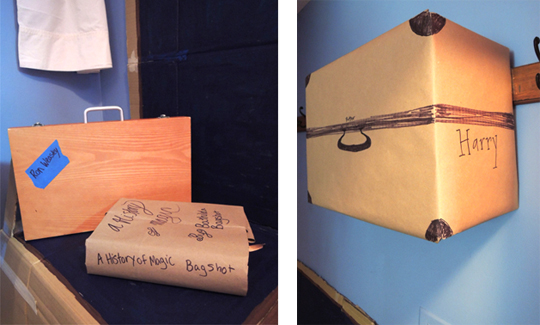
 Here’s a close up of the luggage on the train. That super thick A History of Magic book? Originally, it was the collected works of Jane Austin.
 Disembarking from the train, party goers encountered two party tables (10 knuts if you spot Hope’s unintentional photobomb).
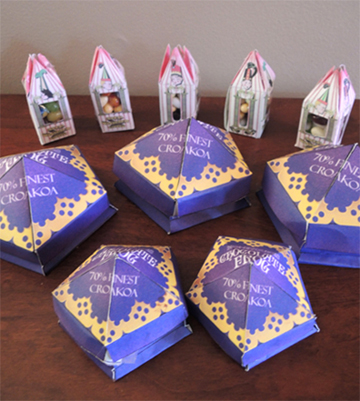
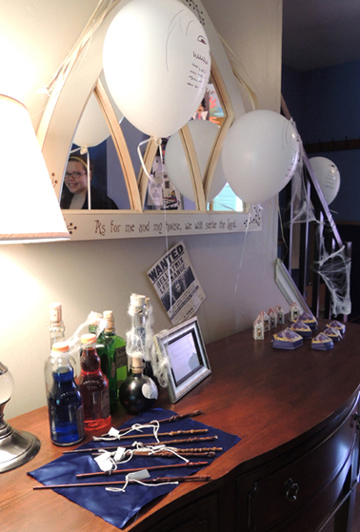 The first party table held a slew of potions (labels found online and adhered to funky bottles filled with colored water), Chocolate Frogs (template here), and Bertie Bott’s Every Flavor Bean (template here). Depending on the number of beans and size of your frogs, you might need to adjust the templates a little.
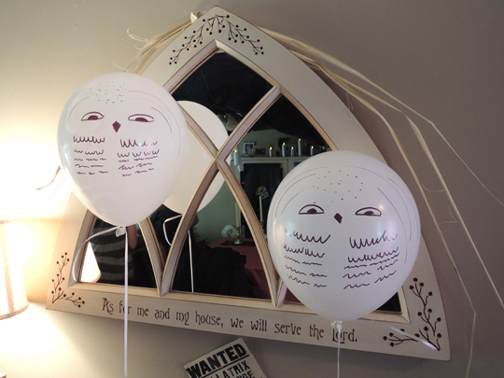
 Snowy white owl balloons hovered over the table. Hope recreated these from a picture she saw online. They are so cute and simple it’s just genius. Wouldn’t it be fun to do a whole shelf like an Owlery, with each balloon holding a special message?
 Did you happen to notice the wands on the party table? These were my absolute favorite party item. Here’s a close-up of them on a white background:
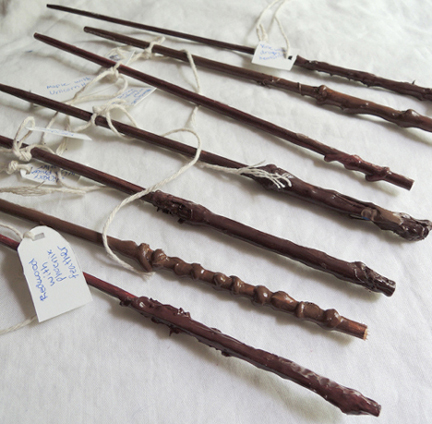 Hope modified these instructions and made the wands out of chopsticks and meat skewers (with the sharp ends sawed off of course). First, she used hot glue to create patterns on the sticks, then she painted them with with brown paint. When the paint started flaking, she added a coat of glossy mod podge. Each wand had a handwritten tag attached, informing the owner of the wand’s specs. Honestly, I couldn’t stop playing with them.
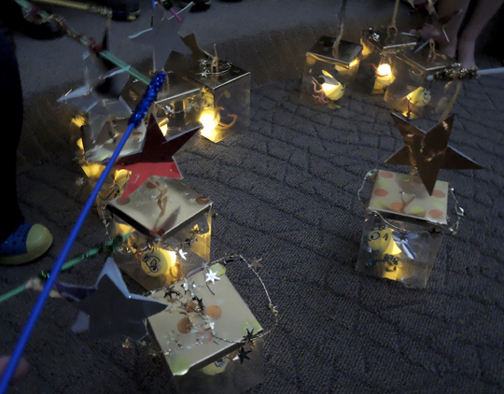
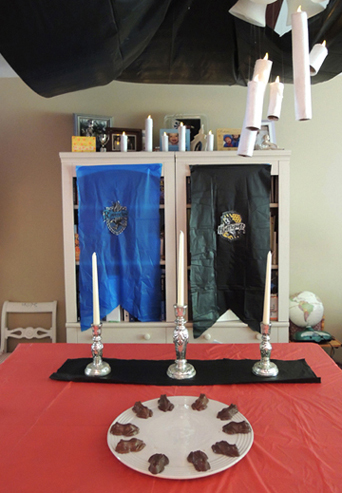 The second party table was designed to hold some classic wizard delicacies. More on those in a moment. For now, let’s admire those house banners. They’re plastic table clothes cut into banner shapes and adorned with the house coat of arms (which Hope found online using a Google image search). Notice the floating candles overhead?
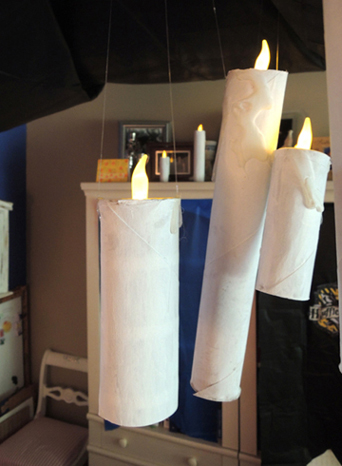 Those are painted toilet paper and paper towel tubes with hot glue drips. An LED is mounted in a little paper towel sling at the top. They’re hanging from clear cord. And speaking of candles…
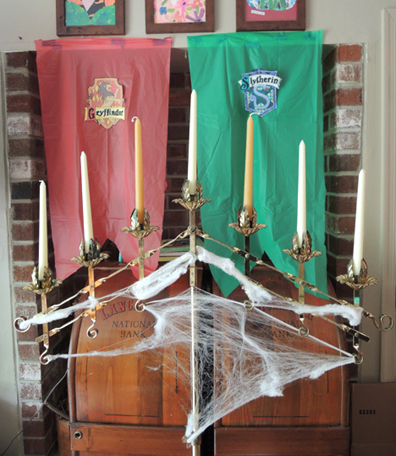 Hope spotted this at her church and asked if she could borrow it for the party! Perfect, isn’t it? The cobwebs are a super nice touch too. Now, who’s hungry?
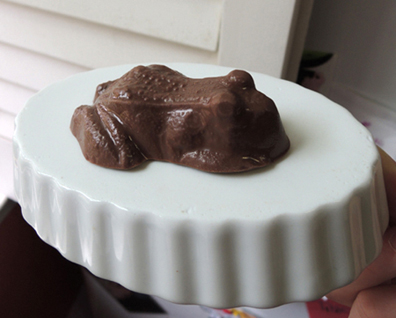 First, chocolate frogs. Hope found these molds on Amazon ($2.29 plus $3.27 shipping). She used Wilton’s dark melting chocolate and a borrowed chocolate melting pot (very similar to a fondue pot) to construct the treat. I tried one. It was very tasty, but I have to admit, it was a trifle unnerving to bite off its head. Next up? Pumpkin Pasties.
 Hope used pre-made pie crust dough (Wegman’s brand) and the pumpkin pie recipe from the back of Libby’s canned pumpkin. The mini-pies were baked in a muffin tin. I tried one. Nom nom (if you’re in the mood for a different kind of pumpkin pastie, check out the one we posted about last summer). Finally, butterbeer. Served in a chilled wine glass of course.
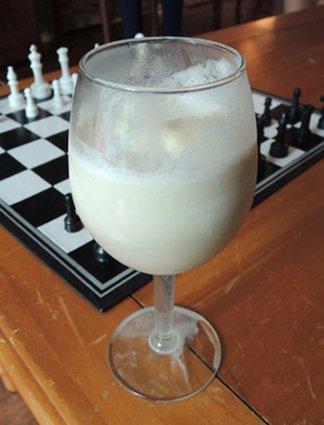 Here’s the recipe she used (and here’s the original source for it). Very rich and tasty!
Ingredients:
- 1 quart vanilla ice cream
- 1/4 cup butterscotch syrup
- 32 oz cream soda
Directions:
- Place 4 (16-ounce) glasses in freezer and chill for at least 20 minutes
- Mix ice cream and cream soda in a blender until combined
- Divide between the frosted glasses
- Top each glass with whipped cream, if desired
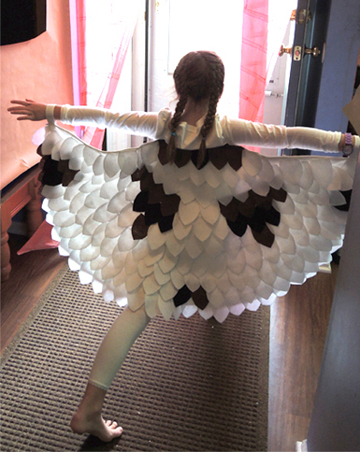
Shaking only slightly from all the sugar I had just consumed, I moved to the living room, where a Harry Potter movie marathon was being cued up. A CD of movie music was playing on the stereo as Hope’s little sister cavorted in her Hedwig costume (instructions for the no-sew costume here).
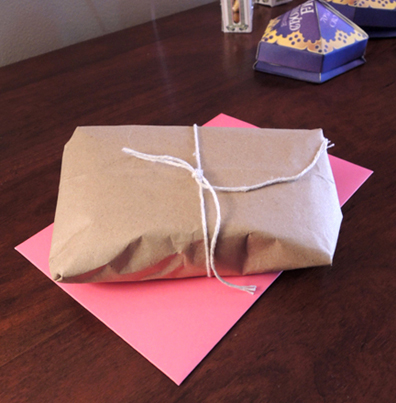
 By now, the guests were starting to arrive before the birthday girl’s big entrance. Hope had asked them to bring the gifts unwrapped so she could wrap them herself, using brown paper and twine reminiscent of the owl post.
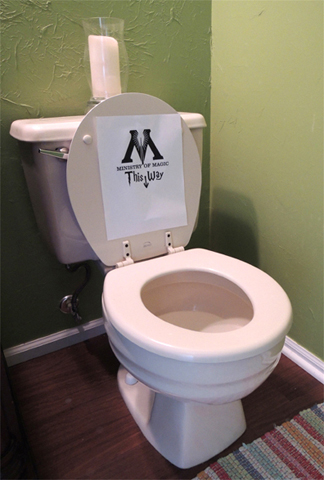
 Revelers could also opt to put on some wizard robes (i.e. old graduation gowns). Hope borrowed them from yours truly (because I – ahem! – have 5 sets of wizard robes in my attic. And 3 wizard hats. But who’s counting?). Since the birthday girl was due to arrive shortly, it was time to depart. A quick pit stop revealed that Hope had left no stone unturned:
 So, how did the birthday girl react? According to Hope, she walked through the door and was overwhelmed. Stunned. Totally caught by surprise. And then she toured the party floor several times, pouncing on various items like a little kid in a candy shop.” The other guests were equally delighted and enchanted. Wouldn’t you be? I tip my hat to you Hope, and look forward to you coordinating all my children’s birthday parties until they go to college. I’m kidding of course. But only slightly.
While we’re on the subject of Harry Potter, here’s a rundown of all the HP projects, programs, and cool connections we’ve featured on the blog!