 I’m talking about coconuts of course. If you’re ever stranded on a tropical island and need to make an escape raft…yes, coconuts do indeed float. This experiment was part of To Be Continued, our reading program for 6 to 8 year-olds. You can read about some of our other activities here and here.
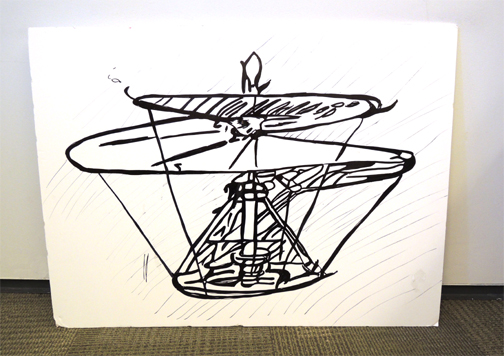
We read Nim’s Island by Wendy Orr (Yearling, 1999). Nim is a little girl who lives on a beautiful, yet isolated, tropical island with her scientist father, Jack. When Jack leaves for a three day research trip at sea, Nim is left alone on the island with her friends Fred the marine iguana, Selkie the sea lion, and Chica the sea turtle. The family hut is equipped with a laptop computer, and Nim is delighted to learn that Alex Rover, world-famous adventure novelist, has written Jack to inquire if it is possible to build a coconut raft. So far, so good…but…Jack doesn’t return as expected, days pass, and Nim finds her surivival skills put to the test. Her correspondence with Alex (i.e. Alexandra!) Rover continues, and another story begins to unfold. A story about facing fears, courage, and love.
The kids asked many questions during the reading of this book (more on that below), but the one that intrigued me the most was – do coconuts really float? I decided that we needed to find out.
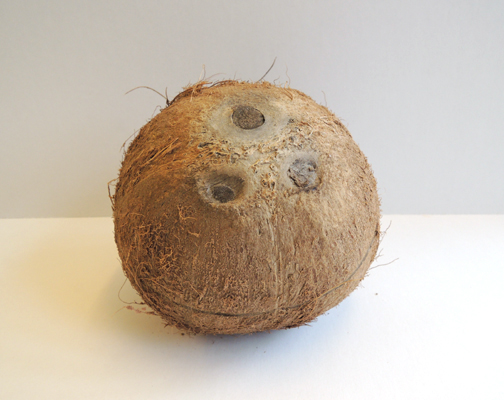 Finding coconuts wasn’t difficult. Whole Foods Market carries them in their produce section, as did Wegman’s, a local grocery chain here. I never realized how cute coconuts were – in a hairy sort of way.
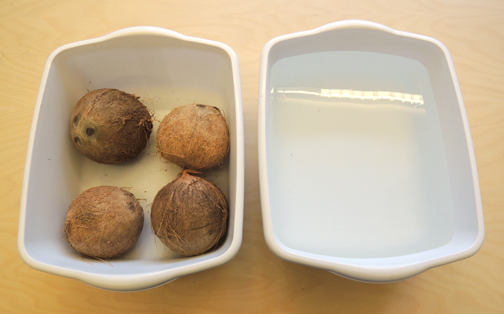
I put the coconuts in one dish tub, and filled another dish tub with water. The experiment was ready!
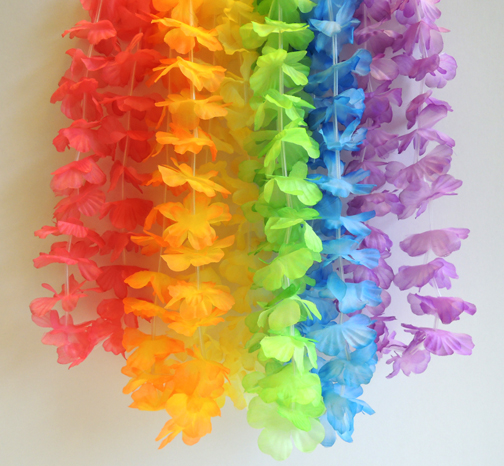
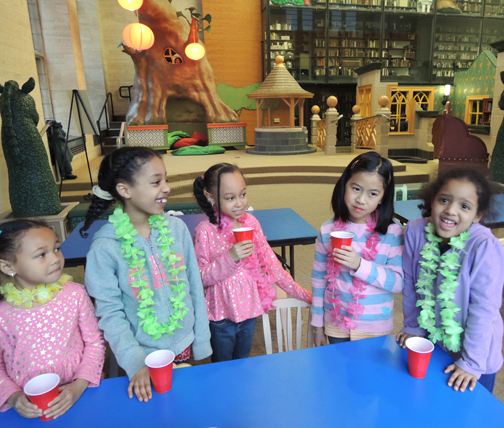
 But before we embarked on some coconut science, I set a tropical mood by handing out colorful leis and putting on an Echoes of Nature: Ocean Waves CD (Delta Music, 1993).
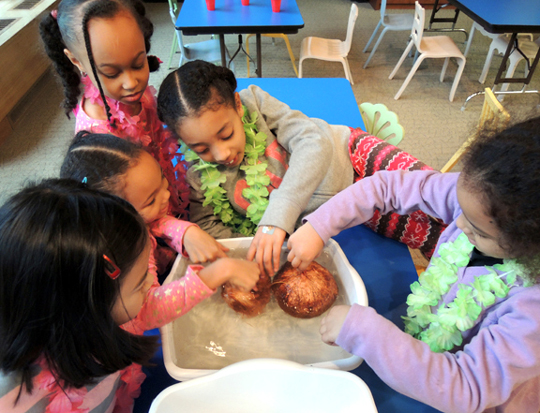
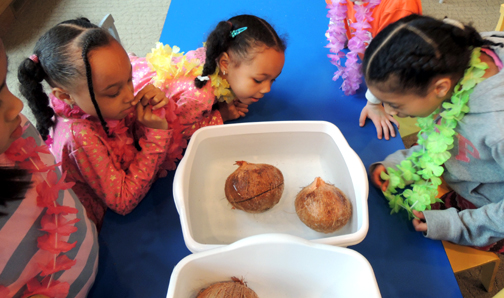
 I let everyone pick up the coconuts and examine them. Then we took a vote. Who thought the coconuts were going to float? Why? Who thought they were going to sink? Why? Coconuts are very hard and rather heavy. So they’re going to sink, right? I rolled them into the water. They floated!
 Then we moved to a different table to try yet another coconut experiment – a taste test!
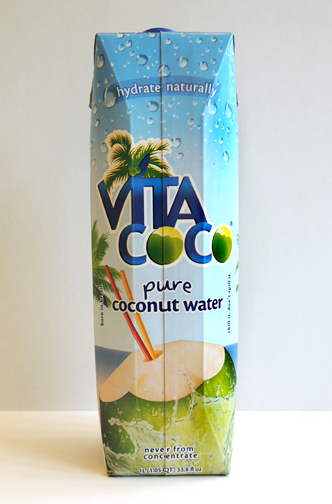 Coconut water is all the rage these days. It’s the actual liquid that comes from inside a coconut (as opposed to coconut milk, which is made from the grated meat of the coconut). This is the stuff Nim drinks in the book, so we tasted it! The reactions to the flavor, as you can see, were a bit mixed…
 But everyone gave it a good try (one little girl even asked her mom if she could get some for home!). Typically, I don’t do food in my programs (you can read more about this in my food allergy post). And, in fact, one of the kids participating in this program did have a food allergy to dairy. But the connection to the book was so fabulous, I decided to put in some legwork to make it possible.
First, I checked Vita Coco labels to see if there was any potential contamination with dairy products (there’s not, it’s actually a vegan product). I doubled checked by calling the company. Then, the week before the activity, I approached the mother of the child with the food allergy and explained what I wanted to do and what I had learned from the company. I brought the Vita Coco packaging with me so she could check the label herself. After Mom gave the OK, we were good to go!
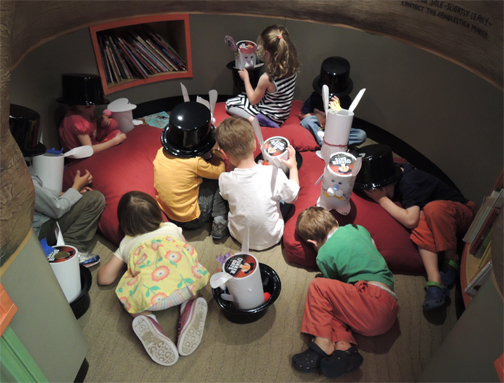
Having floated coconuts and tasted coconut water, we had one more connection to make. In the books, Nim plays coconut soccer with Fred, Selkie, and Chica. Unfortunately, it was raining outside so we couldn’t try our version of it, but we did try coconut bowling!
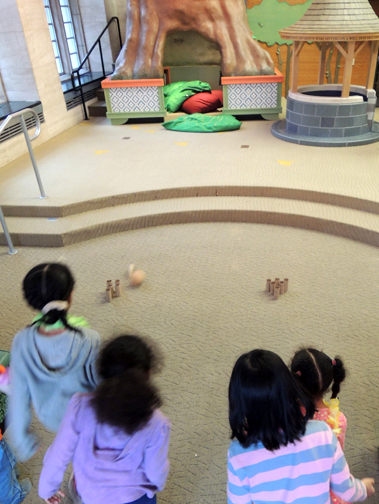 Basically, I set up two sets of 6 toilet paper tube “pins” and let ’em rip! And there you have it. Three fabulous Nim’s Island activities, all inspired by the humble, yet surprisingly versatile, coconut!
A few of the other questions that came up during this book were:
- What’s a machete?
A quick trip to Google images solved this one. - What does a marine iguana, sea lion, and sea turtle look like?
Google images again!
- What’s the difference between an ocean and a sea?
A sea is part of the ocean partially enclosed by land (from National Ocean Service)
- Are coconut pearls real?
Apparently, they’re a myth. Boo.