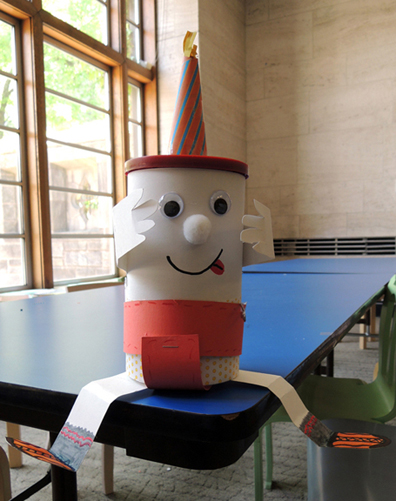
 Why is this egg wearing a climbing harness and birthday hat? Read on for answers!
We read Humpty Dumpty by Daniel Kirk (Scholastic, 2001). Humpty Dumpty, tired of hiding indoors, begs to go to shy Prince Moe’s royal birthday parade. When the crowds get too thick for Humpty Dumpty to see past, he climbs higher and higher and…falls. Right on the royal carriage. Luckily, the puzzle-crazy prince manages to put the broken egg back together again, and they become the best of friends.
You’ll need:
- 1 oatmeal container
- White construction paper
- 1 pair of wiggle eyes
- Pom-pom for nose
- A selection of patterned paper (or construction paper)
- 4 white poster board strips for the arms and legs
- 2 poster board strips for the egg’s climbing harness
- 3 jumbo paper clips
- 3 pipe cleaners
- 1 super long piece of twine
- Hot glue
- Markers for decorating
- Tape, staples, and hole punch for construction
- 1 climbing wall (more on this later!)
- Birthday eraser prizes (optional)
Start with the egg! Wrap an oatmeal container in white construction paper, then wrap an additional piece of patterned paper / construction paper around the bottom to create the egg’s pants. Hot glue the wiggle eyes and pom-pom nose. Draw the mouth with markers.
The birthday party hat is a patterned piece of paper curled into a cone and taped. You can tape a fringed paper tassel to the top if you so desire. Cut the hat to the right size, and then tape to the top of the egg’s head.
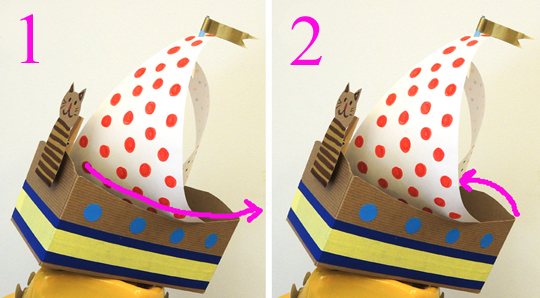
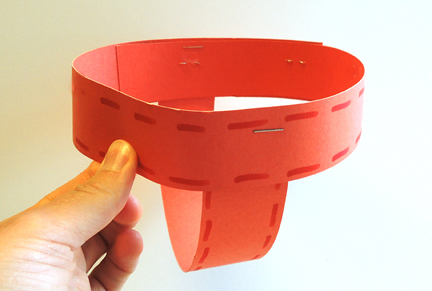
To make the harness, wrap one strip of construction paper around the egg’s waist like a belt. Staple. The next strip goes in between the legs like so:
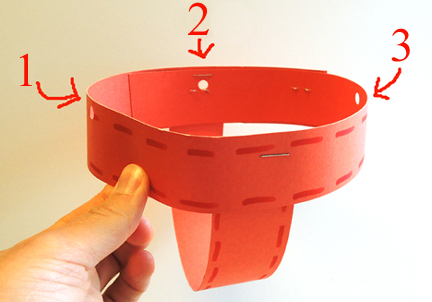
 Now punch three holes in the harness (right, left, and back).
 Slide the egg into the harness and set aside. Using markers, decorate the arms and legs. Feel free to use scissors to shape the egg’s hands and feet. Keeping the egg in the harness, attach the arms and legs with hot glue.
Now for the climbing wall (drum roll please)…
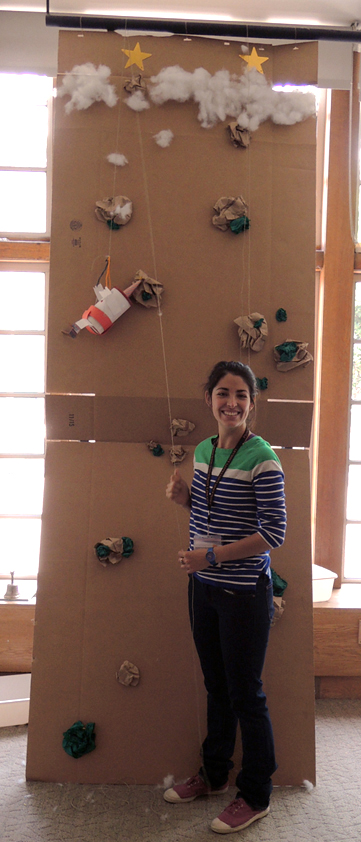 TA DA! That’s my student assistant Iara belaying Mr. Dumpty on the wall.
We made the wall out of a large flattened box that was secured to an overhead metal bar with twine. You could also create the wall on a stairwell, ladder, tall box, tree…
The rock “holds” on the wall are crumpled pieces of brown paper. The “bushes” are crumpled pieces of green tissue paper. The “snow” is bunches of polyester stuffing. All of these items were hot glued to the wall before we hung it.
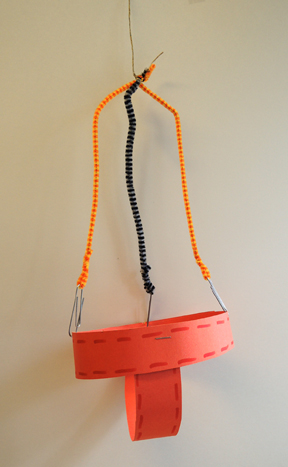
With the egg and the wall finished, all you need is the “climbing rig.” Wrap the ends of 3 pipe cleaners around 3 jumbo paper clips. Now bunch the 3 pipe cleaners together at the top and twist. Knot the super long piece of twine around the twisted pipe cleaner top. It should look like this:
 Then slide each paper clip through a hole in the harness (it’s easier to show this step without the egg in the harness).
 Then we threw the free end of the twine “rope” over the metal bar and dropped it down so kids could grab it and raise and lower their eggs (actually, we had 2 ropes on the wall, since we had 24 kids at story time and wanted to shorten the waiting time).
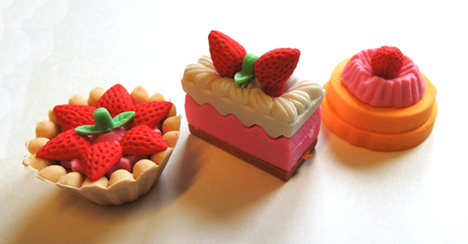
Ready to climb! Clip the pipe cleaner “rig” to the egg’s harness, and then have the kids pull the rope to make Humpty Dumpty climb the wall! In keeping with the spirit of the book, we created a game in which the birthday hat clad egg climbed to the top of the wall, “touched” a gold star, and dropped back down safely to receive a birthday cake prize (little cake erasers from Target).
 Postscript: Originally, this project was created for the book Humpty Dumpty Climbs Again by Dave Horowitz (Puffin, reprint edition 2011). In the story, Humpty Dumpty is an avid rock climber who falls and loses his confidence. He descends into a terrible depression (complete with moping around in his underwear). He revives when he learns that only he can save one of the King’s horses from a dangerous ledge, and ultimately saves the day!
We had prepped the whole project when I discovered that (the day before we were set to go) the book had gone missing! I frantically checked THREE bookstores and none of them had a copy. So I substituted Humpty Dumpty by Daniel Kirk. Mostly, it involved switching an alpine climbing hat for a birthday hat, and awarding a birthday cake prize instead of a gold star sticker prize.
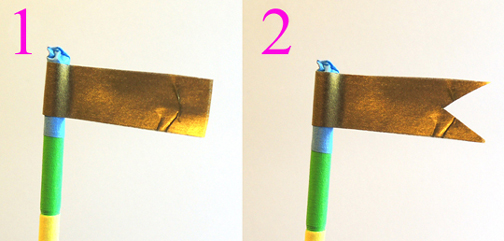
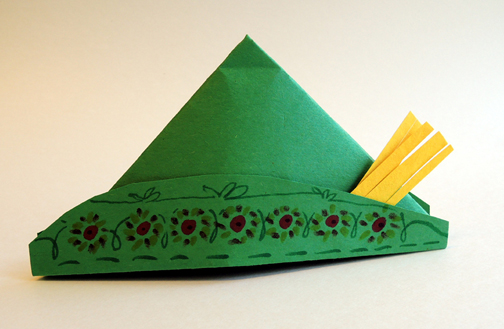
However, if you’re interested in taking the project in this direction, here is an image of the hat. It’s a simple origami hat fold with a fringed construction paper tassel and marker decorations.
 Yodel-lay-he-hoo!