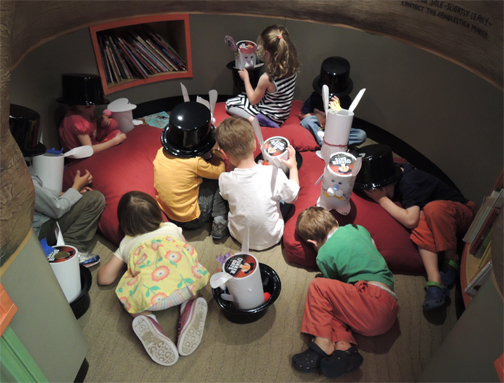
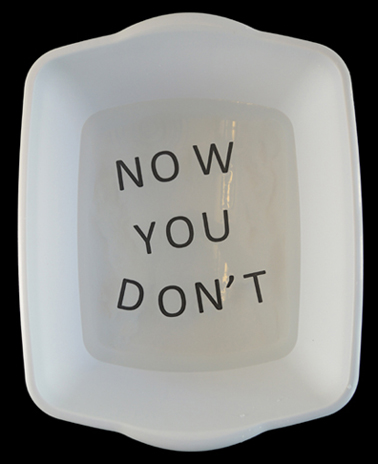
 This paper disappears in water before your very eyes, leaving the letters floating free. It’s the ultimate aqueous word scramble!
I was very intrigued when I spotted this dissolving paper in Educational Innovations’ online catalog. I’ve certainly seen the floating letter experiments with Skittles and M&Ms, but I’ve never seen anything like this paper! It’s made of sodium carboxyl methyl cellulose, a non-toxic substance that dissolves quickly in hot or cold water. Each sheet is 8.5″ x 11″. You can buy the sheets in packs of 15 for $7.95, packs of 30 for $13.95, or, if you want to vanish a whole novel, you can get 100 sheets for $42.50.
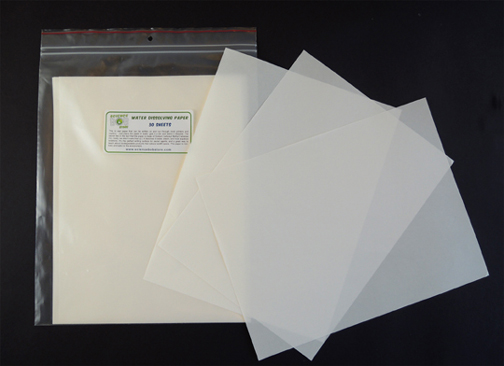 The paper is about half the thickness of standard office printer paper, but it went through both of our office printers and the copy machine with no tearing or jamming. Granted, I was just printing 1 sheet at a time. I did try 3 pages in a row on our most trustworthy office printer. Unfortunately, it had trouble grabbing the thin paper and actually missed the final sheet of the print job entirely. I was waaaay too chicken to try multiple sheets in the copy machine.
The product description stated that this paper works with “most laser printers and copiers.” But we took it a step further and also tested an inkjet printer, Sharpie permanent marker, roller ball pen ink, and ballpoint pen ink.
First, the laser jet printer. I filled a dish tub with a couple inches of room temperature water a dropped the paper in. It floated for a just moment, and then started rapidly dissolving. In a few seconds, it was reduced to a thin, almost transparent, paper-shaped film.
The package recommended giving the water a gentle stir, so I poked a drinking straw in the solution. It started breaking up, dissolving further, and yes! The letters started floating! How long do the letters remain on the surface of the water? A long time! I left them in the dish tub overnight, and they were still happily floating the next morning.
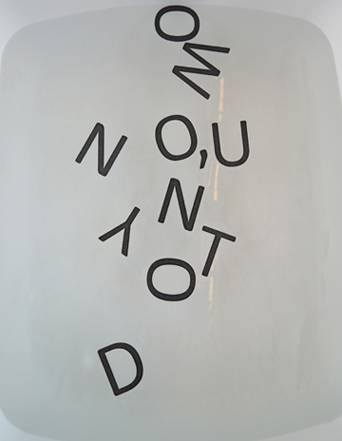 Second test, copy machine. The letters printed considerably lighter on the page (this was a toner thing with our copier, not the paper). But that didn’t impair the letters from floating on the water like little alphabet ducks!
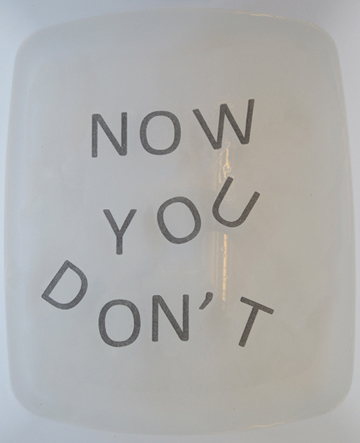 So our laser jet printer and the copy machine worked. What didn’t work? Our inkjet printer. First of all, it blotted the paper during printing…
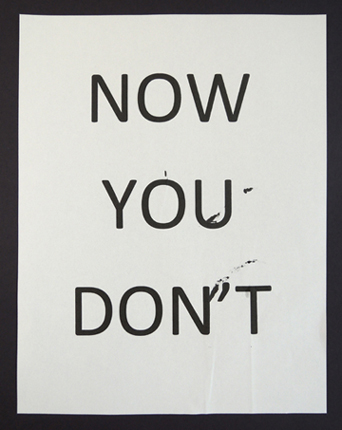 And when it came to the water test, the letters just disintegrated:
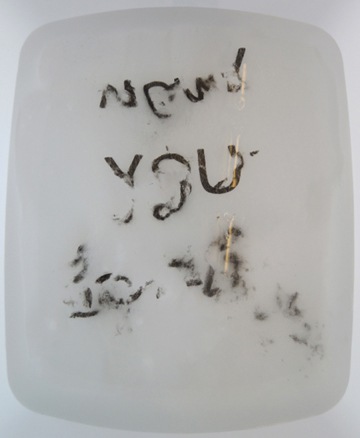 The same applies for Sharpie permanent marker:
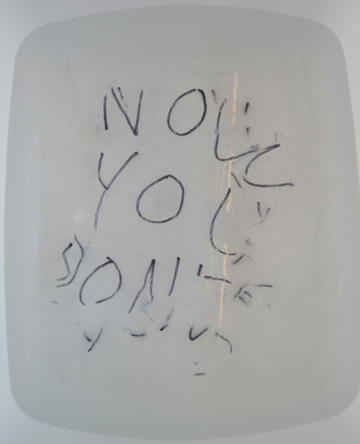 Roller ball ink and ballpoint ink also broke apart. The ballpoint ink shredded immediately (you can just see the sentence “Will ballpoint pen work?” at the bottom of the image below). Roller ball, I am surprised to report, held out a little longer.
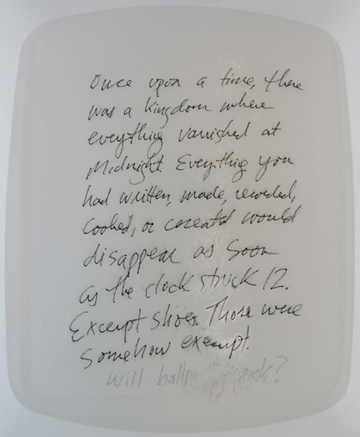 It was sort of cool. The roller ball ink blurred, sunk a little, and then just hung in the water. Eventually, however, the roller ball ink went the way of the ball point, Sharpie, and inkjet. It dissolved into a black smudgy mess.
It’s important to note that for all of these tests, the paper didn’t dissolve entirely. There was a little cloud of solution that started hanging around the bottom of the dish tub. The more paper I dissolved, the cloudier the water become. So if you’re going to do this with a bunch of kids, you will definitely need to change the water every so often.
Finally…
Being the incredibly mature people that we are, we decided to test the paper in the toilet. It worked. Of course it worked.
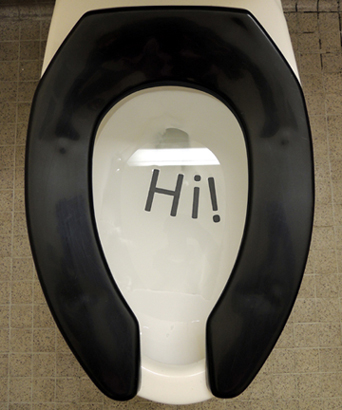 But no matter where you’re dissolving this paper – a dish tub or a commode – the letters do float apart very quickly. So leaving a secret message for someone isn’t really going to work (unless they’re standing right next to you and reading quickly). But this would be a fantastic way to introduce the concept of the anagram. Or jump-start a discussion about biodegradable materials. Or, just experience the fun of watching a sentence you’ve written slide apart and swirl across the surface of the water. Magic!

