 Let’s see. There’s a pig in a house of straw, a pig in a house of sticks, a pig in a house of bricks, and a pig on a sailboat. Wait…what?!? A fourth little pig? On a sailboat?
We read Ziggy Piggy and the Three Little Pigs by Frank Asch (Kids Cab Press, 1998). Once there were four little pigs. Ted, Fred, Ned, and Ziggy. Carefree Ziggy invites his brothers to the beach for a swim, but finds them madly fortifying their houses of straw, sticks, and brick. The Big Bad Wolf is in town, and Ted, Fred, and Ned don’t have time to play. So Ziggy goes to the beach by himself. The Big Bad Wolf huffs and puffs and chases Ted, Fred, and Ned to the beach, where they pile onto Ziggy’s raft. But when the Wolf attempts to blow the raft to bits, Ziggy hoists the sail and the four brothers sail away to safety.
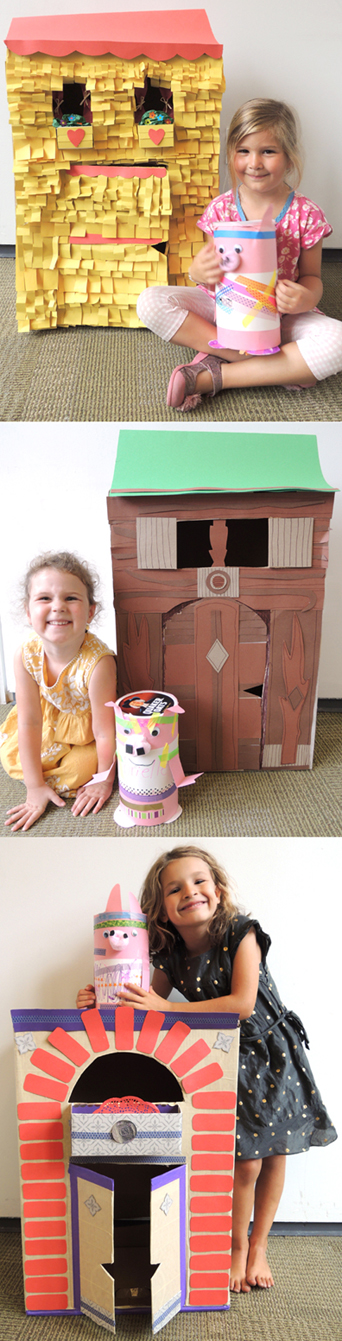
We made oatmeal container pigs, and then went searching for sailboat ride tickets in houses of straw, sticks, and brick. You had just a few seconds to find your ticket before the Big Bad Wolf appeared. Story time finished with a ride on a perfectly pig-sized sailboat!
You’ll need:
- 1 oatmeal container
- Pink construction paper
- White construction paper
- A square of white poster board (approximately 6″ x 6″)
- A pair of wiggle eyes
- 1 pink jumbo pom-pom
- 2 small circles of self-adhesive foam
- Scissors and tape for construction
- Markers for decorating
For the game, you’ll need:
- A sailboat ride ticket template, printed on 8.5″ x 11″ paper
- A set of 3 houses, a Big Bad Wolf, and a sailboat (more on these later!)
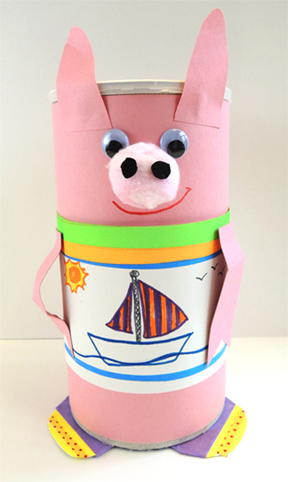
To make a pig, wrap an oatmeal container with pink construction paper. The pig’s “shirt” is a 5″ x 18″ piece of construction paper decorated with markers. Cut a pair of “sneakers” out of poster board, decorate them with marker, then hot glue the sneakers to bottom of the oatmeal container. Use extra pink paper to make ears and arms. We offered a selection of patterned tape to liven things up, but you can also just stick with markers.
To make the face, hot glue the wiggle eyes to the oatmeal container (or draw eyes with markers). Hot glue a pink jumbo pom-pom on for the nose, and use 2 self-adhesive foam circles for nostrils. In the above photo, however, you’ll notice the pig has a pink cotton ball nose. So why do I suggest a jumbo pom-pom? THIS is why…
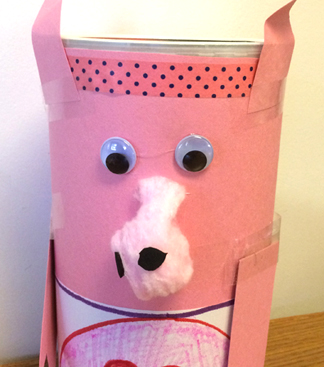 As time passes, the cotton ball sloooowly unfurls, leaving your pig with a droopy nose. Definitely use a pom-pom.
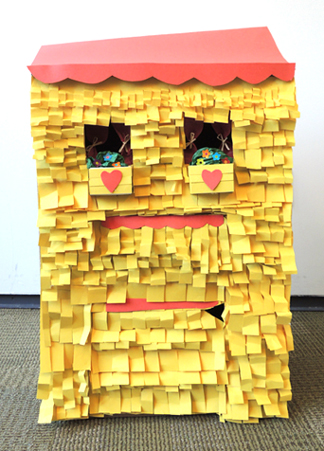
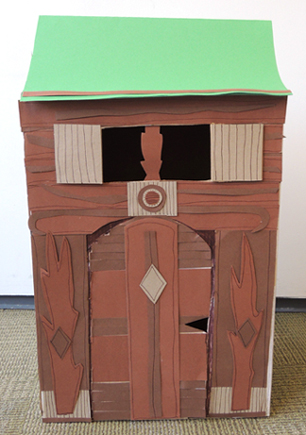
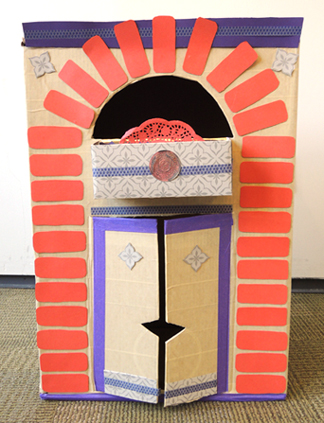
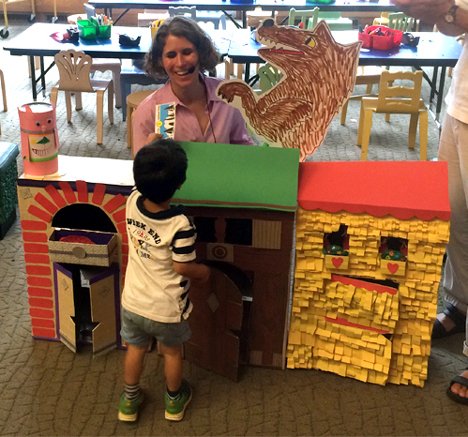
And now for the game, which requires a set of 3 houses, a Big Bad Wolf, and sailboat. Marissa and I snagged three big boxes from the recycle bin, charged up our hot glue guns, and started building. In addition to the decor in the front, there is a small door cut into the back of each box. This is so later, during the game, I could sneak the sailboat ride tickets into the houses undetected.
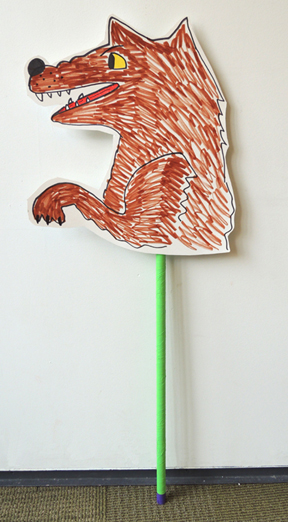
 I drew a Big Bad Wolf on a piece of poster board, and taped him to a piece of PVC pipe. I tried to make him look not too scary. Not sure if I succeeded.
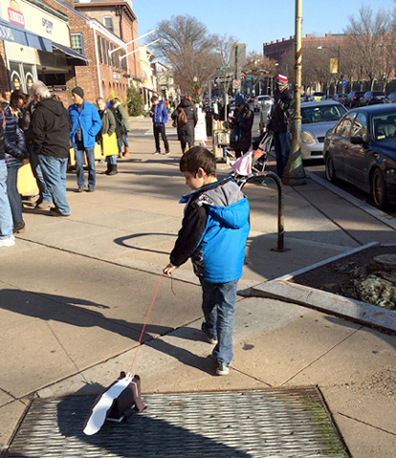
 Finally, the sailboat. It doesn’t have to be elaborate. Seriously. A shoe box pulled on a string will work great. I just happen to have this awesome sailboat my Dad made for me.
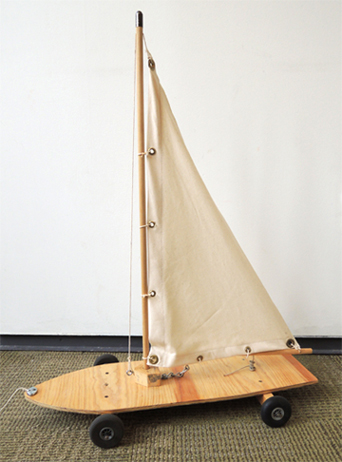 Originally, it was used at a Treasure Island event. One of the student groups at the event (Students United for a Responsible Global Environment, to be precise) wanted to demonstrate wind power. So I asked my Dad (hi Dad!) if he could build a sailboat that would roll down a table, propelled by a fan. It worked great!
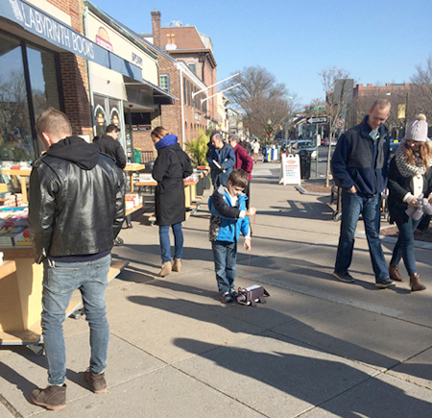
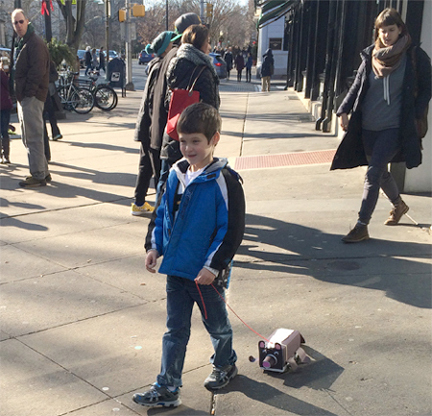
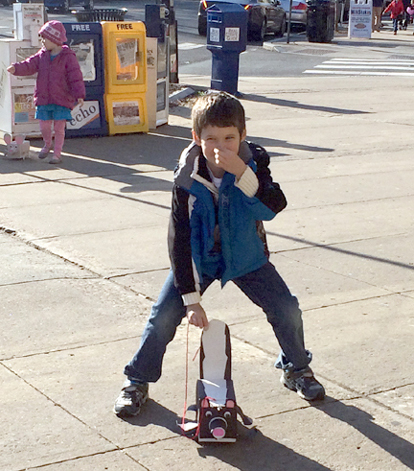
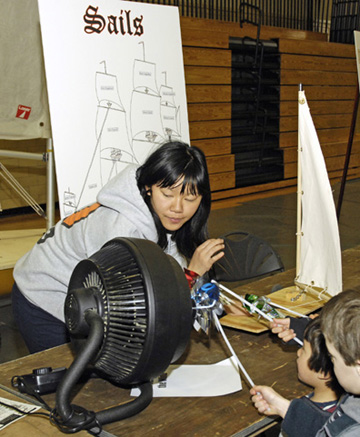 On windy days, we bring the sailboat out of the attic and take it outside. In a brisk breeze, you really have to run to keep up with it!
 But back to pigs. Here’s how we played the Ziggy Piggy game. I lined up the three houses and asked the kids to sit down in front of them. Then one kid covered his/her eyes while I hid a sailboat ride ticket inside one of the houses. When I shouted “Go!” and the kid had 10 seconds to find the ticket before the Big Bad Wolf rose from behind the houses. Sometimes I had to slow the count, but in the end, everyone won.
 Marissa and I then ushered the kids and their pigs out to the library’s main lobby, where we sat in two groups. Marissa was “Dock 1.” This is where all the pigs gathered. Some distance away, I was “Dock 2,” where all the kids gathered. Between the two docks was the sailboat, rigged up on a loooong string. One by one, Marissa would call out a kid’s name and place his/her pig on the sailboat. The kid would come and stand next to me. Once I confirmed that their pig had a ticket, I would reel in the string, causing the sailboat to whizz over to the kid!
 When story time was over, we drew names to see who was going to take the 3 houses home. The winners are the little girls posing at the start of this post. They were super thrilled!
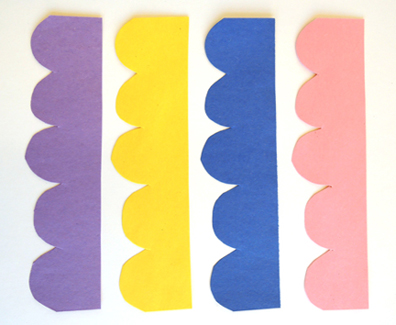
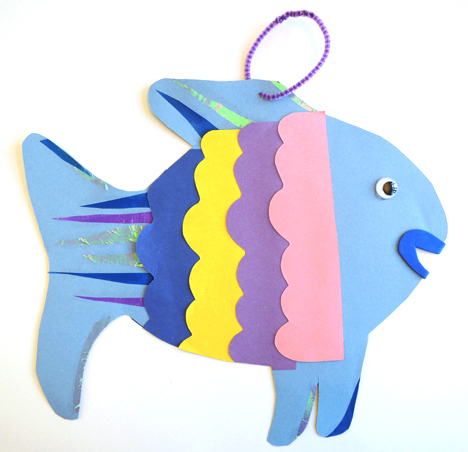
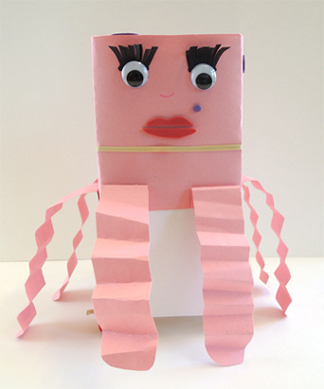
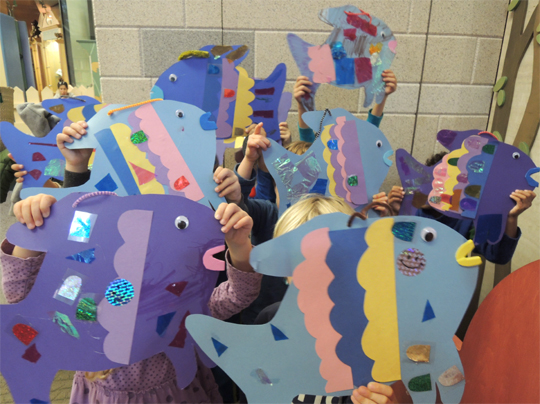 Join this beautiful school of fish with their bright, sparkling scales! These easy-to-make fish were created with poster board and construction paper. Then we grabbed a set of sparkling rainbow scales and had a glittery share-fest. That’s right! You could only stick your scales on other peoples’ fish!
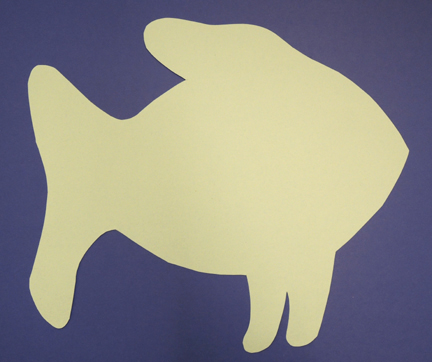
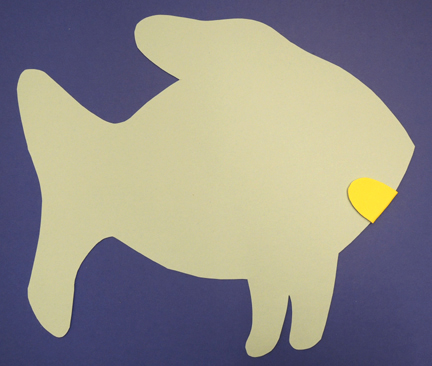
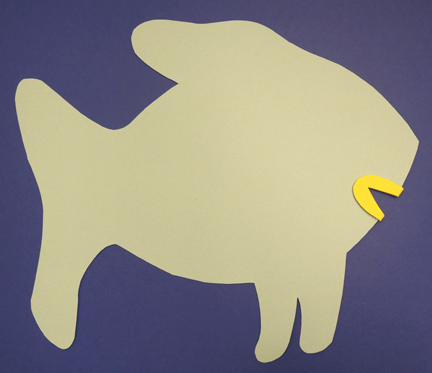
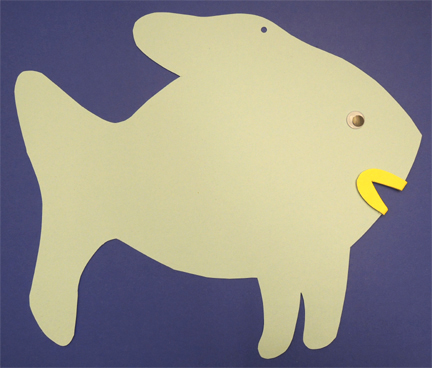
 To create puffy lips for your fish, start with an oval of self-adhesive craft foam.
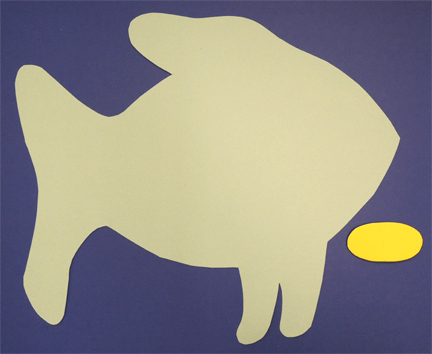
 Now for the sharing game…and…duh duh DUH…an EPIC STORY TIME CRAFTING FAIL!
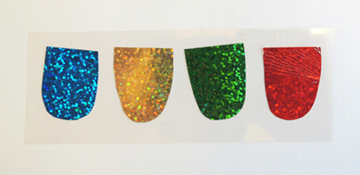 Look at these beautiful glittering scales! I found some sheets of self-adhesive hologram paper at Party City. Marissa painstakingly cut and peeled zillions of scales, and stuck each set on mylar. We tested peeling the scales off the mylar to make sure kids could do it quickly and easily.
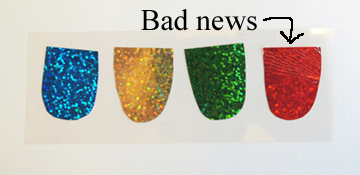 No scale stickers meant no sharing game. Refusing to admit defeat, I sent Marissa and Joani over to quickly cut the strips of scales into individual scales. To buy them some cutting time, I whipped a roll of hologram smiley face stickers out of the cabinet.
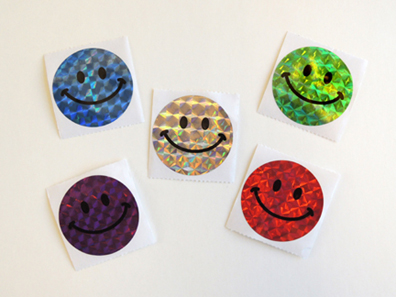 I asked the kids to line up and, one at a time, tell me something nice that they had done for someone recently. Their good deed earned their fish a smiley face sticker AND a trip to see Marissa and Joani to get a set of scales hot glued onto their fish. Sure, it wasn’t the sharing game, but you still got a sparkly fish in the end.
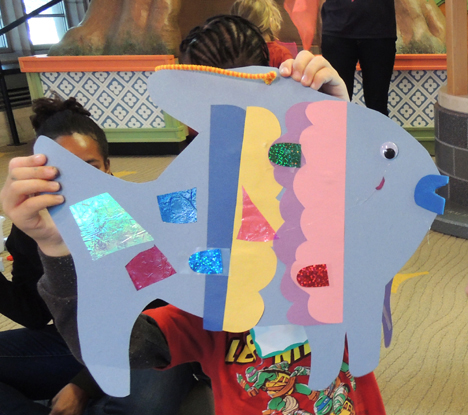 If I was to do this again, I would definitely do the original sharing game. But I would use metallic dot stickers cut in half to replicate fish scales.
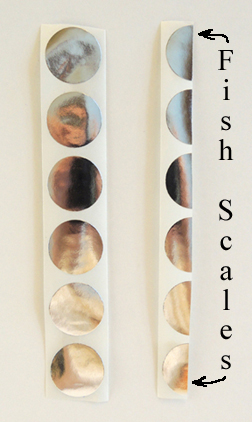 Because I’ve learned my lesson. Peel the stickers off the original paper they come on. Don’t stick them on anything except the final product. Oooooooh yes.Interested in some other sharing and cooperative story times? Try this
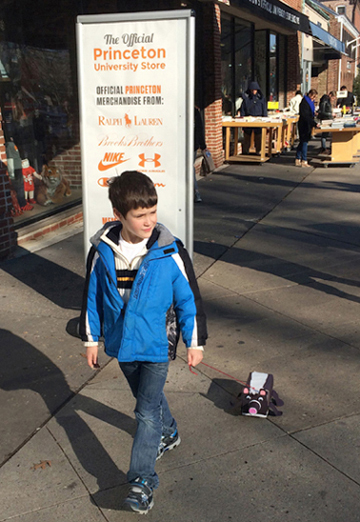
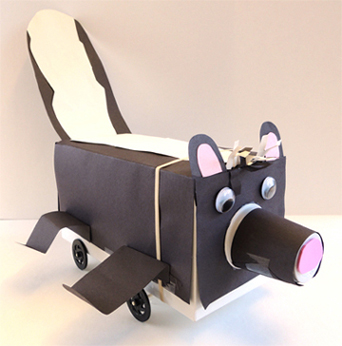

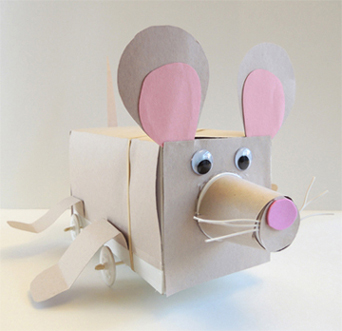
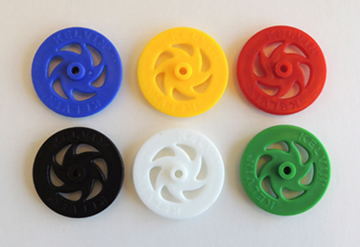 Thread the wheels on pieces of bamboo skewer, and then thread the skewers through drinking straws taped to the bottom of the box like so:
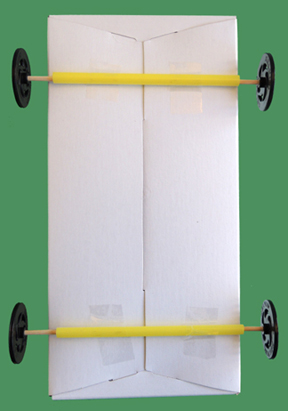 You could also use wooden spools instead of plastic wheels. Or, if you’re planning to stay indoors, skip the wheels and just drag the box on the floor (like the dog from