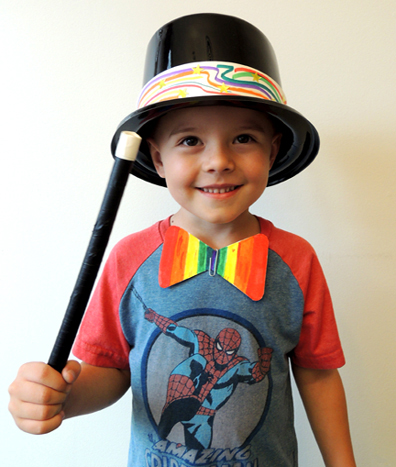
Hat, wand, and rabbit ready? Then…it’s showtime! Prepare yourself for a magical extravaganza extraordinaire with a top hat packed with mind-boggling magic tricks!
We read Life is Magic by Meg McLaren (Clarion Books, 2016). Not every rabbit is the right fit for a magic show assistant. But Houdini the rabbit? He’s a natural! However, when a stage trick turns the magician into a rabbit himself, it’s up to Houdini to keep the show running until he can figure a way to get his human back!
You’ll need:
- 1 plastic top hat
- 1 strip of white poster board (approximately 2″ x 28″)
- Black poster board
- 1 square of plastic tablecloth (approximately 6.5″ x 6.5″)
- 1 magic rabbits template, printed on 8.5″ x 11″ card stock
- 1 piece of string (approximately 27″)
- 1 snippet of plastic straw (approximately 1.75″)
- 1 piece of PVC pipe (approximately 10.5″)
- A selection of color masking tape
- Scissors and tape for construction
- Markers for decorating
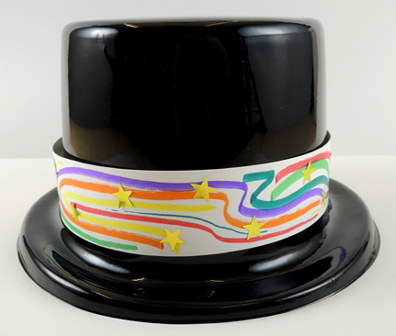
First, use markers to decorate a 2″ x 28″ strip of white poster board (we offered foil star stickers as well!). Wrap the hatband around the outside of a plastic top hat. We bought our hats from Oriental Trading Company (item #70/1284) for $8 a dozen. INSIDE the hat is where the magic happens…
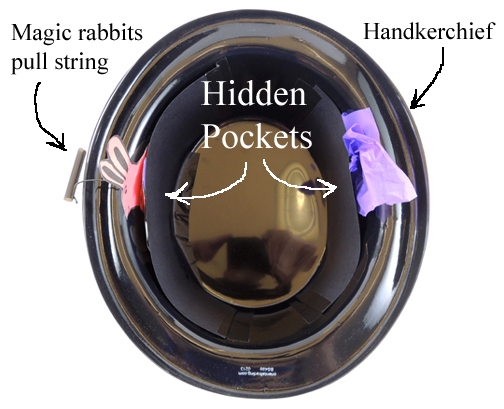 As you can see, the interior of the hat has two hidden pockets. These are made from 2 rectangles of black poster board taped inside the hat. After some testing, we learned that the pockets need to be fairly large (4.25″ x 9.5″) in order for the tricks to works successfully.
First, stuff a 6.5″ x 6.5″ piece of plastic tablecloth inside the right pocket of the hat.This is your magical “handkerchief.” Meanwhile, on the left side of the hat, notice the little 1.75″ snippet of plastic drinking straw? That’s the beginning of the pull string for a long line of magic rabbits…
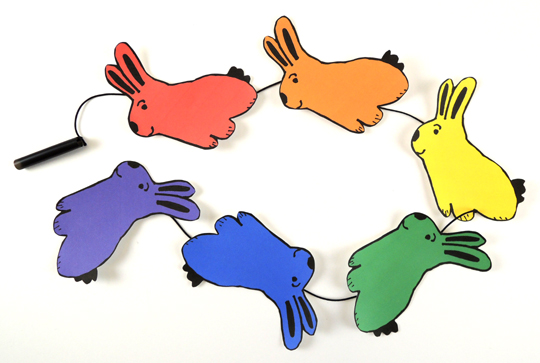 We gave the kids white rabbits to color, but if you want to print them in rainbow, you’ll find that template here. Knot a piece of string around the drinking straw snippet, then tape the rabbits to the dangling string. Bunch the rabbits up and slip them into the left pocket of the hat. However, leave the drinking straw snippet dangling outside the pocket so your fingers can find it later when you’re performing your trick.
Ready for the magic? Trick #1: First, show your audience that the inside of the hat is “empty.” Then, sneeze into your hat dramatically. While you are sneezing, pull the plastic handkerchief from the hidden pocket and say “Ta da!” Trick #2: Again, show the inside of your hat is empty. Then find the dangling drinking straw snippet with your fingers. Shout “Abracadabra!” and yank the line of rabbits out of your hat!
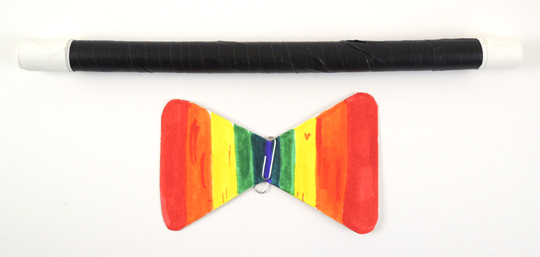
We also made classic wands by wrapping a 10.5″ piece of PVC pipe with color masking tape. And who can resist a poster board bow tie that attaches to your collar with a small paperclip?
 If you’d like a add a third trick to your magic show, we highly recommend the “sticky wand” trick. You’ll find it, and other awesome tricks, in this “Incredible Illusions” post, but I’ve modified the instructions slightly below.
First, run your hand around the rim of your hat, announcing that it is giving you “magic magnetic powers.” Next, hold the wand in your “magnified” hand. Say “Observe my stupendous magnetic powers!” Extend your arm across your body and out to your side, still grasping the wand. Wrap your free hand around the wrist of your wand hand. Slowly and dramatically, lift each finger from the wand until you no longer appear to be holding it.
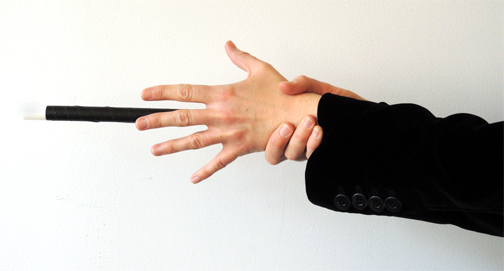
But you are holding it of course. Because when you grab your wrist, you sneak a finger behind your wand hand and hold the wand like this:
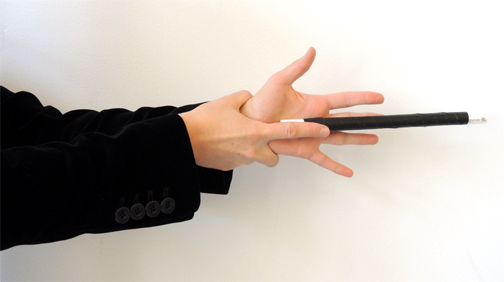 Tell the audience they have magic abilities too. On the count of three, have them audience clap once to “demagnetize” the wand. When you hear the clap, lift your finger to release the wand, and let it fall dramatically to the floor. Then take a big bow!

 Tomorrow, our library is kicking off the programming year with a Secret Garden event at
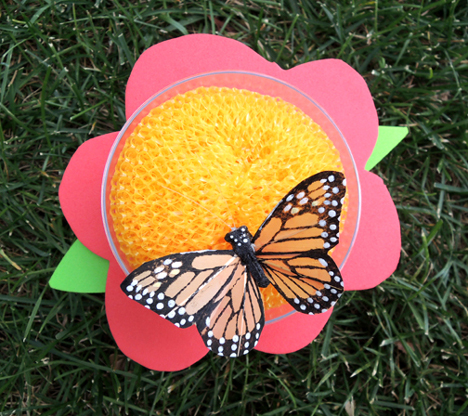
 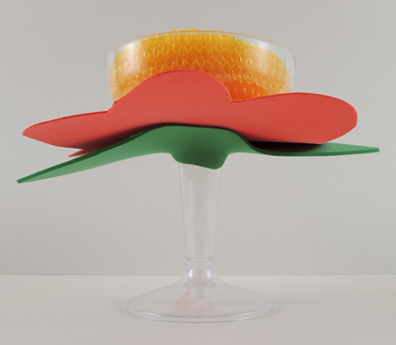 To make the homemade butterfly nectar, mix 9 teaspoons of water with 1 teaspoon of white sugar. Pop it in the microwave for about 45 seconds. Pour the nectar on top of the pot scrubber…your butterfly buffet is ready!
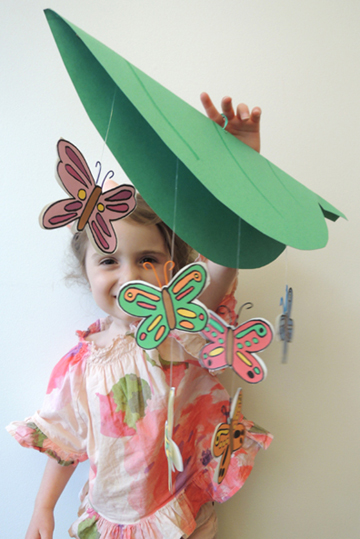 Just a quick, clever little flip…and your giant leaf reveals a gorgeous butterfly mobile!
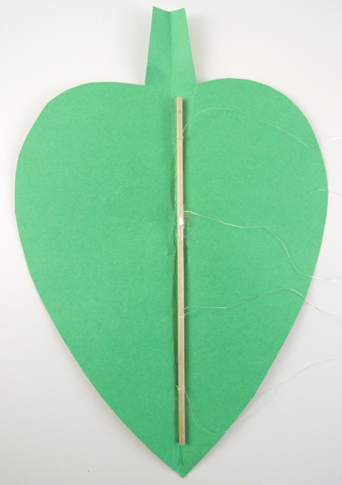
 Next, knot 4 pieces of clear elastic beading cord around a wooden dowel. The strings need to be fairly long (15″ or so) to allow the butterflies to dangle well below the edges of the leaf. Once all the strings are attached, hot glue the dowel along the spine of the leaf.
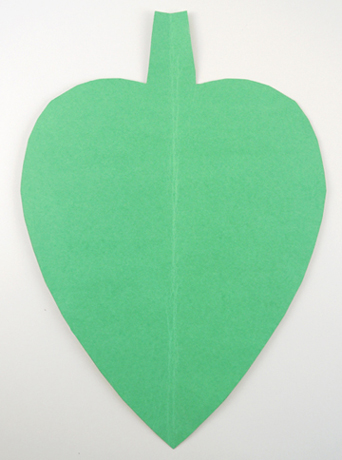
 Now your leaf needs a finger loop. Fold the leaf in half, then use a box cutter to make a small hole in its middle. Thread an 8″ piece of twisteez wire or pipe cleaner through the slit, then circle the wire to make the loop (you can also use markers to draw veins on the outside of the leaf like we did!).
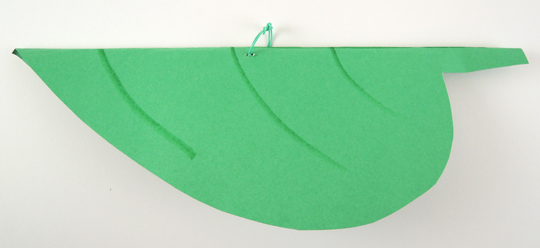 Now for the butterflies! Color and cut the butterflies from the template. The way I positioned the butterflies on the template allows you to fold them double sided. But you can also go single sided if you like! Arrange the butterflies on the elastic beading cord, then secure with tape.
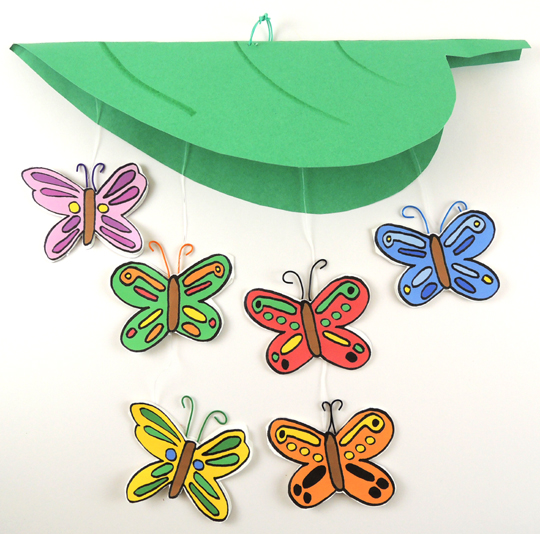 To operate the mobile, tuck the butterflies into the leaf. Slide your finger in the loop, and, keeping the butterflies tucked, hold the leaf upwards. Find the person you’d like to surprise, then quickly flip the leaf upside down, releasing the surprise butterflies!