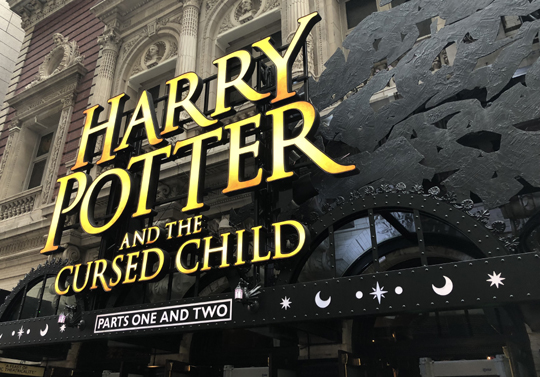
 A few weeks ago, Katie, Marissa, and I saw Harry Potter and the Cursed Child on Broadway. Just…soak up the epic-ness of that last sentence. I’d love to share our theater-going experience, but first, I do solemnly swear there will be NO SPOILERS about the content of the play itself.
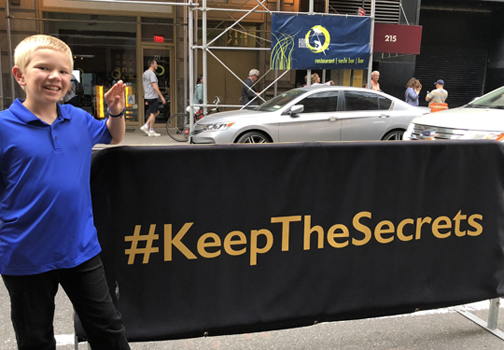
Katie was the one who started the Broadway ball rolling. In the fall of 2017, she entered and won the ticket purchase lottery. And that is how, eight months later, Marissa, Katie, and I journeyed to Manhattan to witness wizarding wonders. We were really excited.
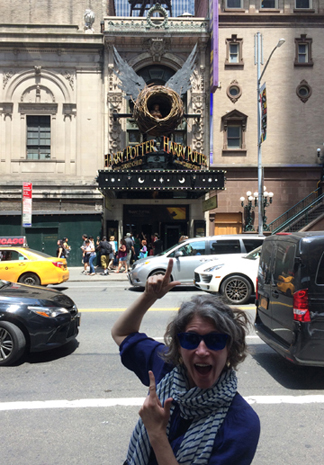 Like, really, really, really, REALLY excited.
The performance is split into two parts. Part I runs for 2 hours and 40 minutes, which includes a 20 minute intermission. Part II is 2 hours and 35 minutes with another 20 minute intermission. The way Katie purchased the tickets, we saw both parts on the same day, with a dinner break.
Cursed Child is playing at the Lyric Theater, which underwent a massive, multimillion dollar renovation in order to host the play. The co-designers (Christine Jones and Brett J. Banakis) must be huge Harry Potter fans because you can absolutely feel the love, care, and creativity that went into creating a totally immersive experience.
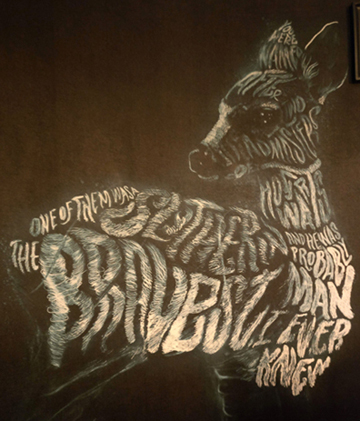
For example, there’s a circular room that’s filled with a huge mural of patronus. Their bodies incorporate BOOK quotes! They are the masterful work of UK artist Peter Strain.

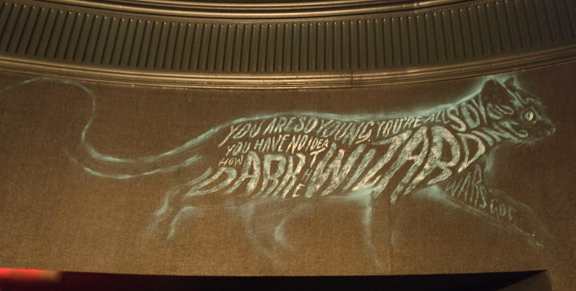
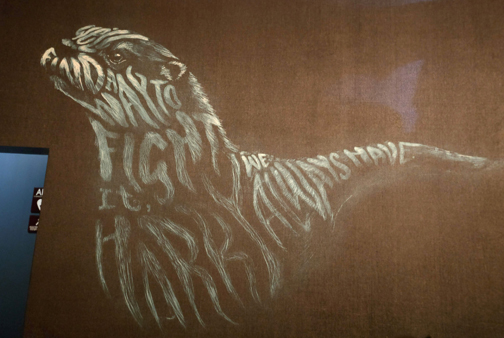
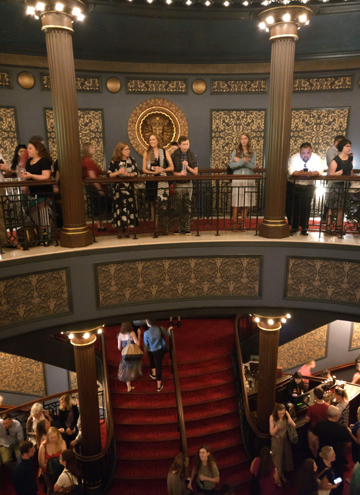
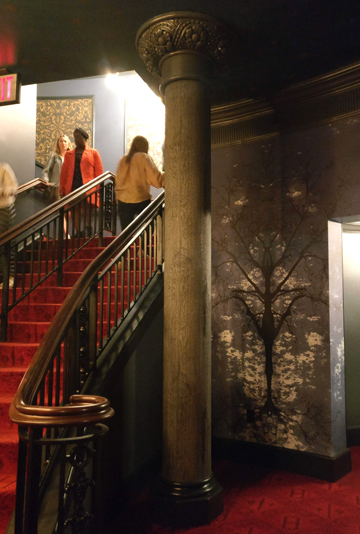
A little further in the theater is a multi-story staircase. Very elegant.
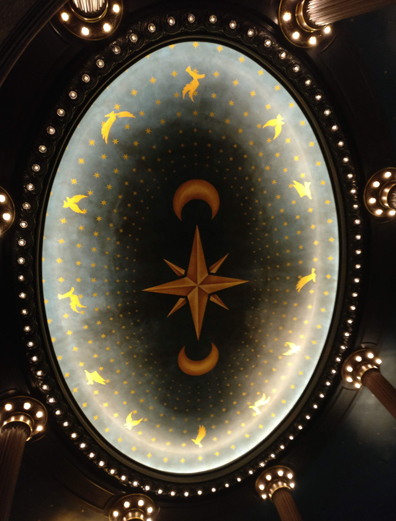
But the best part is the ceiling. Look at this…!
The lowest level was decorated to resemble the Forbidden Forest. The pillars are natural wood that has painted over. So they resemble highly stylized tree trunks.
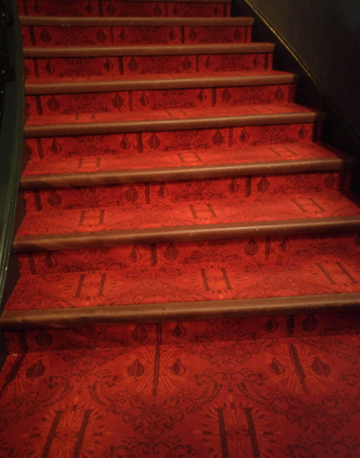
Take a closer look at the carpet, too. A delicate little custom H emblem for Hogwarts.
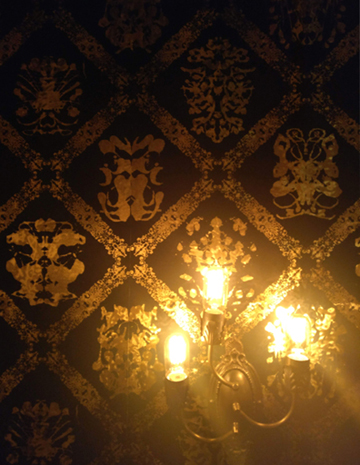
 Custom gilded wall paper too. I fell in love with the the balcony-level wallpaper…
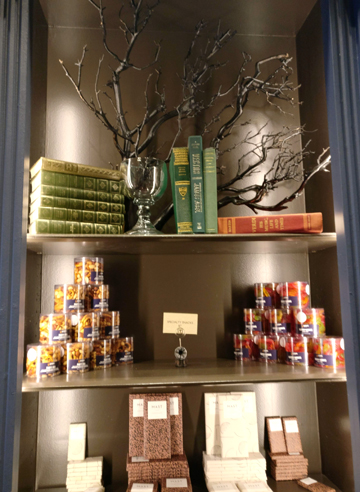
Even the merchandise areas were stylish. The Lyric has a couple shops, concession stands, even bars for the grown-ups! This is a shelf in one of the candy areas. I love the branch, glass goblet, and books. There were cool old books on display everywhere.
Finally, it was time for the show to begin. Here’s the interior of the theater. If you look closely at the stage, you’ll see stacks of old-fashioned suitcases. The first scene takes place on the platform in King’s Cross Station.
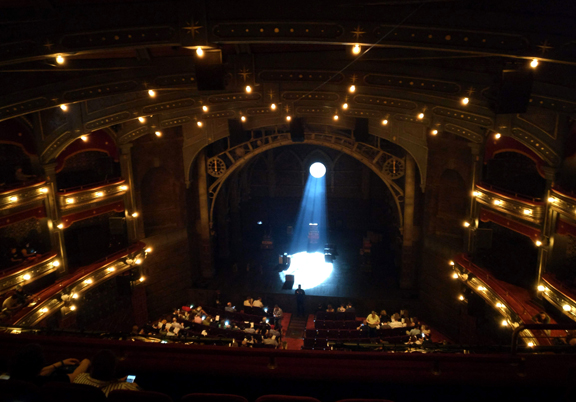
I promised no play spoilers, but what I can say is…wow. Wow wow wow wowie-WOW. It was a masterpiece of acting, music, choreography, lighting and stage illusion. Some of the illusions were BIG. And some of the illusions were such simple, beautiful little touches, it brought tears to my eyes. There were inside jokes for book fans, and the return of much-loved characters (even if it was ever-so-briefly). Without giving anything away, I will say that the production crews used every single bit of that theater to tremendous effect.
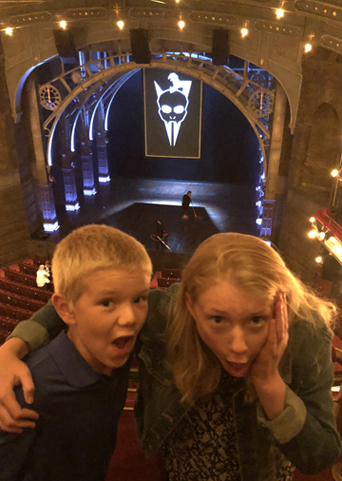
The end of Part I will simply take your breathe away. Seriously. I didn’t exhale for 3 minutes while things played out. Here’s Katie’s son and niece giving their reactions to the conclusion of Part I.
Harry Potter and the Cursed Child kept us utterly enthralled for 5 hours and 15 minutes. There were 3 curtains calls to a massive standing ovation. The cast and crew deserve every single bit of that applause and more. They put their whole hearts into what will forever be one of the highlights of my literary life. Bravo.

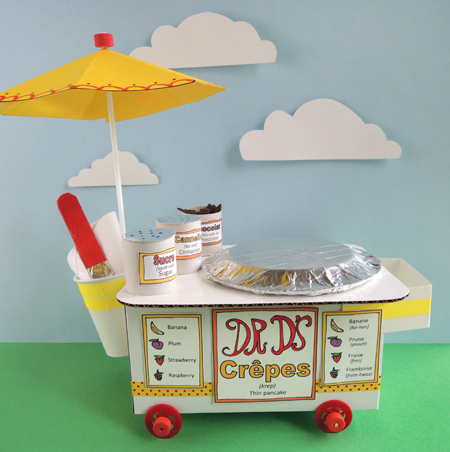 Make delicious crêpes to order with this fantastic crêpe cart! Pour the fabric batter onto the griddle, add a number of felt toppings, sprinkle on a bit of sucre from your counter top shaker, then use your spatula to fold the crêpe at just the right time. The cart’s signs are printed in both English and French (with helpful pronunciation guides), so your customers can order like Parisian pros! C’est Magnifique!
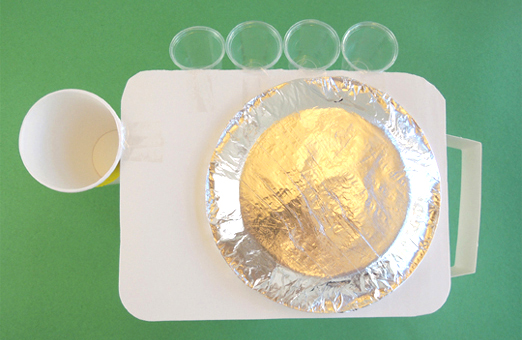
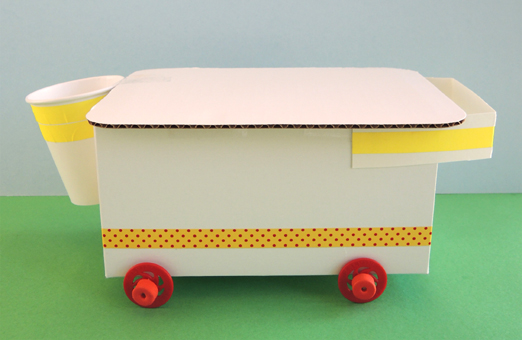 Two important things about the cart’s counter top! 1) Make sure it’s wide enough to fit your small paper plate (our counter tops were 7.5″ x 9.75″); 2) It’s a little hard to tell in the above photo, but make sure the paper cup end of the counter top is flush against the side of the box. Otherwise, your umbrella won’t attach correctly. And speaking of paper cups, notice how ours is taped towards the back of the cart? That’s so you won’t keep bumping into the umbrella while reaching for your crêpe supplies.
 The umbrella comes next! Cut the umbrella octagon from the template (we printed ours on yellow card stock). Decorate it with markers, then use scissors to cut a slit from one of the points of the octagon to its center.
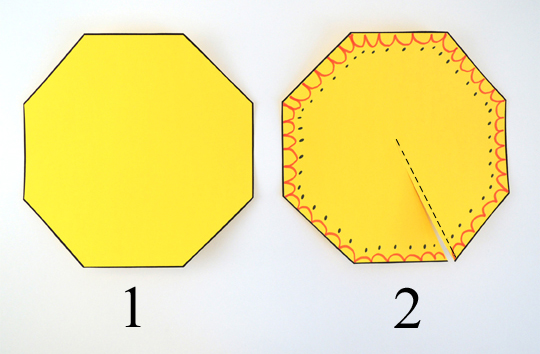 Carefully mountain fold the octagon along its remaining points.
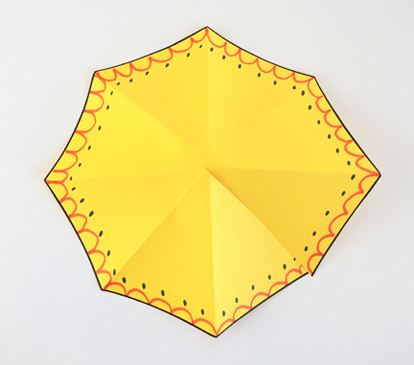 Cut a small slice in the top (this is where your umbrella pole will poke through). Next, slide one of the octagon’s triangle folds under another, then tape the octagon closed.
 This results in a seven-sided umbrella canopy with a hole in the top.
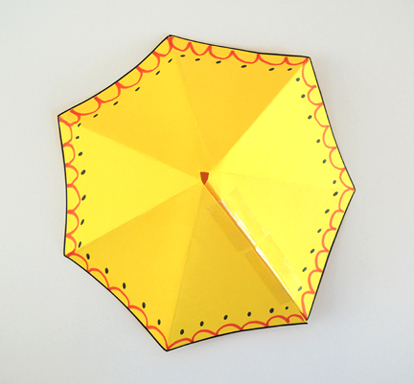 Now stick a foam bead on the end of a balloon stick.
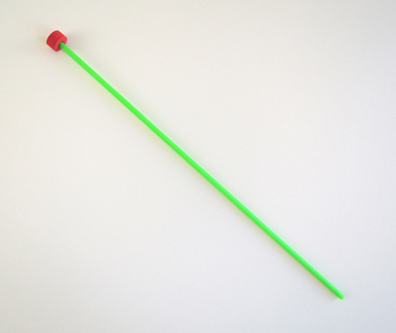 Slide the umbrella canopy up the stick to meet the foam bead.
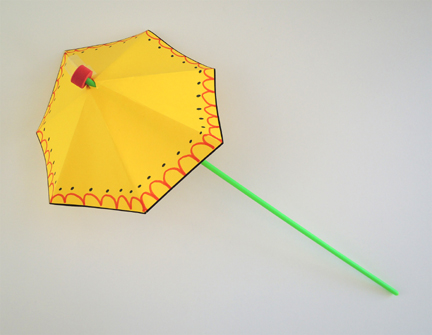 Slide a second foam bead up the stick to secure the umbrella’s canopy in place. In the below photo, you can see the umbrella canopy wedged between a red bead and an orange bead.
 Tape the umbrella to the stand. If the balloon stick extends past the bottom of the cart, use scissors to clip off the excess.
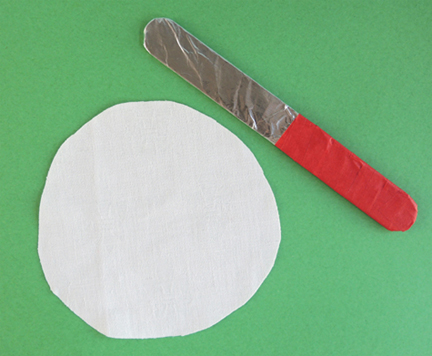
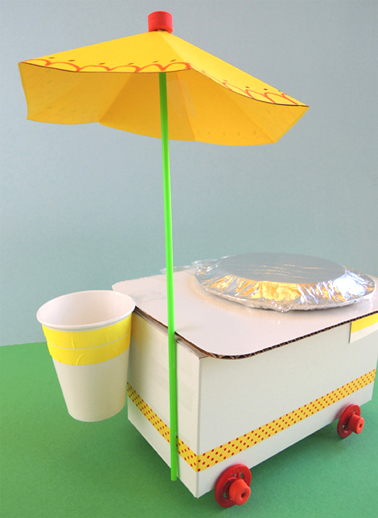 Now it’s time to stock your cart! Cut and decorate the signs from the crêpe cart template, and glue (or tape) them to the front of the cart. The crêpe batter and spatula go into the paper cup. Our “batter” was an old fabric tablecloth (thank you
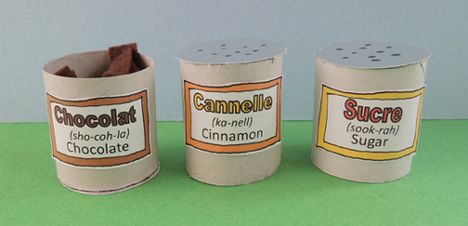
  Sitting on top of the cart are your sugar, cinnamon, and chocolate canisters. Each canister was 1/2 of a toilet paper tube with a template label affixed to it. The sugar and cinnamon had little circles of silver mirror board hot glued to the tops (we used Sharpie to draw little holes in the tops too). The chocolate canister’s circle is hot glued to the bottom of the tube. Then it gets stuffed with bits of brown felt.
 The little plastic cups on the back of the cart are also filled with bits of felt. Pink for strawberry, red for raspberry, yellow for banana, and purple for plum.
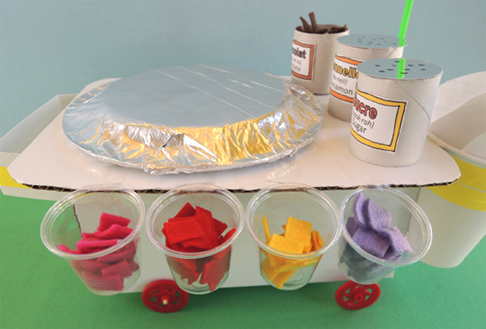 Voilà! Your cart is finished! So, how exactly do you make a crêpe? You put the circle of batter on the griddle, add some felt ingredients, fold the crêpe in half with the spatula, fold the crêpe in half again, then serve it to your customer.
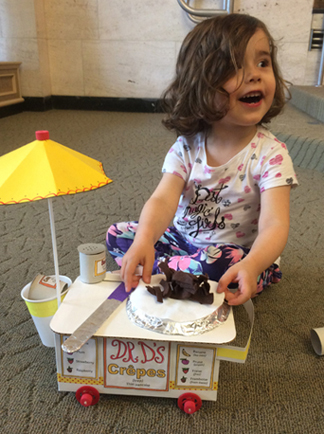 Or maybe it would just be easier to show you…in French no less
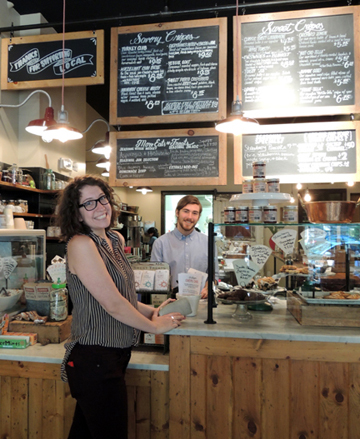 Here’s a griddle at work. You can just see the special spatula on the white cutting board…
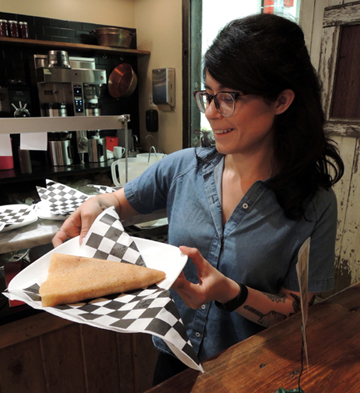
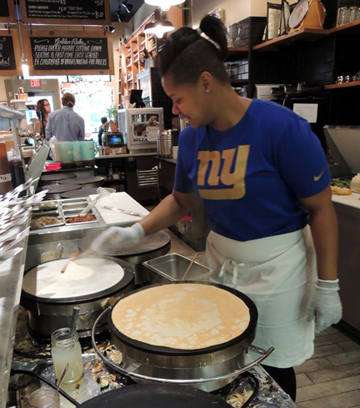 The crepe arrives at your table in a beautiful, warm wedge of deliciousness. I’m trying to work my way through the restaurant’s generous menu of sweet and savory crêpes, but I keep getting stalled on their hammin’ cheese melty with seasonal pickles and mustard aioli. Mmmmmm…
 Jammin’ Crêpes LOVED the little crêpe cart! It received their official stamp of approval.
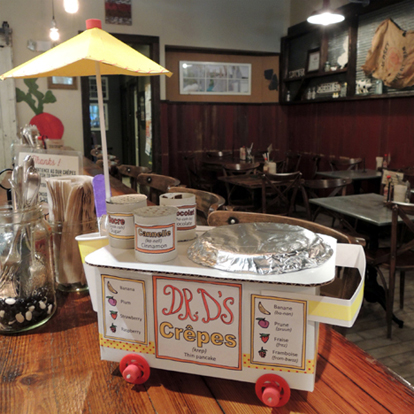 Did I – heh heh – mention Jammin’ Crêpes makes their own nutella spread with hazelnuts, almonds, and chocolate? I think…I need to do some more crêpe research. Right. NOW.