Looking to shake up your story time with something different? Please consider kamishibai!
Kamishibai (pronounced kah-me-she-bye) is a form of Japanese storytelling that involves illustrated story cards and a small, portable stage (you can also perform without the stage). It’s colorful, dynamic, simple, and absolutely intended to be enjoyed by an audience.
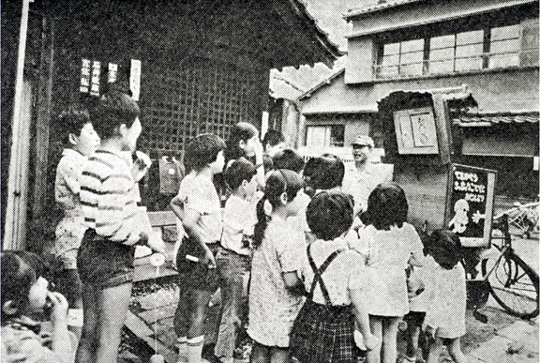
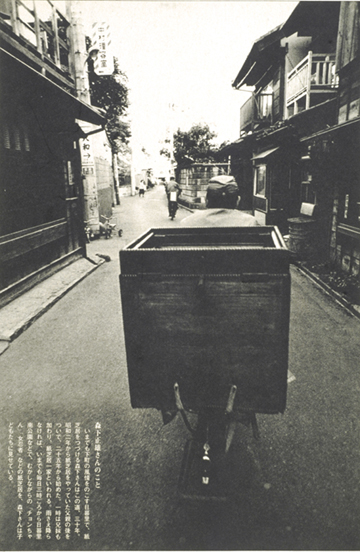
Kamishibai dates back to 1930, when men (and some women) would ride around Tokyo on bicycles with wooden boxes mounted on the back. Inside the box was a kamishibai stage, story cards, and drawers full of candy. The kamishibai storytellers would travel to neighborhoods, announce their arrival, sell candy, and perform several kamishibai stories. Writers and artists produced the story cards, which were released serially with plenty of cliffhangers to keep you coming back for more stories and candy. Action adventures, melodramas, comedies, and ghost stories were among some of the most popular subjects.
The Days When We Played Downtown : Reconsideration on Culture for Children (Shitamachi de asonda koro : kodomo no bunka saiko). Tokyo: Kyoiku Kenkyusha, 1979.
Things changed in the 1950s, when television arrived in Japan. As more and more children stayed inside to watch television, the popularity of kamishibai decreased. Allen Say wrote and illustrated a beautiful picture book that captures this history. It’s titled Kamishibai Man (HMH Books, 2005). You can still find kamishibai being performed today, but its primarily in preschools, libraries, cultural events, and classrooms. There are also recreations of street kamishibai (with the bike, stage, and candy selling) being performed in parks and museums throughout Japan.
The Sun (Taiyō), no. 191 (March 1979). Tokyo: Heibonsha.
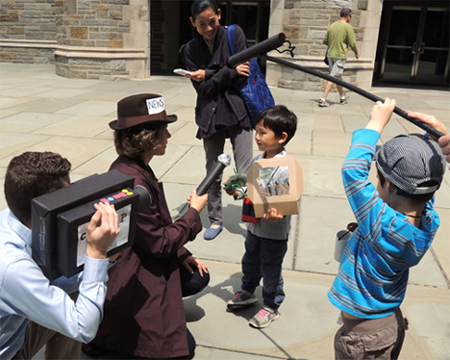
A few years ago, with the help of Dr. Tara McGowan, I developed a kamishibai program for 1st-grade classrooms. In addition to teaching about its history and introducing some Japanese vocabulary, I perform two kamishibai stories. The last part of the program involved the students designing their own kamishibai title cards and do a quick performance in front of the class. To read a post about the entire program (including the other topics I taught) click here.
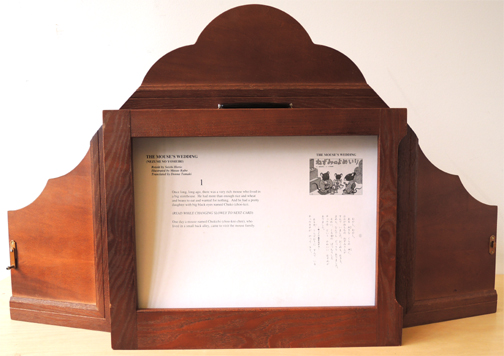
As a storytelling tool, kamishibai is awesome. The cards (which are about 10.5″ x 15“) are colorful, bold, and designed to be viewed by an audience. With the exception of the title card, there is no text accompanying the images on the front of the cards – the text is actually printed on the back of the cards.
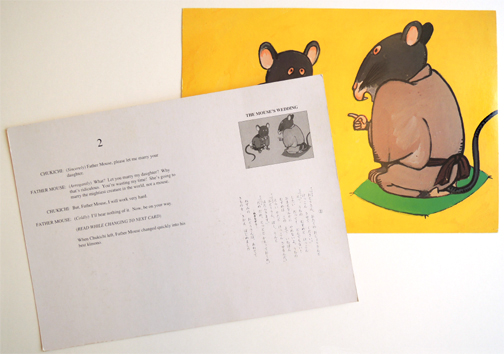
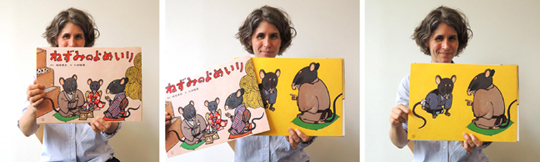
The Mouse’s Wedding : a kamishibai play from Japan. Retold by Seishi Horio; illustrated by Masao Kubo; translated by Donna Tamaki. New York: Kamishibai For Kids, 1992.
Ingeniously, the text that accompanies the image the audience is viewing is printed on the back of the card before that image. When you finish reading a card, you move it from the front of the stack to the back. The audience sees a new image, and you have the text that accompanies the new image in front of your eyes, ready to be read. If this sounds a little confusing, don’t worry. Trust me when I say that the cards are incredibly easy to use. Much easier, in fact, than craning your neck to read from a picture book during story time!
Because the text is printed on the backs of the cards, kamishibai stages are, in essence, backless. Here’s a shot of the back of my stage. It’s also open on one side so I can reach in and pull out the cards. So clever.
 I purchased this wooden stage and a set of story cards from Kamishibai for Kids, a web company based in NYC. On their site you will find a fantastic selection of story cards, including several classic Japanese folktales. A single story (which typically consists of 12-16 cards) costs around $30. The wooden stage costs $175. But you can forgo the stage and perform with just the cards. It will still be fantastic.
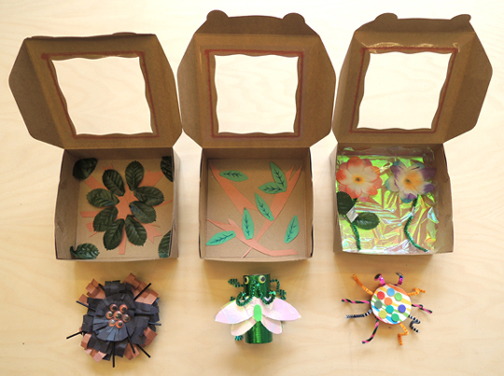
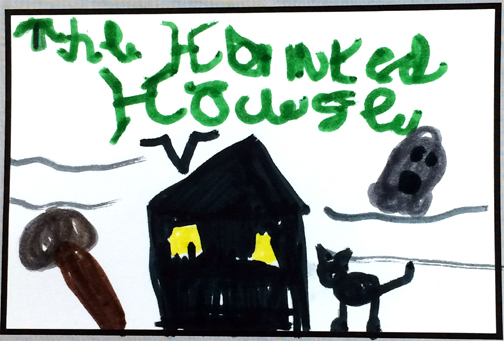
 You can also make your own cards with poster board or card stock. Part of my 1st-grade program involves the students designing their own title cards. Title cards are the very first card of the story – they feature the title and a picture that sets the stage for the rest of the story. I show examples of title cards from our special collections. Here’s one of my favorites. The kids always yell that I’m holding it upside down, but then they realize the story is about bats!
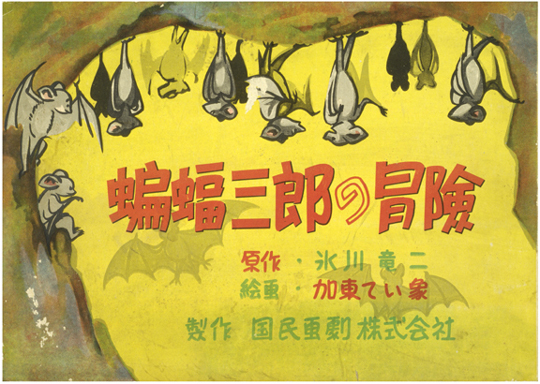
Adventure of Saburo, the Bat (Komori Saburo no boken). Tokyo: Kokumin Gageki, 1950.
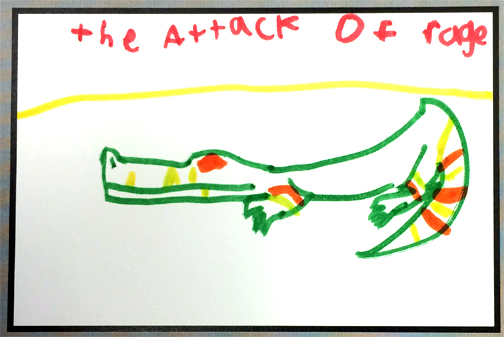
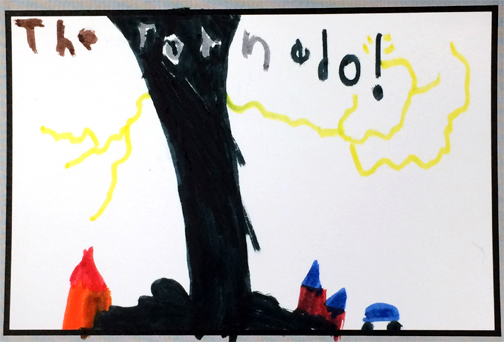
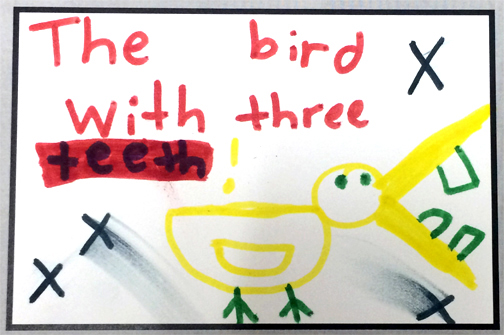
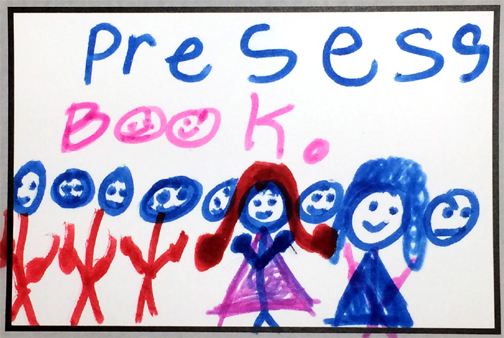
I tell the 1st-graders that street kamishibai stories were meant to be bold, exciting, and sensational, so they should think of a topic that really excites them. And they definitely deliver. Here are a few I snapped during a visit:
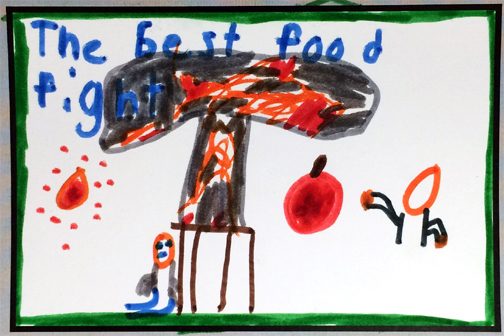
 The 1st-grade cards displayed above are on 5″ x 8″ card stock – but you can definitely make do with index cards. The above cards are custom-sized to fit a reproduction toy kamishibai stage from our collections. At the end of the program, each kid gets to take a stage home! Alas, we only have time to make a title card during my program, but I always leave the teacher a card template in case he/she wants to continue work on the stories (and many do!).
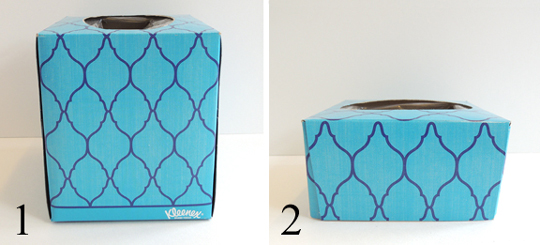
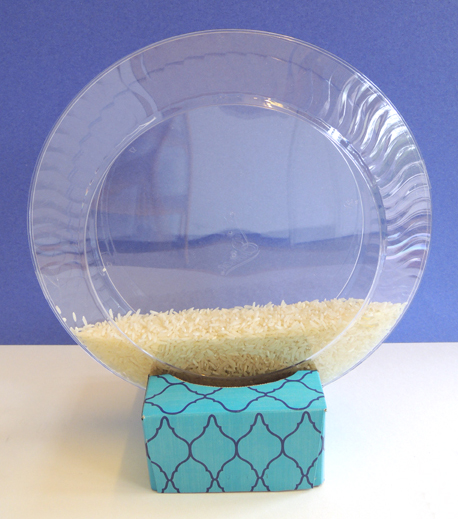
 Now for the base. Cut a small tissue box in half. Recycle the bottom half. You now have a 2.5″ base with an opening at the top.