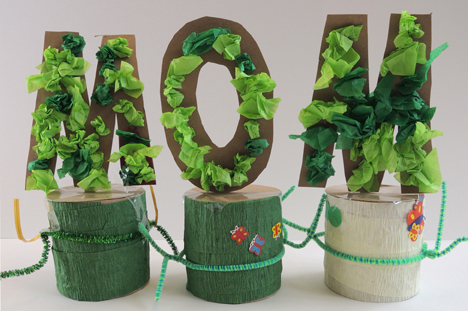
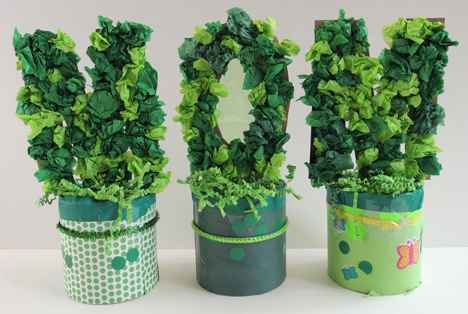
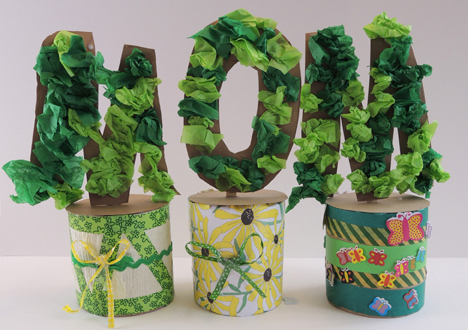
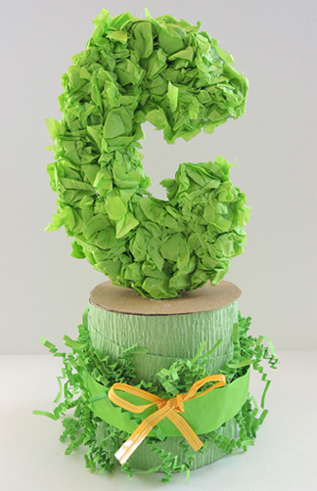
 Spell something special with tissue paper topiary letters! Bedeck your initials, festoon your name, or spruce up your favorite word. Your personal topiary is guaranteed to stay green all year round, and no watering is required!
We read Grandpa Green by Lane Smith (Roaring Brook Press, 2011). A boy walks through a beautiful garden. As he walks, he narrates the life of his great-grandfather, which is in turn illustrated by the garden’s delightful topiary. And even though the boy admits that great-grandad tends to forget things these days – he is reassured to know the garden will always remember for him.
You’ll need:
- 3-4 cups or tape cores for your topiary bases
- 3-4 craft sticks (mine were 4.5″ long)
- tagboard or thick poster board
- Green tissue paper
- Topiary base decorating supplies (full list later in the post!)
- Masking tape, if needed
- Scissors, glue, and tape for construction
- Hot glue
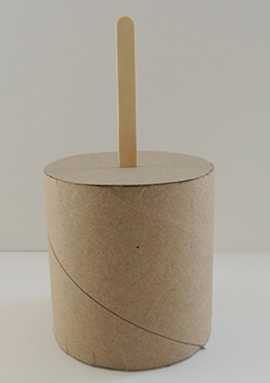
Our topiary bases were packing tape cores. We had 90 suddenly arrive through our recycling program! If you don’t have packing tape cores handy, there are a couple alternatives you can go with (I’ll show you those in a minute).
If you are using a tape core, cut a circle of tagboard to cover the top of the core. Use a box cutter to make a small slit in the center of the tag board circle, then hot glue it to the top of the core. Insert a craft stick into the slit.
 If you don’t have packing tape cores, use paper cups or paper soup containers. Simply flip them over, cut a slit in the bottom, and inset a craft stick into the slit.
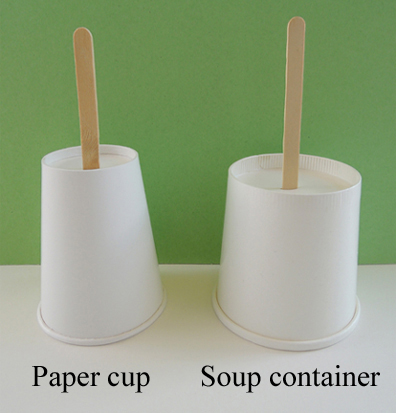 Since these bases are lighter than the tape cores, they run the risk of tipping over after you attach your topiary letters. If this happens, simply hot glue some pennies or flat glass marbles to the insides of the cups.
The next step is to decorate your bases. We offered construction paper, embossed foil paper, craft ties, patterned paper in botanical prints, dot stickers, paper crinkle, flower stickers, butterfly stickers, ribbon, patterned tape, mesh tubing, sparkle stems, pipe cleaners, and crepe paper streamers. We tried to keep everything in soft botanical colors – greens, yellows, and whites.
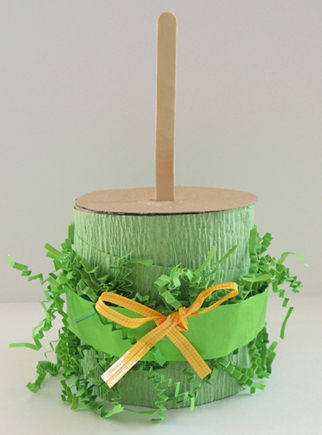 When the bases are finished, it’s time for your topiary letters! We asked the kids to limit themselves to 4 letters or less (and we announced this at the very beginning of the project, so they would know how many bases to decorate). After some experimentation, we determined that 6″ letters looked best. We whipped up some topiary letter templates for kids to trace onto tagboard (or poster board). To decorate the letter, ball up 4″ x 4″ squares of green tissue paper, and glue them to one side of the letter.
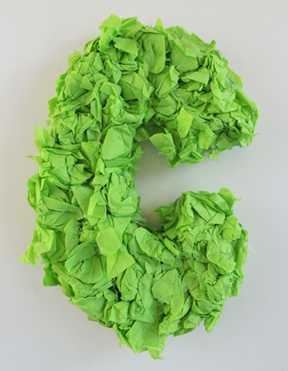 When the letter is done, hot glue it to the craft stick. Repeat until you have all your letters mounted on their bases:
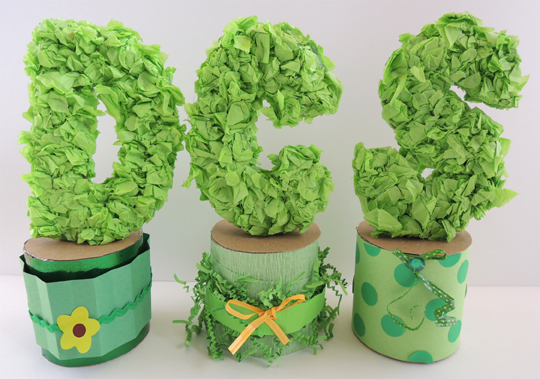 You might wonder why we went with topiary letters instead of animals or objects. We did try a few animals and objects, but they became quite unrecognizable after the tissue paper was glued on. The letters held their shapes extremely well, and it never hurts to get an early start on letter recognition! Some topiary letters did go floppy from the glue, however. If this happens to you, simply use extra craft sticks to reinforce the back of the letter.
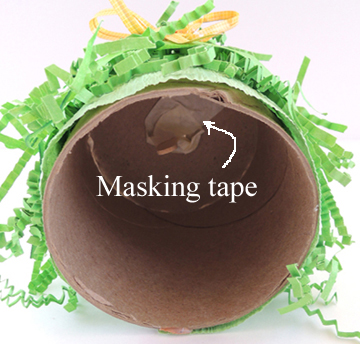
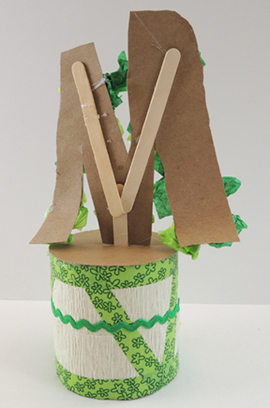 Another thing you can do to reduce floppiness? Use masking tape to secure the craft stick to the base. Here’s a shot of some tape stuck inside the base:
 Usually, our craft area is loud and boisterous during the projects. But for this particular project, the room was filled with quiet concentration as kids put their gardens together. Perhaps it was the soothing botanical colors?
We did this project the Friday before Mother’s Day, and 3 kids decided to turn their projects into a gift for Mom. Fantastic!

