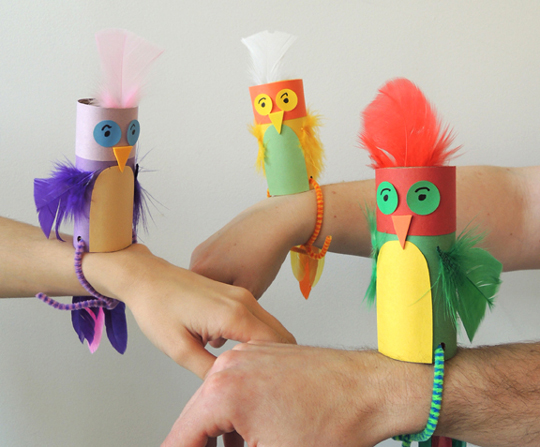
 These wrist parakeets are super simple to make, require very few art supplies, and…are amazingly adorable, yes? They’re also tough. Thanks to their sturdy pipe cleaner tethers, these parakeets really stay attached, even on the most active ornithologist. This project can also be modified to be an owl!
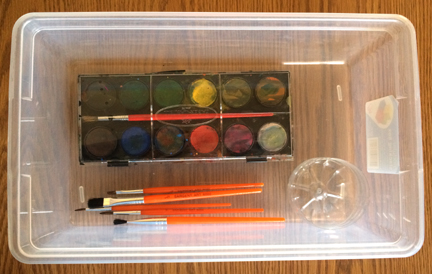
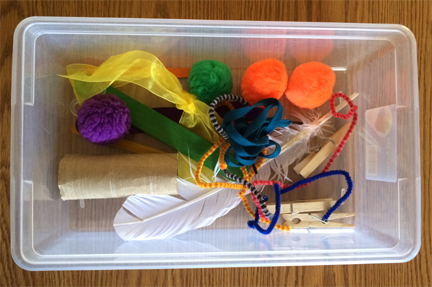
You’ll need:
- 1 toilet paper tube
- Construction paper
- 2 dot sticker for eyes
- 3 small feathers
- 3 goose quills
- 1 pipe cleaner
- Scissors, tape for construction
- Markers for decorating
- Hole punch
If you want to get a little fancier, you’ll need:
- A small triangle of self-adhesive foam shape for beak
- A selection of color masking tape
- Hot glue
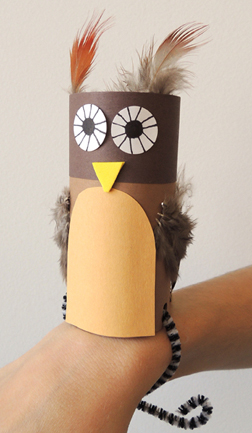
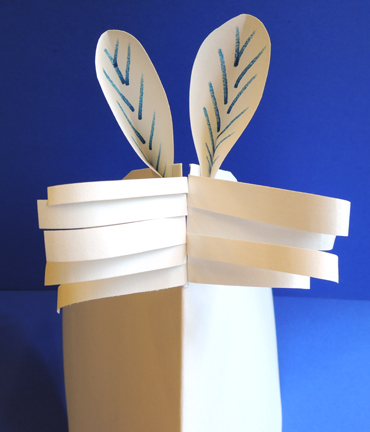
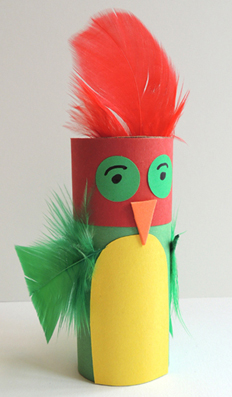
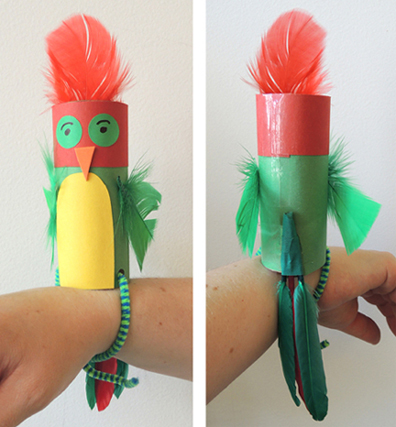
We’ll make the parakeet’s body first, and then proceed to perching it on your wrist. Here’s what a completed bird body looks like:
 Wrap construction paper around the entire toilet paper tube. Then wrap a smaller strip of construction paper around the top – this will become your bird’s head. Yet another piece of construction paper becomes your bird’s colorful chest (it looks best if you round the top of the chest).
Draw eyes and eyebrows on the dot stickers, then stick them on the bird’s head. Tape (or glue) a small triangle of construction paper to the head for a beak. You can also use a triangle of self-adhesive foam for the beak (it gives the beak some really nice texture). Tape (or hot glue) 2 small feathers on the side for wing, and 1 small feather on top for the crest. The body is done!
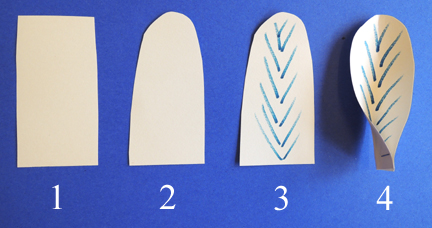
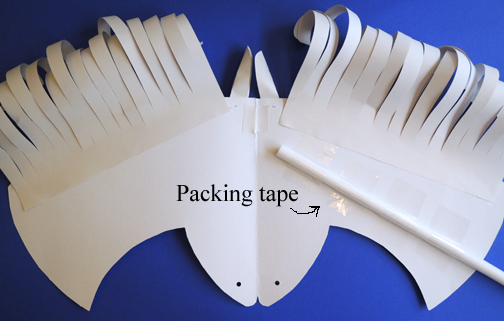
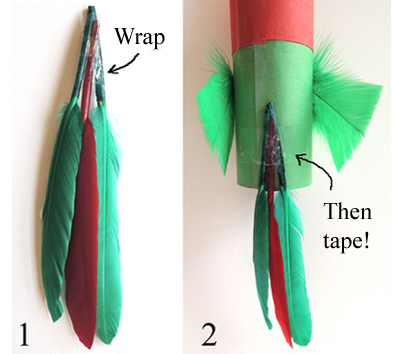
To make the tail, gather 3 duck quills together, fan them out slightly, and wrap scotch tape around the points of the quills (if you don’t want to purchase duck quills for the tail, just use more small feathers). Tape the tail to the back of the bird.
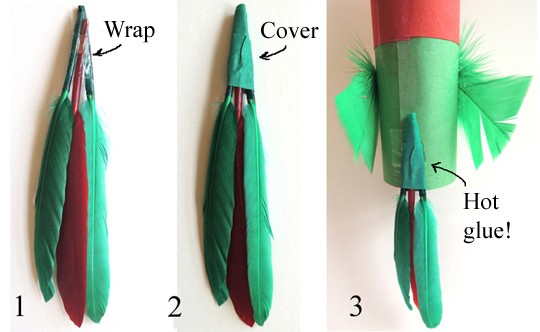
 If you want to get a little fancier, you can wrap scotch tape around the points of the quills, then cover the scotch tape with color masking tape and hot glue it to the bird’s body.
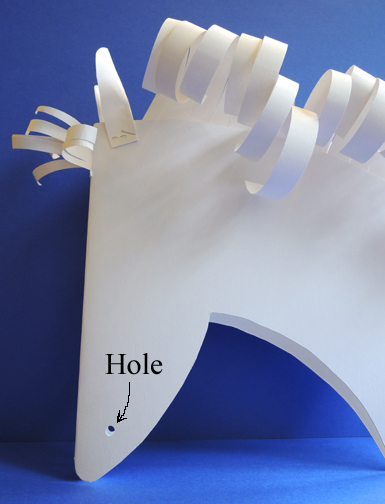
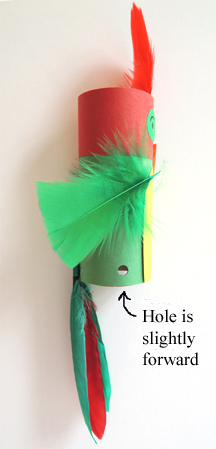
 The final step is to tether the bird to your wrist! Punch holes in both sides of the toilet paper tube. Don’t punch the holes in the center of the tube. Punch them slightly more toward the front of the bird. The reason is this – with the tail in place, the bird actually sits slightly askew on your wrist. It needs to be tethered slightly towards the front in order to sit correctly on your wrist. When in doubt, just plunk the tube on your wrist and you’ll see where the holes need to go.
 Thread a pipe cleaner through the holes, sit the bird on your wrist, and twist the pipe cleaner under your wrist to secure the bird in place! Finito!
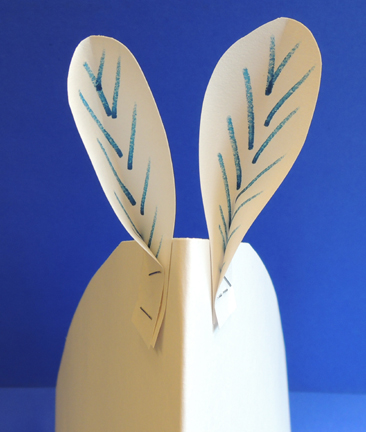
 I mentioned this in the intro, but this project can also be modified to be an owl. You can go with the version below, or you can see our slightly-more-simplified version here.