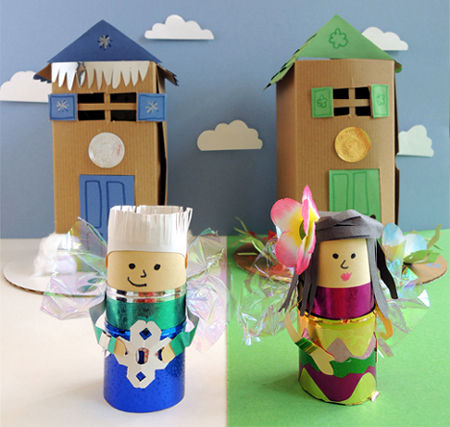
 Are your winged friends on the market for a cottage to call their own? Look no further than this literal fixer-upper. It may start as a plain brown box, but it quickly blossoms into a dream home! We offered two choices – a Wintertime Fairy House or a Summertime Fairy House. Scroll to the bottom of the post to check out the latest real estate listings!
We read The Dolls’ House Fairy by Jane Ray (Candlewick Press, 2009). Rosy and her Dad have a cozy Saturday morning ritual. First, they have hot chocolate and French toast for breakfast. Then, they play with a dollhouse they’ve built together. But one Saturday, Rosy awakens to find that Dad is in the hospital. Sad and worried, she decides to comfort herself by playing with the dollhouse. She’s surprised to discover a real fairy has moved in! Thistle has hurt her wing, and decides Rosy’s dollhouse is the ideal place to recuperate. Thistle isn’t perfect. In fact, she’s very messy, full of mischief, and scatters fairy dust everywhere. But the two girls become terrific friends. When Dad returns home, Thistle takes off before he can be introduced. But Rosy will always remember her house fairy friend.
You’ll need:
Extra supplies for the Wintertime Fairy House include:
Extra supplies for the Summertime Fairy House include:
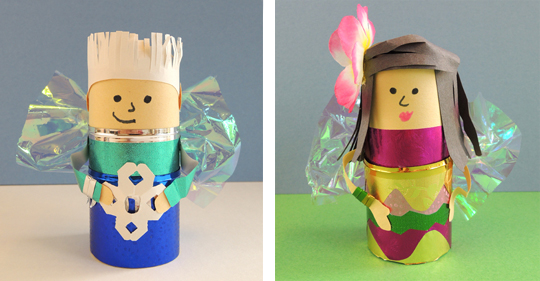
First, the fairy! Decide whether you’ll be making a Wintertime Fairy or a Summertime Fairy (or go crazy and mix the seasons!). Use multicultural construction paper, patterned paper, embossed foil paper, and construction paper to decorate the a toilet paper tube. We also threw in some craft ties for belts, collars, and bracelets.
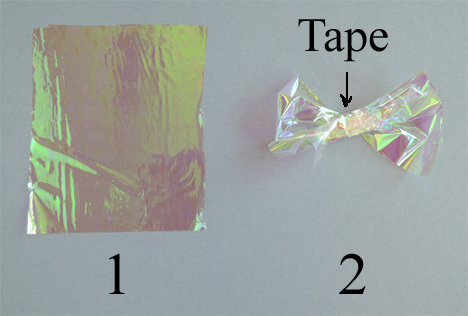
 To make the wings, pinch a tall rectangle of iridescent cello into a bow tie shape, and secure it in the center with tape. Attach the wings to the back of your fairy with tape.
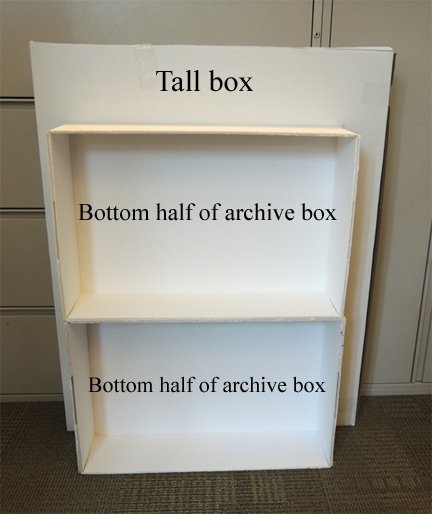
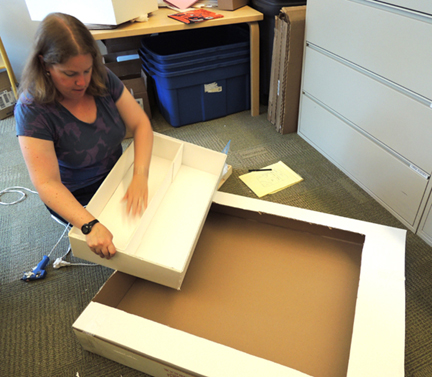
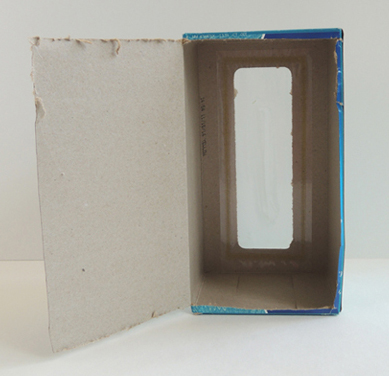
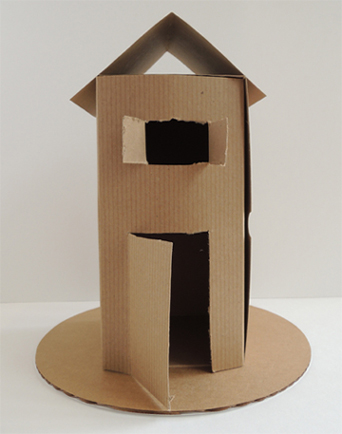
 Set the fairy aside, it’s time for your house! It’s best to use a box with an attached lid, so you can open and close the front of your house. I used a craft box, but you can also use a large tissue box. Simply cut the bottom of the tissue box to form a lid, like so:
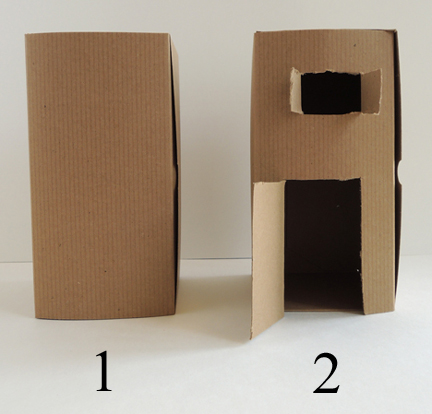
 Now use a box cutter to cut a door and window into the lid. I went with a double shuttered window, since it looks really cute when you decorate it later on.
 Next, tape a rectangle of tagboard inside the box to create a second floor. Since our boxes were just 9″ tall, the second floor was considered to be a small “sleeping loft.”
 Fold a large rectangle of tagboard to create a roof, then tape (or hot glue) it to the top of the box. Finish by hot gluing the house to a corrugated cardboard base (you can cover the base with paper first if you like).
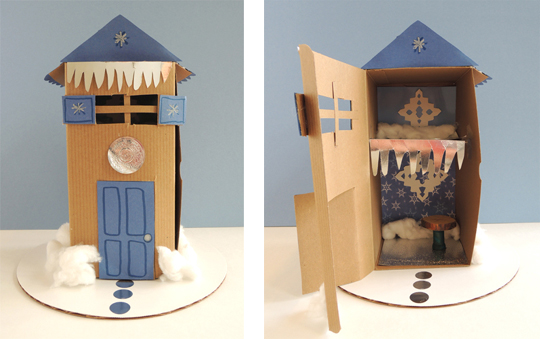
 Now to decorate! Kids could do whatever they liked, but my Wintertime House had rows of mirror board icicles, a silver embossed foil seal over the front door, cotton ball snow, and silver dot sticker stepping stones. So I made sure each architect received the same supplies (but they were welcome to use them however they liked of course).
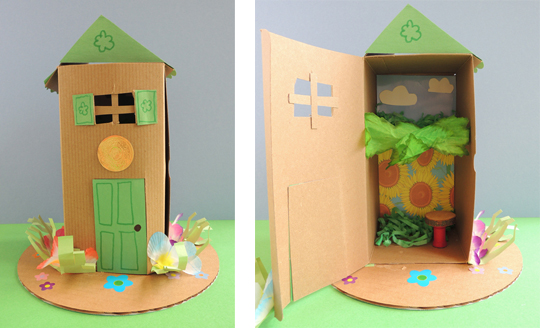
 Likewise, my Summertime House had fabric flowers, leaves, flower stickers in the yard, green paper crinkle, and a gold embossed foil seal.
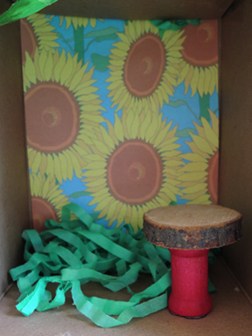
 For both houses, I made sure there was plenty of construction paper, patterned paper, and embossed foil paper handy to decorate the interiors and exteriors. One quick decorating tip! Whilst landscaping your house’s yard, make sure you don’t tape items (such as fabric flowers or cotton balls) in places that will impede the swinging motion of the front of your house. The final touch was a solid wood dining table, created by hot gluing a wood round to the top of a wooden spool.
 Let’s take a look at some of those Fairyland real estate listings! Katie and I definitely had some fun with these…
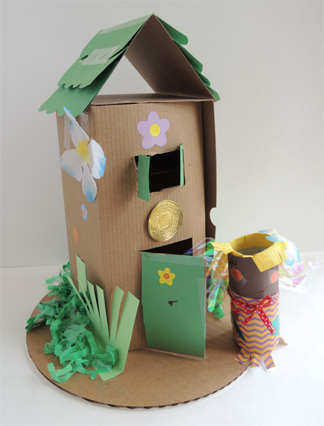 Hard-to-find classic cottage located in the heart of the Summer Fairy Kingdom. Unique black squiggle doorknob and hearty garden sure to please. Tranquil and traditional, don’t miss the chance to live here!
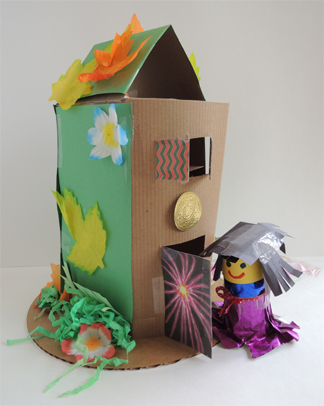 Magic abounds! Walk through a firework front door into your flawless new flat. Newly renovated autumn leaf roof makes this one not just for summer fun!
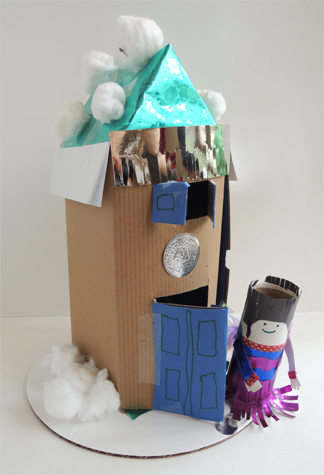 Ice and snow don’t stand a chance against this relaxing retreat! Self-cleaning roof and unique icicle fringing make this house a stand out!
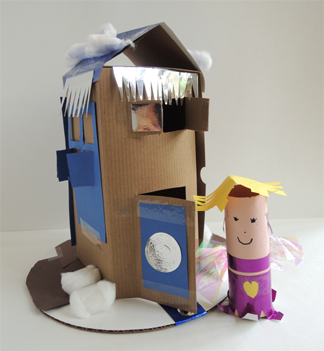 Situated on the highest hill in Winter Fairy Kingdom, this arctic abode offers astounding views as far as the eye can see! Giant window on western wall ensures a light-filled living space.
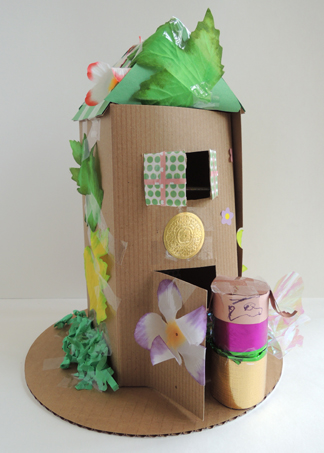 Fairy palace paradise! Every detail, from the leafy roof to the flower front door, was carefully selected and finely crafted. Don’t miss the vintage polka-dot shutters!
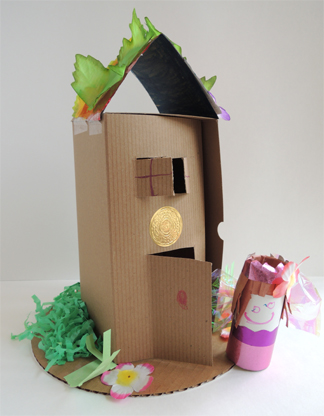 Modest, but magnificent. Generous lawn and green roof make this perfect for anyone wanting to enjoy summer in Fairyland.
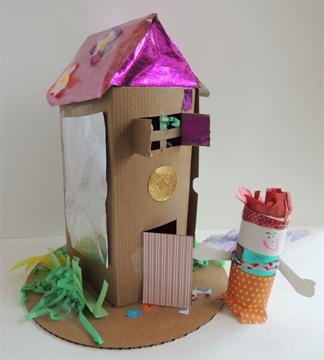 A meticulously designed jewel waits for the perfect fairy to move in! Side-mounted solar panel provides all the energy required for your cozy abode.
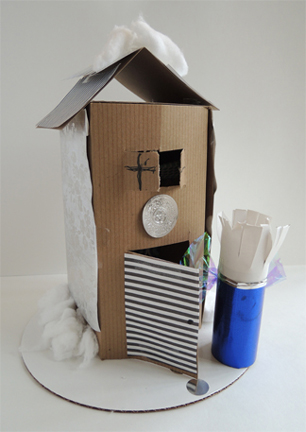 Austere with black, white, and silver highlights, the clean lines of this house are perfect for the the modern fairy. A stunning silver suite awaits!
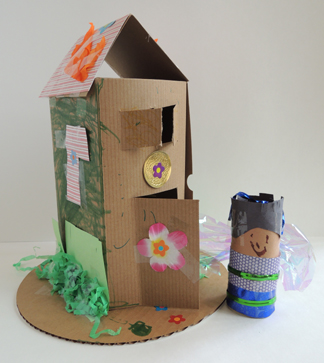 The grassy frame and striped roof draw the eyes to this exceptional estate. Perfect for the artistic fairy, with plenty of potential for more rainbow colors.
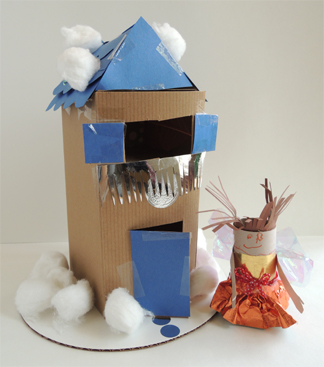 A classic chilly chalet! Prepare to “ooo” and “aahh” at the panoramic mountain views from your enormous second floor picture window!
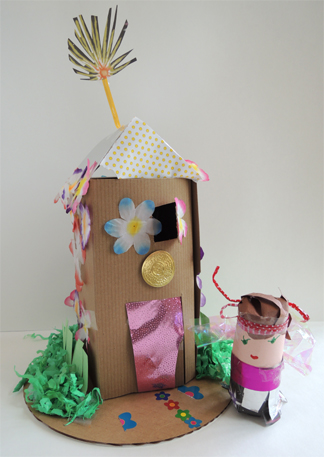 Nature lovers will feel right at home in this lushly landscaped lodge, complete with mature plants and gorgeous flowers galore!
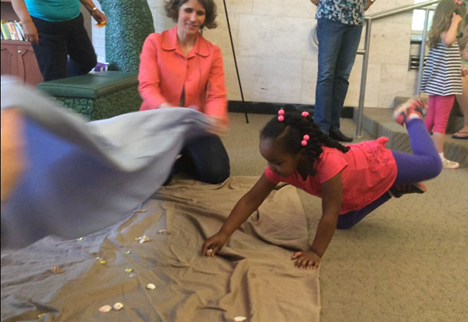
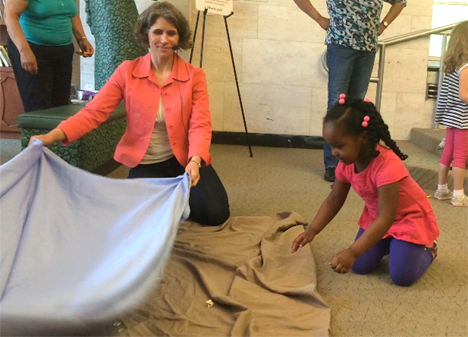
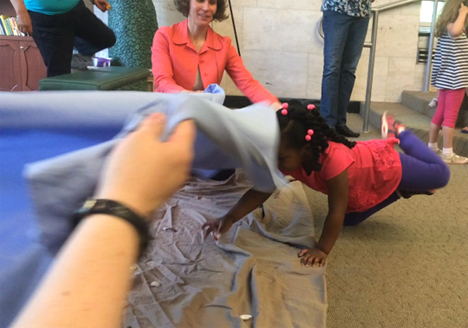
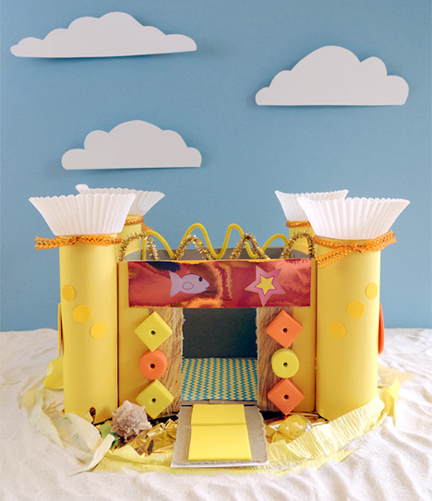 The end of the summer might be in sight, but there’s still time to hit the beach! We made sand castles and then played a shell grabbing game on the “beach.” Just be prepared…some of those waves can get a little big!
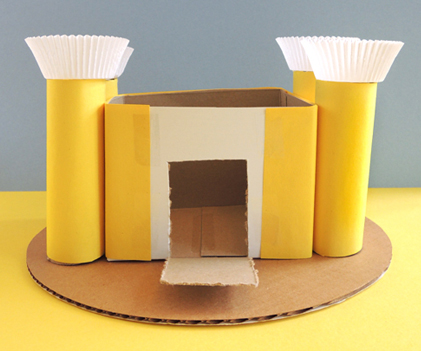
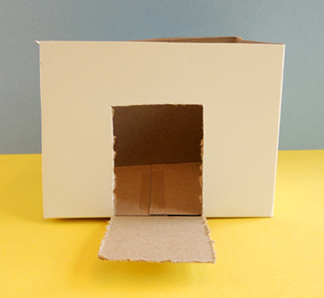 Wrap the sides of the box with yellow construction paper. Hot glue the wrapped box to the center of your corrugated cardboard base. Next, cut 2 paper towel tubes into four, 5.25″ tall towers. Wrap the tubes in yellow construction paper, and hot glue them to the sides of the box (not to the corrugated cardboard base – they’ll just pop off). For the perfect finish, hot glue a baking cup on the top of each tower.
 Now it’s time to decorate! We scattered art supplies all over the gallery floor, announced that the tide was out, and had the kids “beach comb” for castle decoration materials.


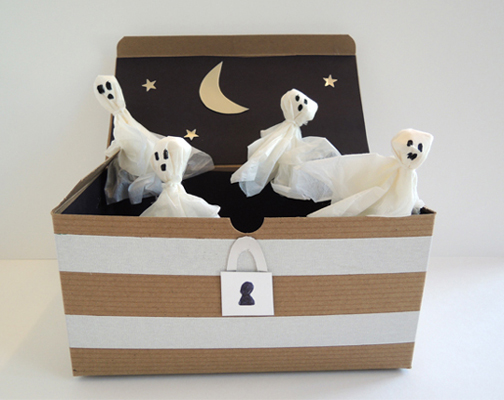
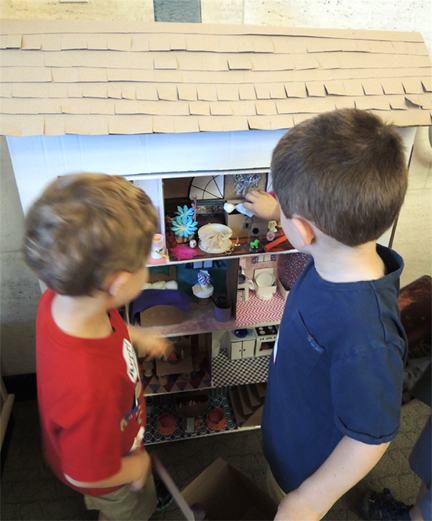
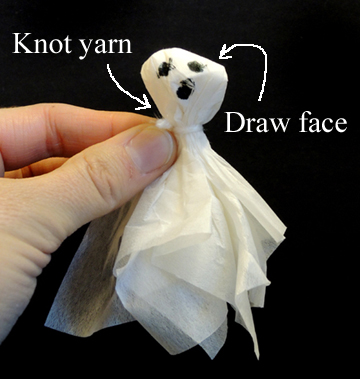
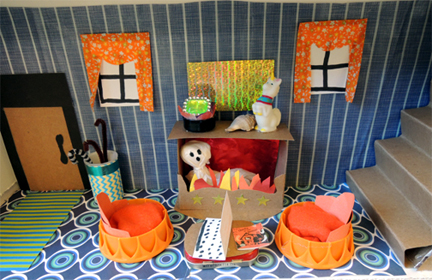
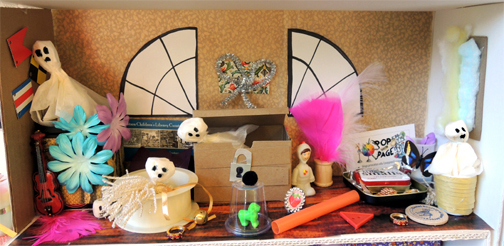
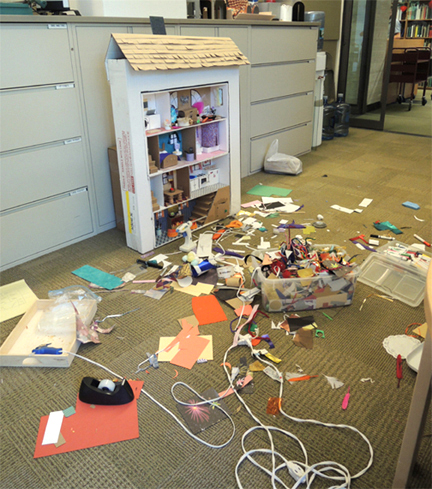
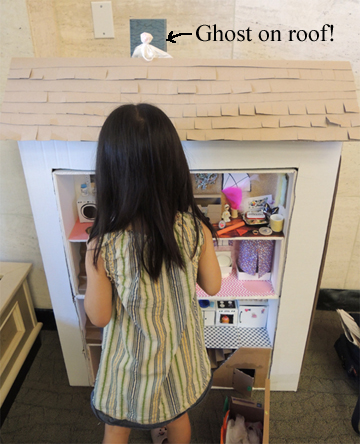
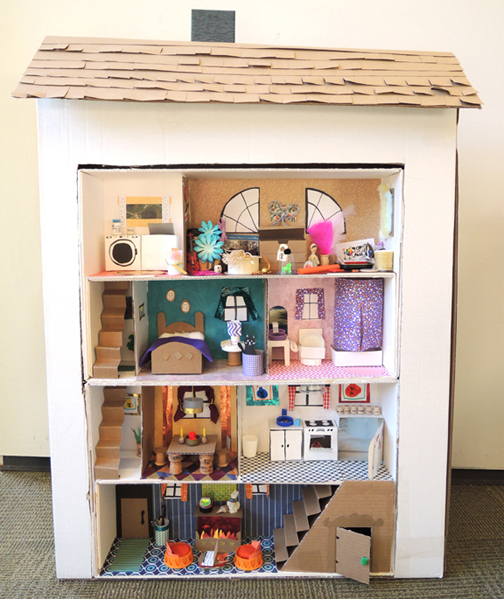 I hid each kid’s ghosts in various locations in the dollhouse and then invited him/her to find them and tuck them back in his/her ghost box!