 Very shortly, my library will be hosting a Victorian Tea program. It will be a combination historical lecture/tea party/stand-up comedy for kids ages 10 & up. Right. How about a little sneak peek at the costumes?
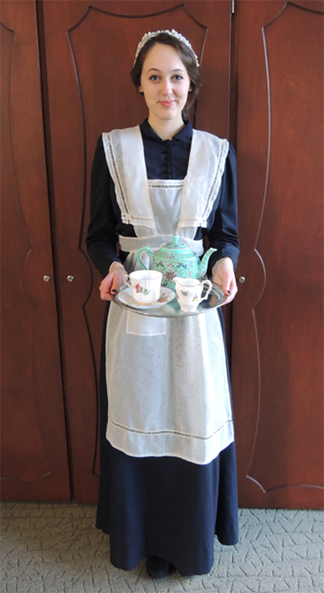 First up is Anna, who is a sophomore at Princeton University. She gamely stepped up to play our maid. Just in case you think we were being snobby and excluding Anna from the group shot that started this post – take heart! Anna’s photo shoot was in the afternoon, when she arrived for her library shift. The rest of the ladies were photographed in the morning. No Victorian class system at work here, no sir.
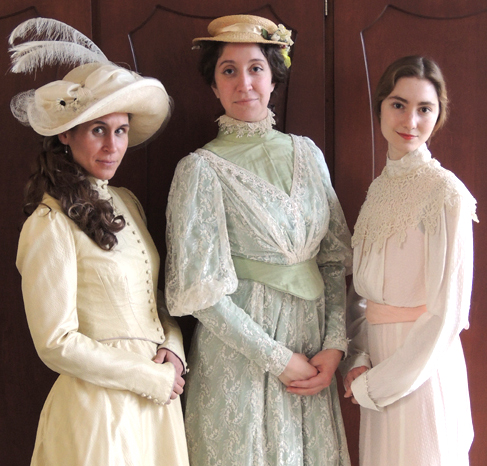
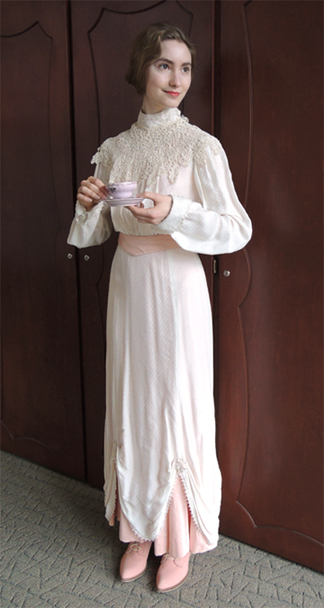 This is Joani, a junior at Princeton University. You might remember her from some previous posts (here she is as a flower, and here as a phoenix wrangler). Joani will be singing some period songs after the tea party concludes and we proceed to the parlor for games and entertainment.
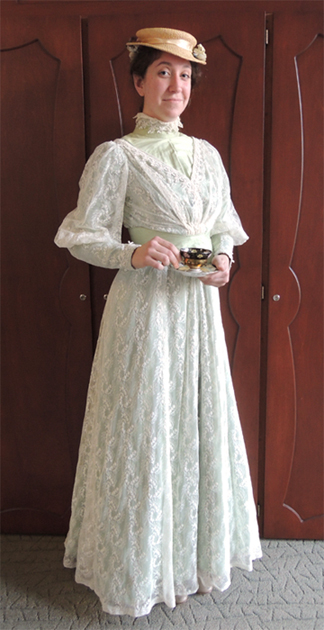 Our very own Miss Marissa will be keeping it real in scores of lace. Have you ever seen someone rock a straw hat so well? No, I think not.
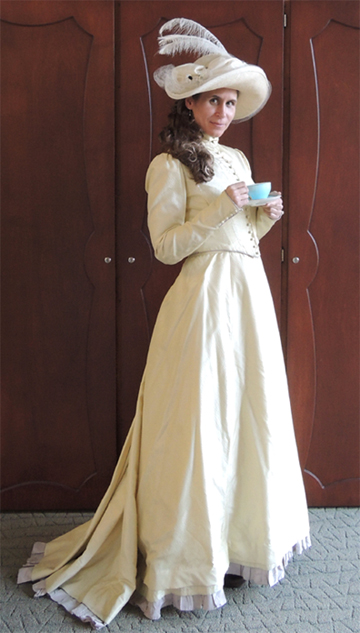 Finally, there’s me. I’ll be playing the matron of the house. Which means I needed a really, really, really big hat. There’s actually an interesting story to the hat. It was designed by Rodney Gordon, who did all the hats for the 1974 film version of The Great Gatsby with Mia Farrow and Robert Redford.
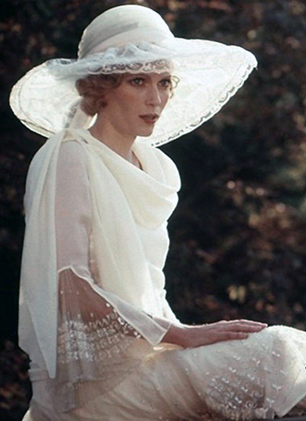 Image originally resides on Frock Flicks
To make an even further connection, F. Scott Fitzgerald, author of The Great Gatsby, was a student at Princeton University (class of 1917). The Library’s Rare Books and Special Collections Manuscripts Division has his papers, including Fitzgerald’s working files on The Great Gatsby, and his personal annotated copy of the first edition of the book.
We would like to express our extreme gratitude to Cindy Thom and the ladies at McCarter Theater’s Costume Shop for locating and lending us these most excellent threads. Many, many thanks!

