Is that a drum solo? Or the sound of a massive stampede? YOU decide when your buffalo finger puppet performs on this awesome drum set! It took a little work, but we figured out how to get this entire drum set on a single sheet of paper. Just cut, color, fold, and rock out!
We recommend reading Teach Your Buffalo to Play Drums, written by Audrey Vernick, and illustrated by Daniel Jennewein (Balzer + Bray, 2011). From the first time you brought that baby buffalo home, you knew he was destined for great things. So order a drum set and wait for the magic (and don’t forget a couple cases of earmuffs for the neighbors)!
You’ll need:
- 1 buffalo drum set template printed on 8.5″ x 11″ white card stock
- A little bit of tin foil
- 1 buffalo finger puppet template printed on 8.5″ x 11″ white card stock
- Scissors and tape for construction
- Markers for decorating
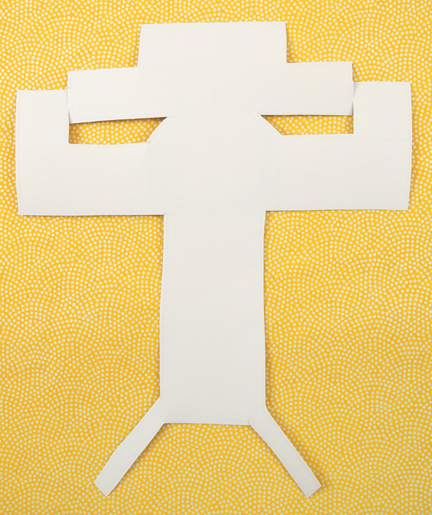
First, cut the drum set from the template. It will looks like this…
 Decorate it with markers, and don’t forget to write the name of your band inside the circle of the bass drum! When you’re done coloring, flip the drum set template over:
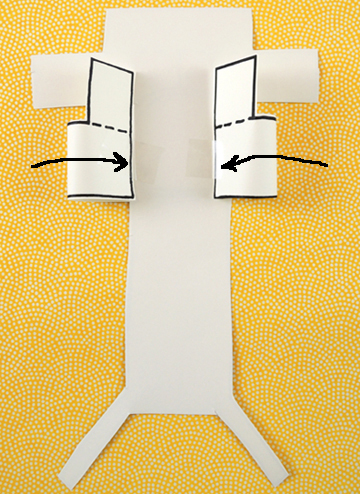
 Roll the lower drums inwards, and tape them to the back of the set.
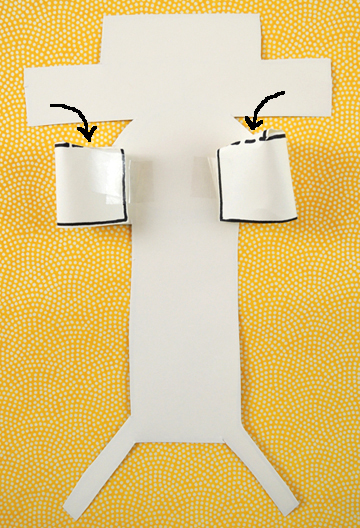
 Next, fold the tabs downward along the dotted lines. These are your drum heads. Use scissors to shape them to the tops of your drums, then secure them with tape.
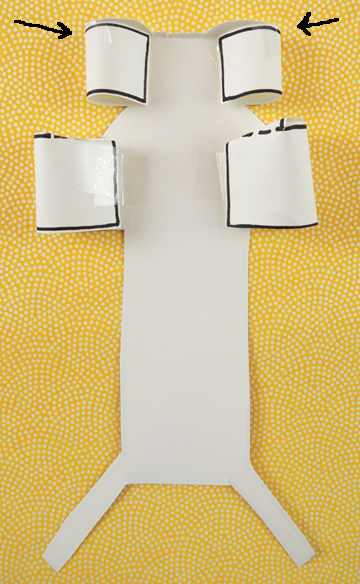
 Repeat the same process with the upper drums.
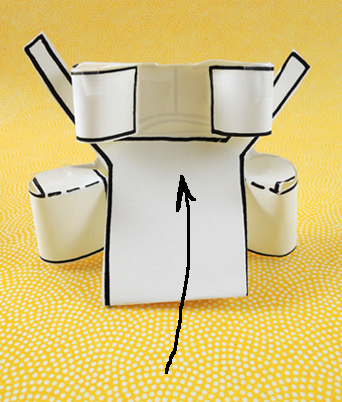
 Now fold the long base of the drum set upwards, tucking the cymbal stands between the lower and upper drums.
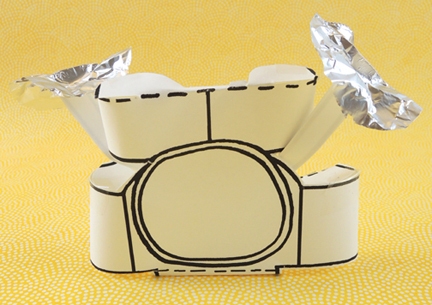
 Turn the set around, and stick small tape loops to the tops of each cymbal stand. Pinch two circles of tin foil onto the tape loops. Your cymbals are ready, and your drum set is done!
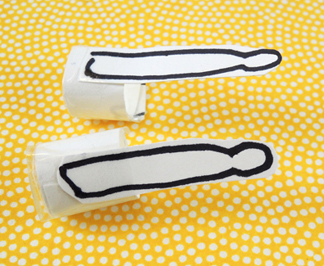
 Use scrap paper from your template to fashion a pair of drum sticks and finger loops. Tape the sticks to the finger loops, and slide them over your fingers.
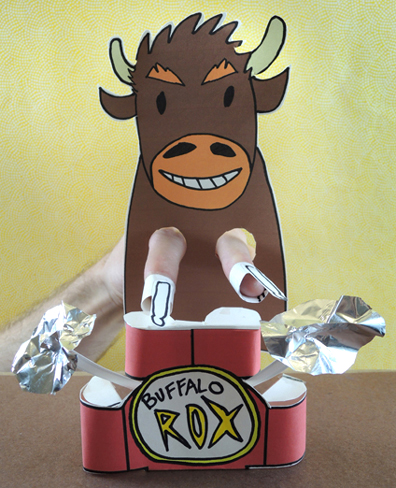
 Finally, your buffalo drummer! Cut and color the buffalo finger puppet from the template (or use the full color version here). Cut finger holes in the chest. Then ready your drum sticks, step behind the drum set, and JAM!
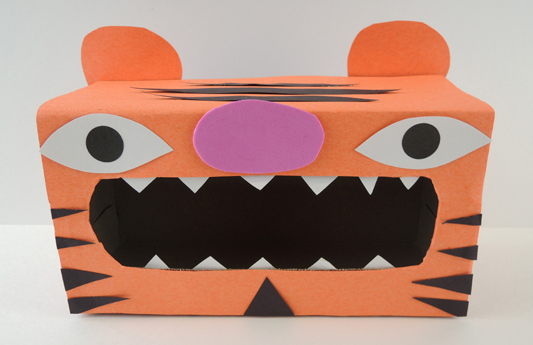 Tyger Tyger burning bright! Make it past the teeth, and you’ll be all right!
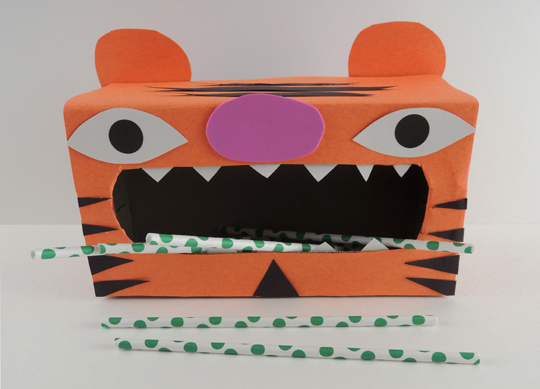
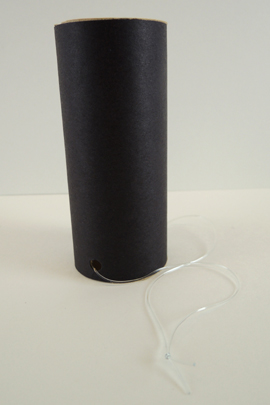 When the tube and cord are prepped, use more black construction paper to add all the fun details! Here’s my “deluxe” raven with lots of black ruffled layers,
 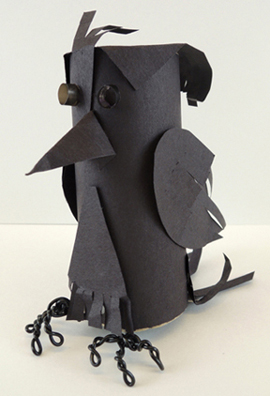 However! Here’s a simpler version with a simple tab-and-fold beak and construction paper feet. Also, notice the eyes on both birds? Those are little snippets of black drinking straw. To attach the eyes, dip one side of the straw snippet in a dollop of white glue, then press it on the bird’s face. The raven is now ready for some tapping at your chamber door.