 Get ready to create, build, and innovate. Today, everyone’s an engineer and the sky’s the limit!
We read Rosie Revere, Engineer written by Andrea Beaty, illustrated by David Roberts (Harry N. Abrams, 2013). At night, young Rosie Revere designs gadgets, gizmos, and fabulous machines…and then hides them. She’s an engineer, but due to an unfortunate incident with her Uncle Fred (a zookeeper who mistakenly laughs at a cheddar cheese spray hat designed to keep pythons away), she’s keeping her light under a bushel.
However, when Great-Great-Aunt Rose comes to visit and expresses her life-long wish to fly, Rosie puts aside her fears and builds her a flying machine. The machine flies…and then promptly crashes. Rosie gives up. But wait! Great-Great-Aunt Rose has something to say. Failures are part of engineering, but the true failure is if you give up and stop trying. Don’t forget to check the last page for a sweet illustration of Rosie’s ultimate success!
This story time cost zero dollars because I used materials that were already in my art cabinet and storage closet. You could do something similar by sending out a call for recyclables at your library, school, workplace, or neighborhood (more about that here). Another option is to announce the story time theme in advance and invite families to bring recyclables and surplus art supplies from home to contribute.
Here’s a list of the materials I offered:
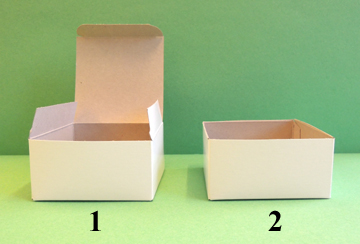
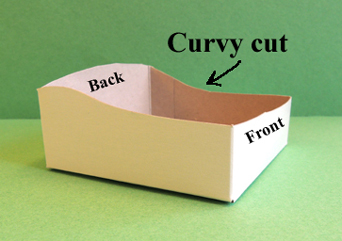
- White matte boxes in various shapes and sizes
- Pastry boxes (you can see the exact ones I used on this project)
- Tissue boxes, assorted sizes and colors
- Oatmeal containers
- Toilet paper tubes
- Paper towel tubes
- Wrapping paper tubes
- Corrugated cardboard bases (leftover from this project)
- Bulk CD cases (the kind that look like big plastic tubs)
- Paper plates
- Plastic cups
- Paper cups
- Different lengths of PVC pipe
- Some cone water cups
- Pieces of tagboard
- Assorted beverage caps
- Film canisters
- A variety of tea tins
- Black plastic top hats
- A selection of sparkle stems
- A selection of pipe cleaners
- A selection of craft ties
- A selection of color masking tape
- Aluminum foil
- Construction paper
- Poster board strips (regular and metallic)
- Metallic paper
- Clothespins
- A variety of craft sticks
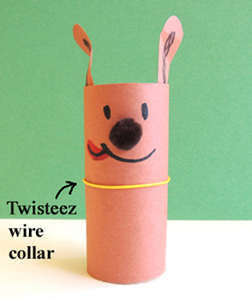
- A selection of twisteez wire
- A selection of large plastic buttons
- A few spools of metallic tie cord
- Plastic drinking straws
- A few spools of britelace
- Some marabou boas
- A selection of dot stickers and star stickers
- The Bling Bin
- Scissors, tape, hole punch, and glue stick for construction
- Markers for decorating
- A box cutter
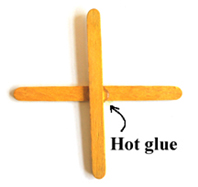
- Hot glue
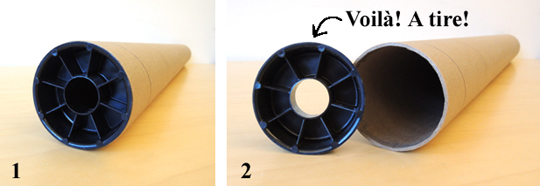
One building supply I didn’t list above are these…the round plastic guides at the ends of large rolls of paper. Pop them out and you have some excellent tires:
 To prep for story time, I piled everything onto side tables, plugged in the hot glue gun, and invited everyone to make a machine. No additional prompting was needed!
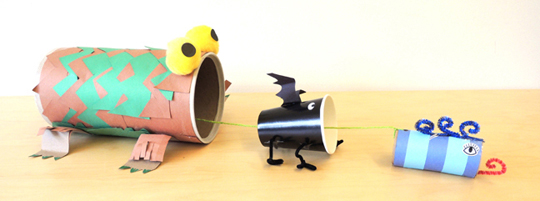
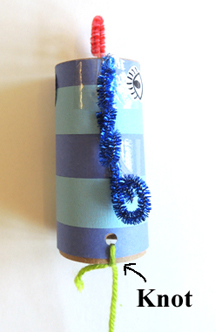
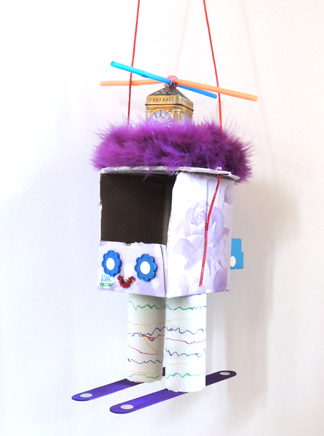
Here are a few fabulous creations, beginning with…”The Dollycopter”
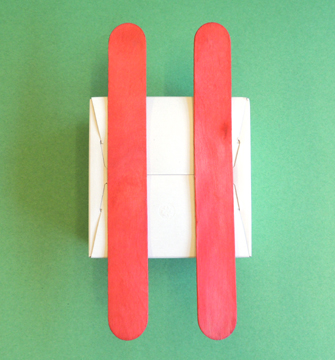
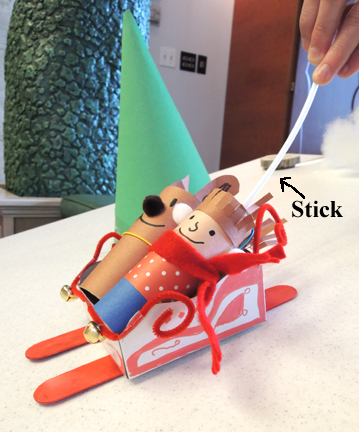
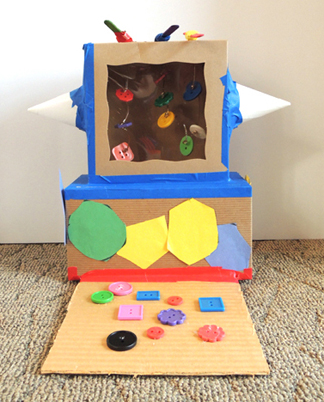
 When you pull the craft sticks on top of this computer, they jiggle the strings of buttons inside the monitor.
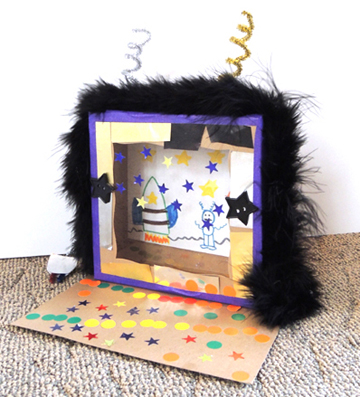
 An “alien” computer with with furry frame and space scene!
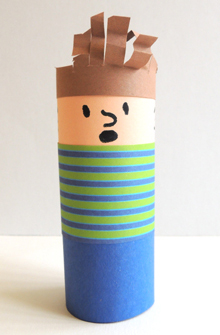
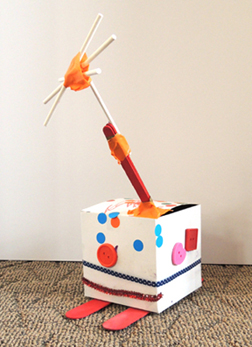
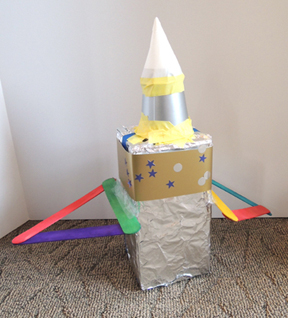
 There were plenty of robots, widgets, rockets, and flying mechanisms…
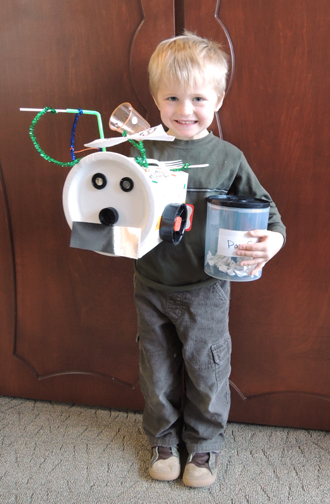
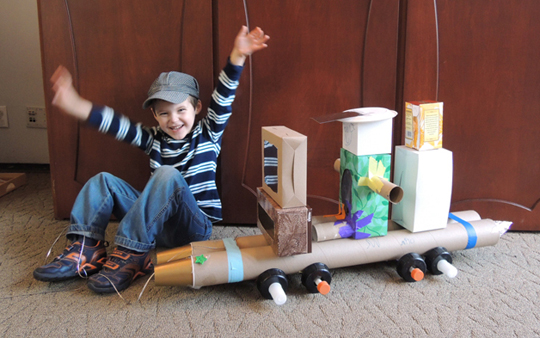
 Remember the enthusiastic young fellow who started this post off? He designed a “Police Train” and believe it or not, the thing actually rolled when you pulled it!
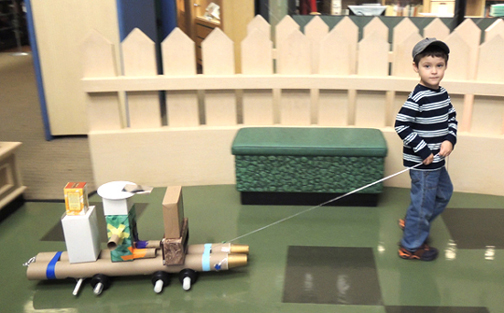 Guess we’ll be seeing him at MIT in a few years…