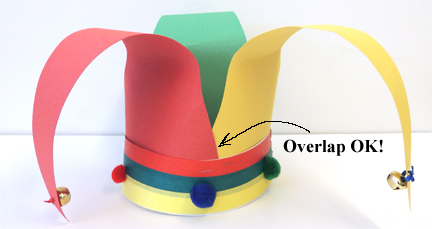
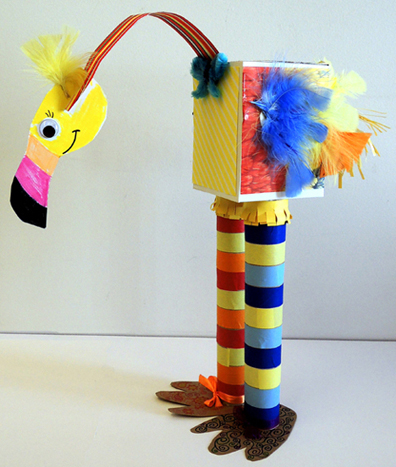
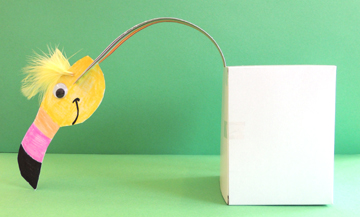
 Step outside the realm of pink and behold a flamingo that is every color of the rainbow…and about 2 dozen other colors besides! This lovely creation balances on two sturdy paper towel tube legs with an elegantly arched poster board neck. Why such a wild configuration of color and texture? Read on!
We read Sylvie by by Jennifer Sattler (Random House Books for Young Readers, 2009). One fine day, young Sylvie the flamingo wonders why flamingos are pink. When she learns that her hue is caused by the pink shrimp she eats, Sylvie decides to do a little experimenting. Sure enough, everything Sylvie nibbles, bites, or gulps changes her appearance! However, after a generous sampling of the objects on the beach (grapes, palm leaves, a kite, a sunhat, a swimsuit etc.), Sylvie finds her green-purple-red-striped-paisley-flowered self to be more than a little overwhelming! Happily, she returns to eating pink shrimp – with a colorful little dessert once in a while.
You’ll need:
- 1 box (mine was 4 ½” X 4 ½” x 6”)
- 2 paper towel tubes (make sure they are the same height!)
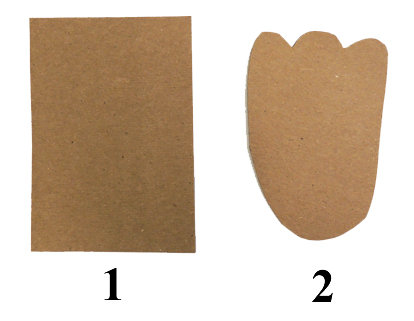
- 2 rectangles of tagboard for feet (approximately 4.25″ x 6.5″)
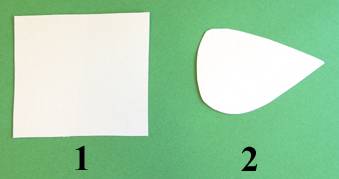
- 1 feet and head template, printed on 8.5″ x 11″ card stock
- 1 rectangle of white poster board for head (approximately 3.5″ x 8″)
- 1 strip of white poster board for neck (approximately 2″ x 14″)
- 2 squares of white poster board for wings (approximately 4.25″ x 4.25″)
- 2 large wiggle eyes
- A selection of color masking tape
- A selection of patterned paper
- A selection of construction paper
- A selection of small feathers
- A selection of large plastic buttons
- Scissors, tape, and glue stick for construction
- Markers for decorating
- Hot glue
First, use the template to trace the feet onto the tagboard rectangles. Cut the feet out, then decorate with markers. Next, wrap the paper towel tubes with color masking tape. Use hot glue to attach the paper towel tubes to the feet. Try to attach the tubes close to the the center of the foot (I thought it would be easier to show this step with an undecorated foot and leg).
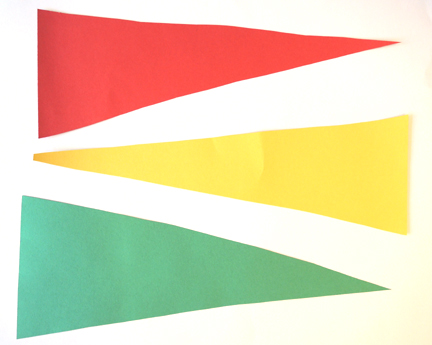
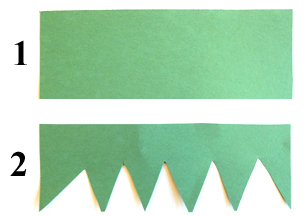
 Set the assembled legs aside for a moment. Next, cut wing shapes out of the squares of white poster board:
 Then glue or tape small feathers to them. Set the wings aside as well.
Now for the head and neck! Use the template to trace the head onto white poster board. Don’t be tempted to use the card stock template for the head! You’ll definitely need the heaviness of the poster board to keep the flamingo balanced. You’ll notice a little dotted line on the head template. Line the template up with the poster board head and snip along the dotted line to create a notch in the head (this is where you’ll attach the neck later).
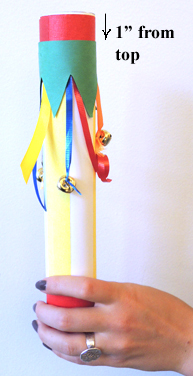
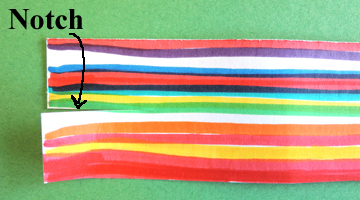
 Decorate the head with markers, and hot glue a wiggle eye on both sides. Use the markers to decorate the poster board strip neck (don’t use color masking tape to decorate the head or neck – it makes them too heavy). When the neck is decorated, cut a 1.5″ notch in one end.
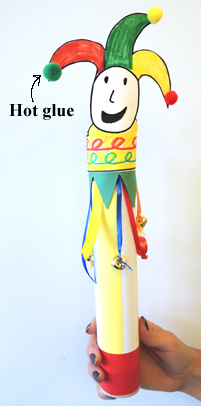
 Line the flamingo’s “head notch” up with the “neck notch” and slide them together so they interlock.
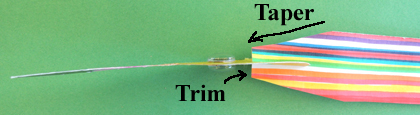
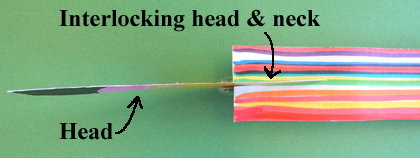 Use scissors to taper the neck towards the head (and trim the ends if they’re hitting the wiggle eyes).
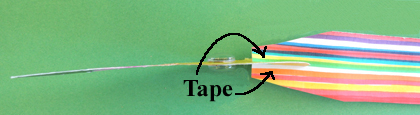
 Then secure the head to the neck with two pieces of tape.
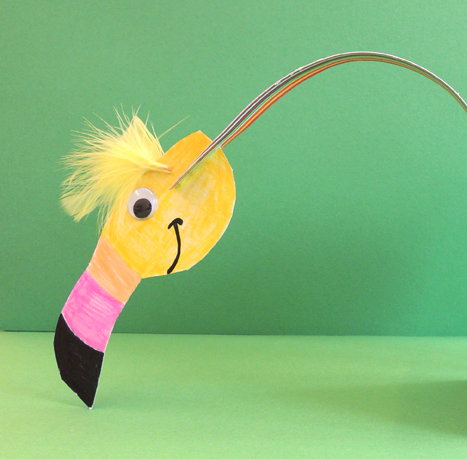
 The head and neck are complete!
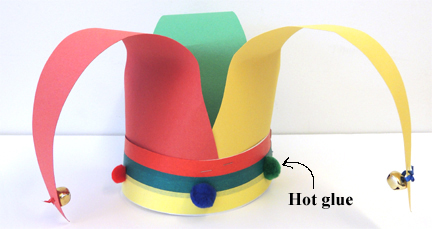
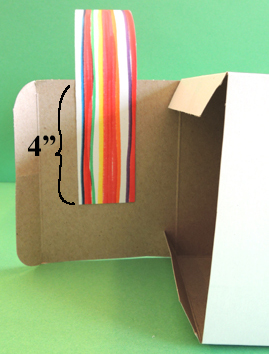
 Now it’s time to attach the neck to the body with hot glue. You can attach the neck outside the box, or if you have a box with a lid like I did, you can attach the neck inside the lid of the box. The most important thing is to glue at least 4″ of neck to the box to really anchor it.
 I also taped the lid of the box for extra security.
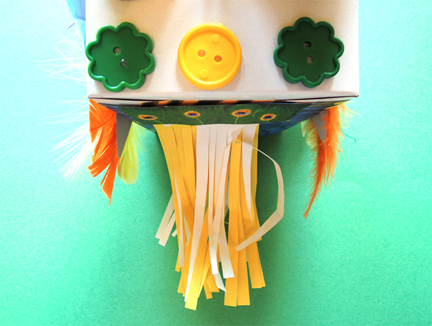
 Use the construction paper, patterned paper, feathers, and Bling Bin to decorate the box. Make sure, however, that you DON’T decorate the bottom of the box where the legs attach! Finish by hot gluing the wings to each side.
Now for the tricky part. Attaching the legs and getting the flamingo to balance! Stand the legs up on a level surface, feet turned slightly outward, and lower the body on top of them. You’ll know right away if the body needs to be adjusted left, right, forward, or backward. When you think you’ve struck the right balance, remove the body, squeeze some hot glue around the rims of the leg tubes, and gently lower the body on top of the hot glue.
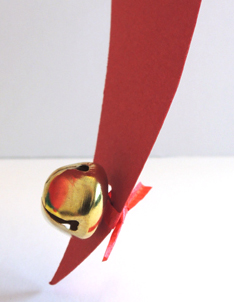
The flamingo might still be a little tippy. That’s where these handy plastic buttons come in! Hot glue the buttons to the underside of the body – back by the tail – to add some counterweight. Done!

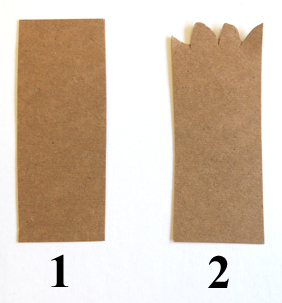 Cut the monster feet out of tagboard as well.