 If you read (and breathe) children’s books, chances are you’ve considered writing one yourself. But writing can be tough, and publishing can be diabolically elusive. In the hopes of shedding a little light on the process, I decided to interview an author about her experiences in both writing and publishing her first picture book.
Some of you will immediately recognize the name Betsy Bird. In addition to being a Youth Collections Specialist at the New York Public Library, she has served on various literary projects and panels (including the Newbery Award committee), written for Horn Book, Kirkus, the New York Times, and has a popular School Library Journal blog, A Fuse #8 Production. This fall, in collaboration with Julie Danielson and Peter Sieruta, she released an adult non-fiction book titled Wild Things! Acts of Mischief in Children’s Literature (Candlewick, 2014).
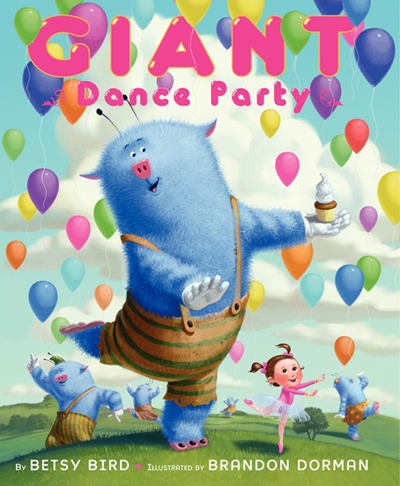
Betsy’s also published a picture book, Giant Dance Party, which is illustrated by Brandon Dorman (Greenwillow Books, 2013). The book is about a little girl named Lexy who decides (after a few bad experiences with stage fright) to quit the stage and become a dance instructor instead. Her only pupils, however, are five furry (but highly enthusiastic) blue giants. We had a fabulous time reading this book at our story time (you can see the project here). But what was it like to write and publish it?
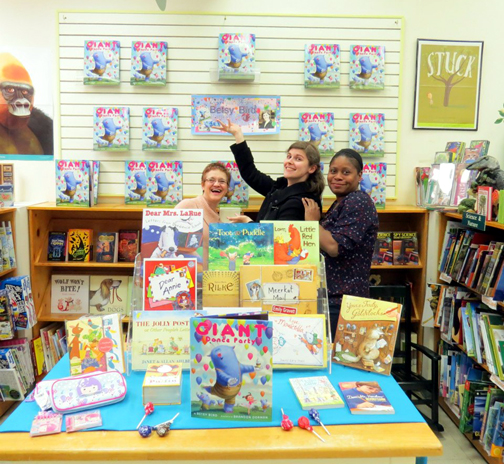
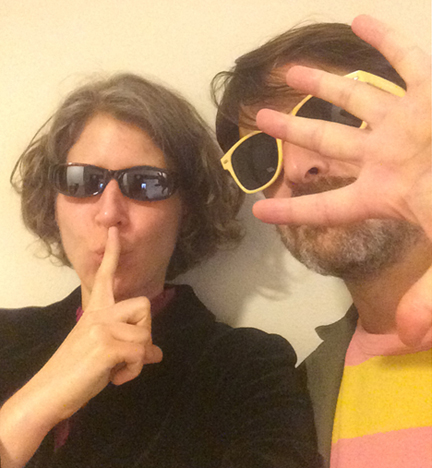
Betsy (center) stops by Magic Tree Bookstore on her book tour
So, one morning, did you wake up and decide you were going to write a children’s book?
Not exactly. It was more a gentle thought in the back of my brain that sat there percolating for a while. Honestly, the only reason Giant Dance Party even happened was that illustrator Brandon Dorman wrote me an email one day that essentially said, “Let’s do a book together! I’ll illustrate it, you write it, and I only have one idea: Giant leaping.” I mean, how do you turn that kind of thing down? I fully credit him with getting me off of my tuchis and writing.
How did you proceed from “Giant leaping?”
Well, I pretty much just came up with three different ideas, all of which involved giants launching themselves in the air in some way. After I hammered them out and Brandon approved them we approached his editor. We presented three ideas and the publisher purchased two. Easy peasy!
After the idea was purchased, did you write the story?
No, before! It was complete and they bought it that way. Then came the copious edits. We actually went through two different editors with two very different styles in the course of the book. Lots of changes were made but honestly I think it was for the best in the end. The book’s much stronger now than it was when we first turned it in.
 How long did it take to write the story? Did you involved anyone else, or was it just you, the keyboard, and your favorite caffeinated beverage?
Honestly this was actually a kind of rare occurrence. You see, I worked with Brandon on the stories before we submitted them and he gave me feedback. Under normal circumstances authors and illustrators are given wide berth of one another and are not allowed to communicate all that much when collaborating. But since we already had a friendship and it was Brandon’s idea in the first place (plus the fact that he’s a New York Times Bestseller rockstar) we decided to bounce ideas off of one another while we developed the book. It was a LOT of fun. And I think it just took a couple months to hammer everything out in the end.
Did you give Brandon any feedback on the illustrations?
I did but not until much later in the process. The illustrations went through a LOT of changes. In the end there wasn’t much to really suggest. The man’s a pro. But I did suggest a darker color to some hand painted letters in one scene and more diversity in the characters in another scene. Aside from that, no changes necessary!
You mentioned copious edits. Can you tell us more about what it was like to work with editors?
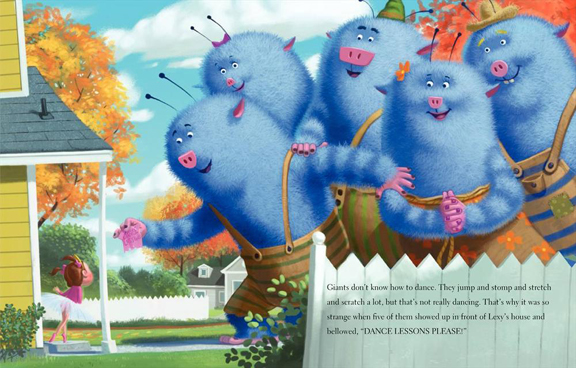
Sure! My first editor was pretty easy going. I came into his office and we did a lot of line edits, sitting down and going over every single sentence. Then he left the company and I found myself with another editor entirely! She had a different vision for the book, having inherited it rather than purchasing it herself. Honestly, we’re very lucky she liked it enough to proceed with it. It was because of her vision that the giants changed from gross, disgusting, big warty guys into furry blue piles of adorableness. She was also very rigorous with the text and the ending and a lot of changes were made to the storyline. In the end, I think it ended up a much stronger book and I was happy to take most (though admittedly not all) of her suggestions.
 How long did it take from idea percolating to the final, finished book?
You mean for it to reach bookstore and library shelves? I believe we started the process in 2009 and it came out in 2013. That’s partly because of the switch in editors and partly because books take FOREVER to be published. Ask any author and they will tell you that this is true. It may even explain the rise in self-publishing, honestly.
What was it like to hold your finished book in your hands? Or watch children read it?
The finished book was lovely and surreal all at once. Not quite as surreal as watching perfect strangers pick it up and read it on their own, but surreal just the same. I really got a kick out of hearing folks discuss it without knowing I was nearby. Eventually, I’m going to have to experience that universal moment so many authors have had to face where you see your book in a secondhand store or Goodwill, but until then I’m loving it.
What was one thing that surprised you about writing a children’s picture book?
I was definitely surprised by how long the whole publication process takes. I expected a year or two, but more than that? Crazytalk! So that was new to me. There’s also the fact that in many ways the author is in the dark when it comes to knowing how a book is doing. That might be a good thing, though. Knowing too much leads to insanity.
Do you have any advice for people who might be developing a story of their own?
The best thing you can do is read as many books as you can that are similar to your own. Know what’s out there. The last thing you want to be is derivative and the nice thing about consuming vast quantities of children’s literature is that after a while you can parse the good from the bad. So visit your local children’s library and check out, check out, check out!
If you’d like to learn more about Betsy, her books, and her literary adventures, visit her website, Betsy Bird Books. And if you know juuuust where to look in her website’s “Media” section, you can see footage of her dancing in fuzzy blue legwarmers. I really do need a pair.
Book images used with permission of the author, and author photo used with permission of Magic Tree Bookstore.

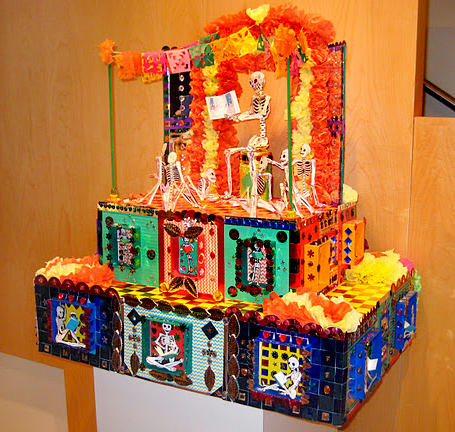 A few years ago, the Arts Council of Princeton asked my library to submit a piece for their Dia de los Muertos exhibit. The result was the crazy kaleidoscope you see before you.
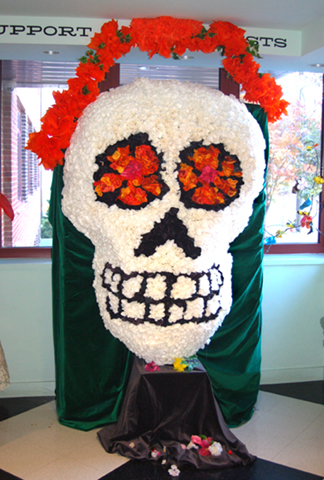 It’s a giant skull made of chicken wire and coffee filters. Coffee filters! Over 2,000 of them! The artist is Maria Evans (who also happens to be the Artistic Director of the Arts Council). Beautiful.