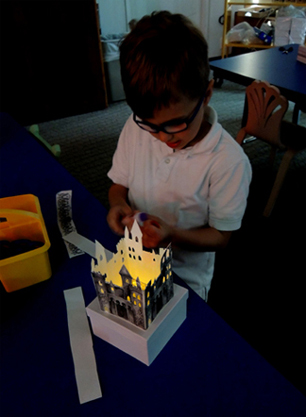
 Navigate your way through a laser maze, steal a bear from a snoring sleeper, and snag some hidden diamonds. Stealthiness, sneakiness, and silence are strongly encouraged at To Be Continued, our story time for 6-8 year-olds!
We read Pilfer Academy by Lauren Magaziner (Dial Books, 2016). George isn’t a bad kid, but he just can’t seem to keep his hands off his siblings’ stuff. His older brothers’ stereo, for example. Those comic books he’s not supposed to touch. The $10 on the night table. His sister’s private diary. When George is once again caught red-handed, he bolts out of the house…and is kidnapped by a pair of inept ice-cream truck drivers. As it turns out, the truck is a fake, and the drivers are faculty at Pilfer Academy, an elite school for master thievery. George soon finds himself taking classes like Stealth 101, Practical Applications of Breaking and Entering, and Intro to Gadgetry. But when it comes time to steal for his midterm exam, George discover that he feels horrible about it. Now George and his talented friend Tabitha must find a way to escape Pilfer Academy. Would I be giving too much away if I tell you the escape involves guard chickens, a pit of spaghetti, a deadly laser room, and a runaway mansion?
Story Time Task #1: In the book, George and Tabitha navigate a laser obstacle course, something I’ve been dying to create ever since I spotted this fantastic piece of fun. To create the course, we zig-zagged green crepe paper streamers on our gallery bridge. The streamers were attached with masking tape.
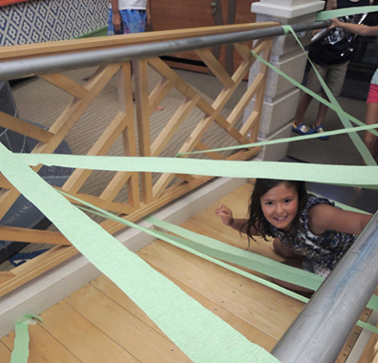
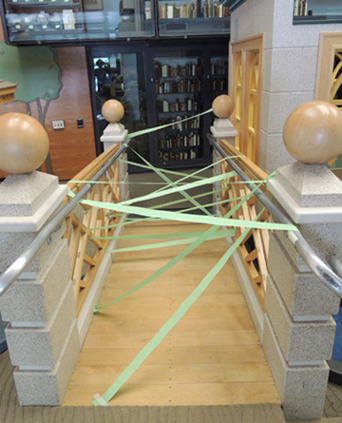 Starting at the bottom of the bridge, kids had to squeeze, crawl, and slide through the course without touching a single “laser beam.” I stood nearby, making “Zzzzzt!” laser noises at key moments.
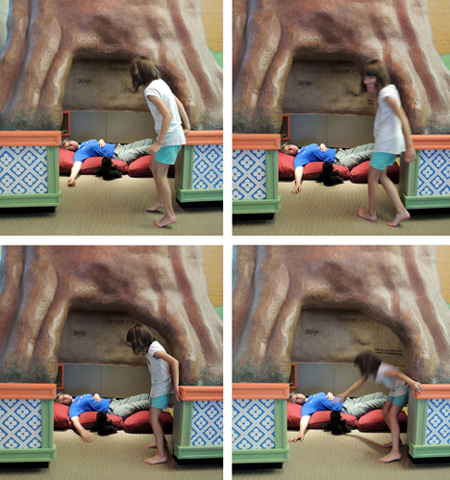
 Story Time Task #2: George’s midterm exam involves stealing a teddy bear from a sleeping toddler. I grabbed a bear puppet, flopped on some pillows, closed my eyes, and started snoring wildly.
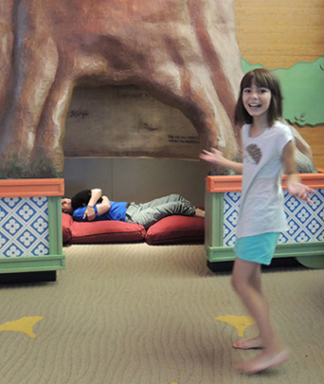
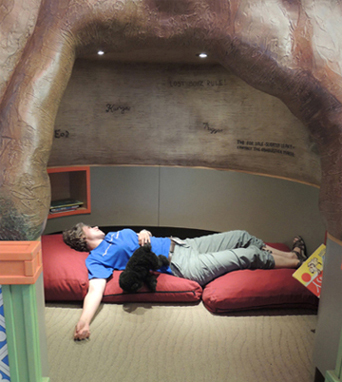 One by one, the kids had to sneak up and grab the bear without me noticing them (and they were quite astonishingly good at this). To increase the challenge, sometimes I would randomly thrash around in my sleep, throw the bear around, or grab it tightly to my chest.
 Story Time Task #3: The diamond hunt. Pilfer Academy is a massive Gothic mansion with arches, spires, and stained-glass windows. I thought it would be fantastic to immerse kids in a similar environment, so we headed over to one of my favorite places, the Chancellor Green Rotunda.
 This beautiful room was once the original library for Princeton University. Now it’s a study space for the Andlinger Humanities Center. Here’s a shot of its elegant stained-glass dome.
 On this particular afternoon, however, the room was full of hidden diamonds!
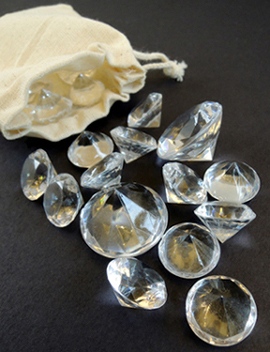 I found these acrylic diamonds in the wedding section of Michaels Craft store. A $5 pack contained over 75 diamonds of assorted sizes (from 0.75″ to 1″). I hid the larger diamonds in various locations in the room.
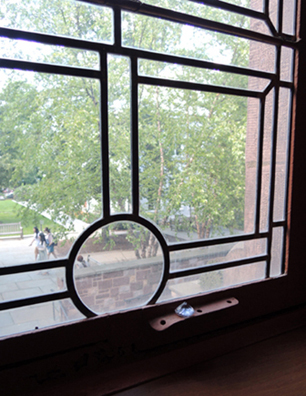 Sometimes I got a little sneaky. Can you spot the diamond in the wood paneling below?
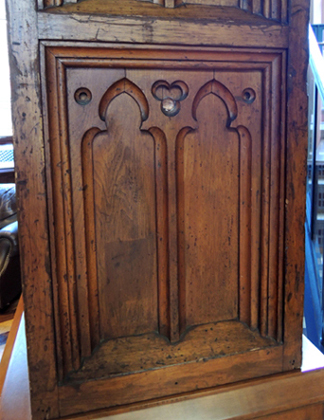 One by one, kids went searching for diamonds in the room. Once you found two diamonds, it was another person’s turn to search. And you had to be completely silent while searching!
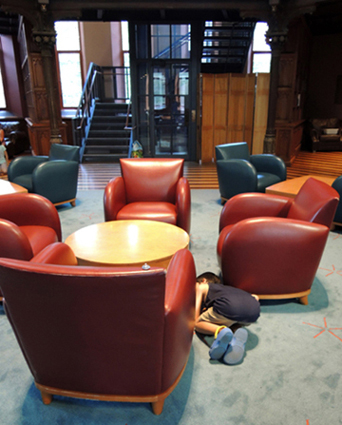 At the end of the program, each kid got to take home a little drawstring bag with some diamonds in it. Score!
This book was a terrific read-aloud, and we had a total blast with the activities – but it gets even better. Last weekend, the Princeton Public Library held their annual Children’s Book Festival, and guess who I got to meet?
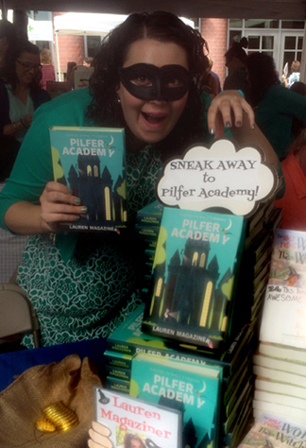 That’s right! Lauren Magaziner herself! Totally rocking a bandit mask, I must say. Thanks for the fantastic book Lauren. We absolutely loved it.
p.s. – Total props for using the word “collywobbles” in your book. The kids didn’t believe it was an actual word. We looked it up in the dictionary!

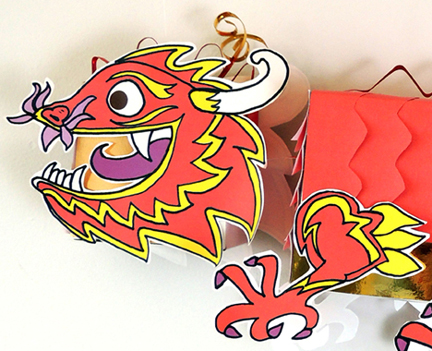 This colorful dragon marionette twists, turns, dives, and flies with you! It was a project at
 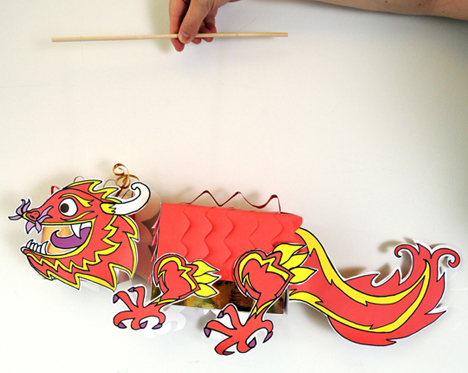 You’ll need:
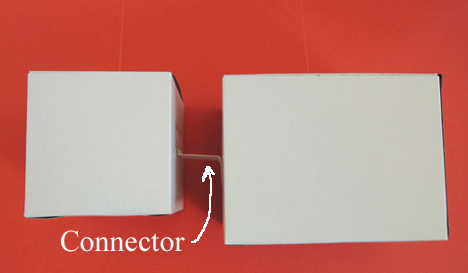
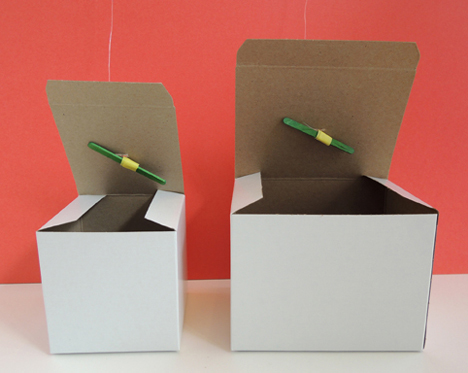 Connect the two boxes together with a 1.25″ x 2.75″ rectangle of poster board that is tabbed at both ends (my tabs were approximately 0.75″ each). Tape the connector’s tabs to each box.
 Next, wrap the boxes with construction paper (we went with layered strips of construction paper, cut to resemble dragon scales). Cut and color the dragon pieces from the template and attach them to the boxes. If you don’t have time to color in all the template pieces, here is a
 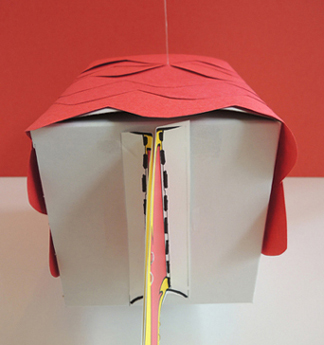 When your dragon is finished, tie the elastic cords to a wooden dowel (and secure the knots with tape if needed). Your dragon is ready to fly!
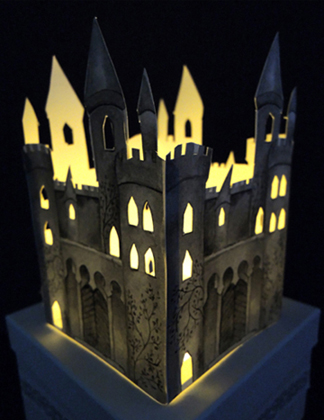
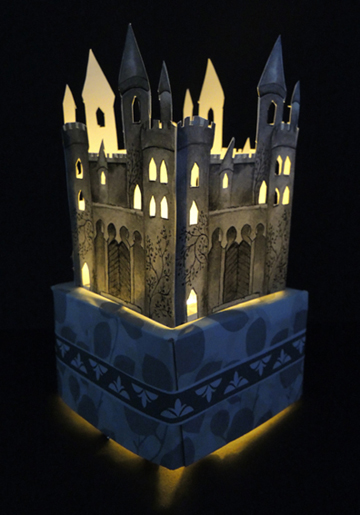 On the market for some truly radiant real estate? Perhaps this elegant castle votive will do! This simple, but way cool project was part of
  You’ll need:
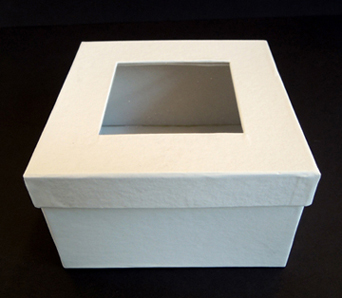 A cheaper option is to use the top of a small tissue box. Cut approximately 2.5″ off the bottom of the box. If you don’t like the pattern, cover it with your choice of construction paper. Remove any plastic from around the mouth of the box, and your base is ready to go!
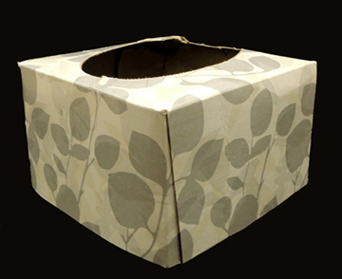 Line the inside of the box with a square of tin foil (if you’re using a tissue box, you’ll need to secure the tin foil in place with tape and peel it back from the mouth of the box).
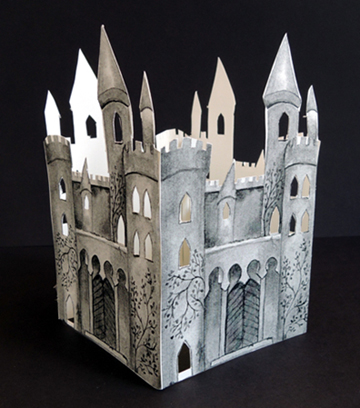
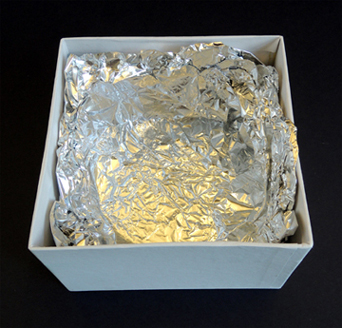 Next, print the
 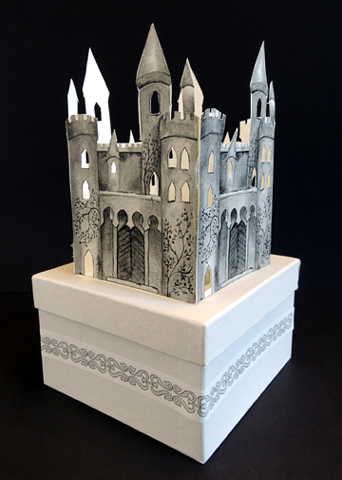 And here’s the finished tissue box version:
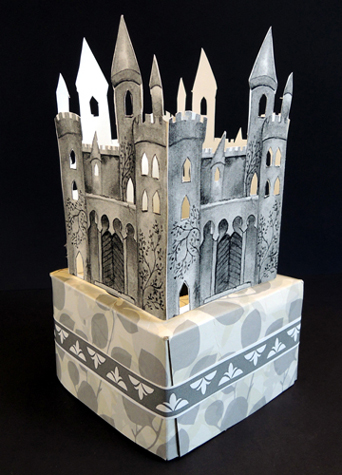 We offered the kids metallic markers for additional decorating, but this step is totally optional. Finally, drop an LED votive into the box and bask in the glow! Here’s the illuminated window box version:
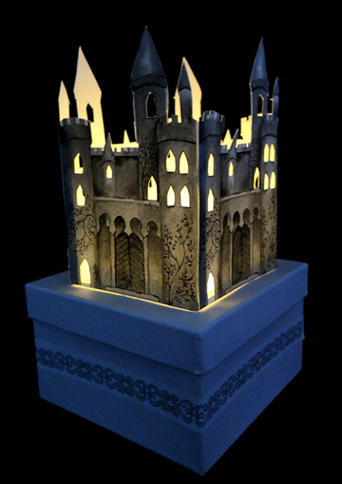 And here’s the tissue box version! The halo of light coming out of the bottom is rather cool, don’t you think? In fact, I believe I like the tissue box version better than the more expensive window box version.