 Make a shadow puppet bird, then fly through a story as your narrative appears on the big screen!
We read Shadows, written by April Pulley Sayre, and illustrated by Harvey Stevenson (Henry Holt, 2002). This beautifully illustrated non-fiction rhyming book examines the various shadows two children find at places like the beach, tall grass, a baseball game, and a creek. The rhymes are lovely and lyrical. One of my favorites is “Dragonfly shadows zip and pop / Running horse shadows never stop.” Lovely!
You’ll need:
- White poster board
- 1 shadow puppet bird template printed on 8.5″ x 14″ paper
- 1 shadow puppet bird wing template printed on 8.5″ x 11″ paper
- Hole punch
- Bird decorating supplies (more on those below)
- A 12″ piece of PVC pipe
- A selection of color masking tape (optional)
- Packing tape
- 2 pipe cleaners
- 1 bendy drinking straw
- Black poster board
- A balloon stick or two (pencils also work)
- Scissors, tape, and glue for construction
- Markers for decorating
- Hot glue
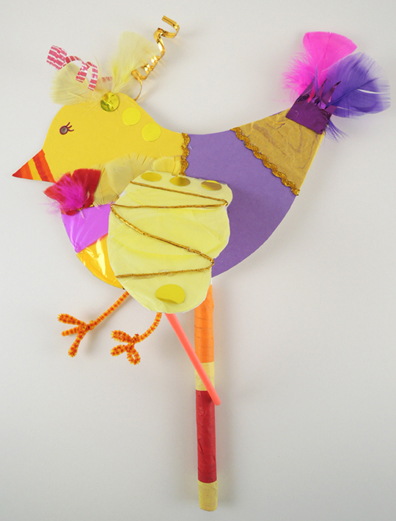
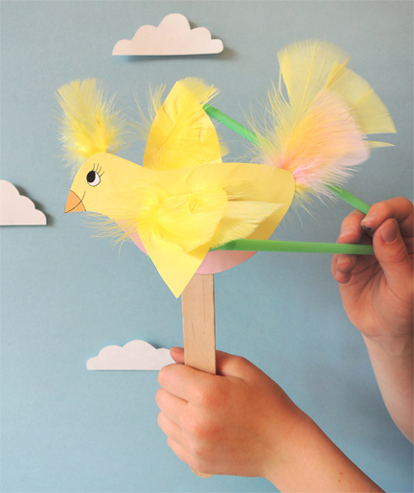
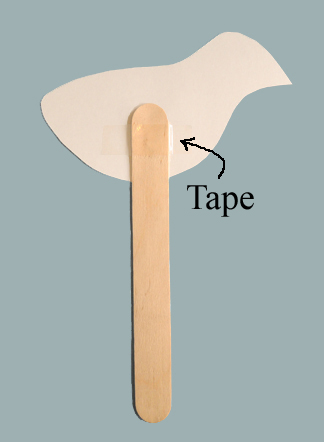
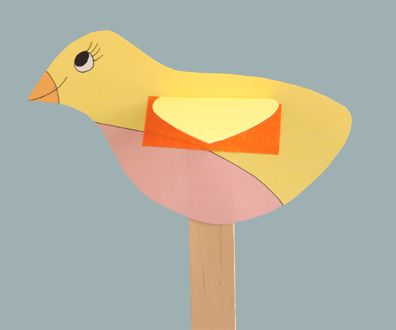
The construction of the bird is very simple (in fact, if you want to make a smaller version, check out this post). Trace and cut the bird and bird wing templates onto white poster board. Use a hole punch to create an eye for the bird.
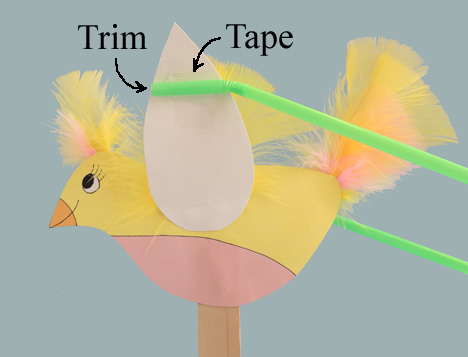
Next, decorate your bird (we busted out the Bling Bin and markers for this purpose). To create textures around the edges of the puppet, we also offered craft ties, small feathers, fabric flowers, and paper tissue squares. Twist two pipe cleaners into bird feet, and tape them to the back of the bird’s body.
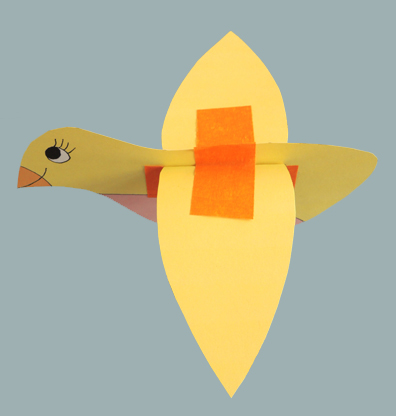
Tab and hot glue the wing to the bird’s body, then tape the short end of a bendy straw to the underside of the wing. The straw is the “stick” that will allow you to flap the bird’s wing up and down.
 Use packing tape to attach a 12″ piece of PVC pipe to the back of the bird (regular tape isn’t quite strong enough). We wrapped our PVC pipes with color masking tape, but that’s definitely optional. Your bird is done!
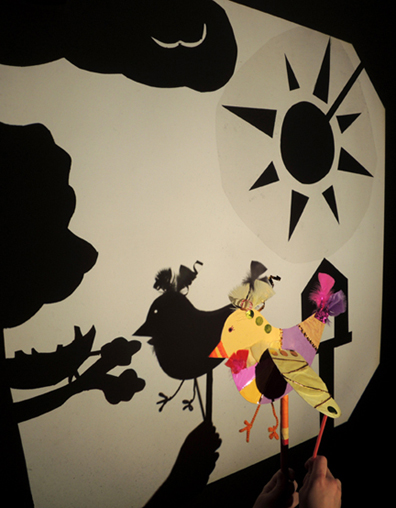
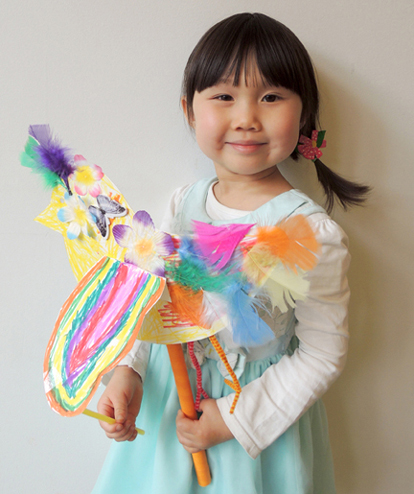 All we need now is a shadow puppet show set! We made our set on an old overhead projector. Oh how do I love thee overhead projector? Let me count the ways…
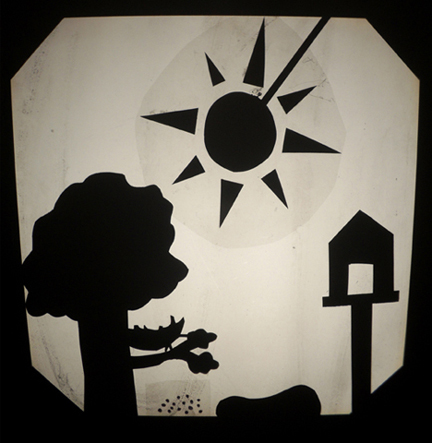
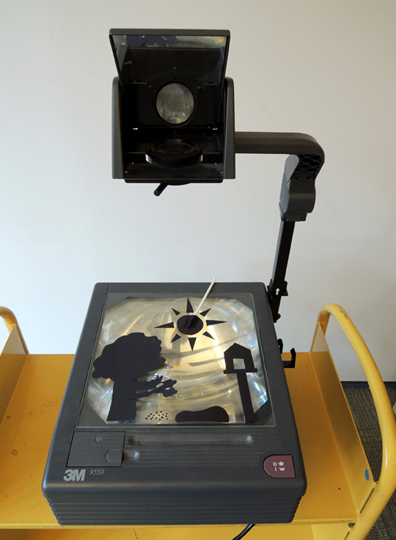 To build the set, Marissa cut a tree, a nest, a lake, and a birdhouse out of black poster board. Making the sun was a little more challenging – our initial attempts looked like a giant spider or a vicious super nova. Marissa solved the problem by hot gluing sun rays to a piece of archival mylar (clear cellophane works too). She also used a scrap of mylar to make a sprinkling of birdseed on the ground.
 During the shadow puppet story, a storm rolls in, so Marissa also made a cloud, mylar rain, and a thunderbolt.
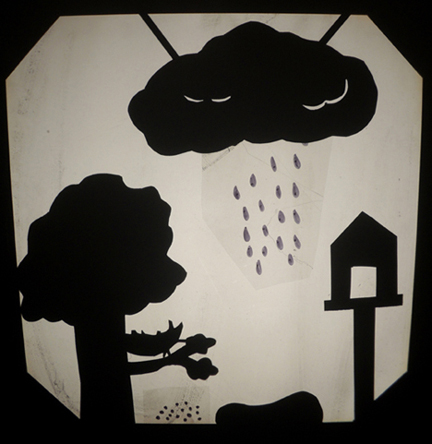 She mounted all the moving set pieces on bits of balloon stick (pencils work too).
 At story time, we lowered the shades, turned out the lights, and fired up the projector! One by one, kids stepped up to the screen. Then, as I narrated, they flew their birds through the story! Hmmm…we might have made that birdhouse a little too tall…
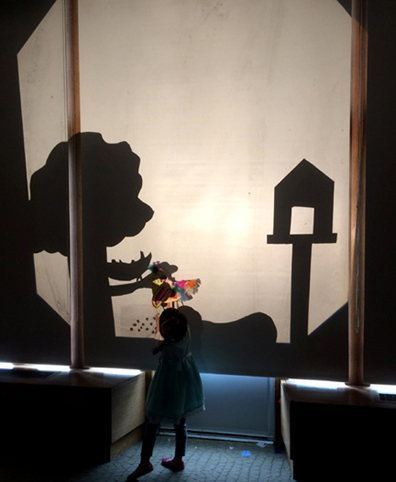 Here’s our lovely puppeteer in action! Ready for a show?

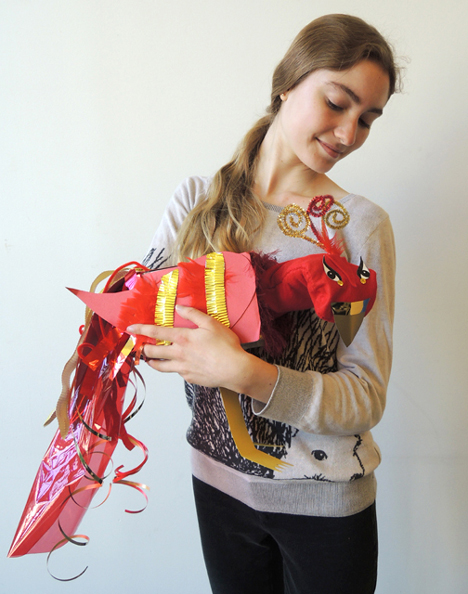
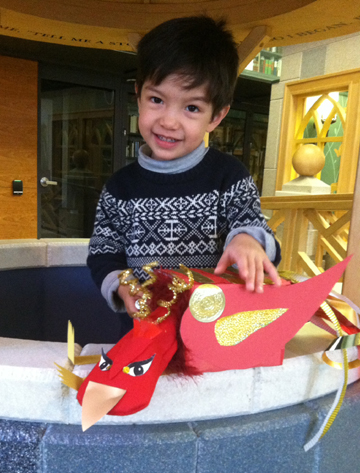
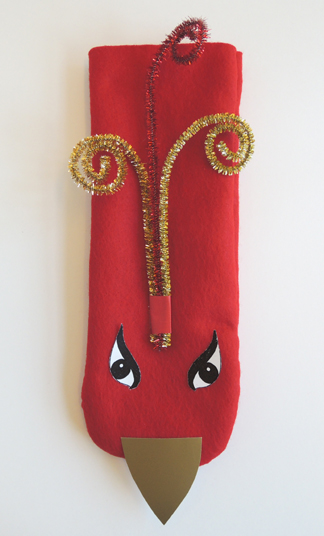
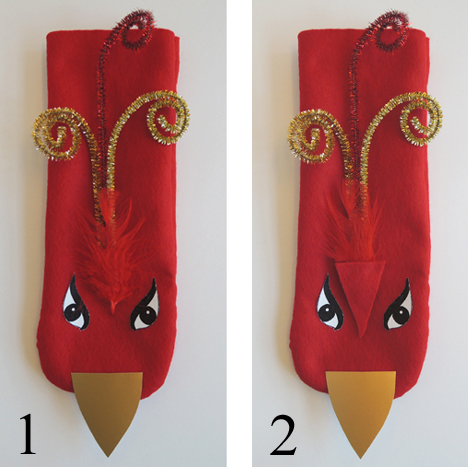
 To make your phoenix’s crest, bunch the bottoms of 3 sparkle stems together. Wrap red masking tape around the bunch, then use the barrel of a marker to give the free ends of the sparkle stems a little curl. Cut a pair of eyes from the template, and a beak from the yellow (or gold metallic) poster board. Then hot glue the crest, eyes, and beak to the top of the head.
 Hot glue a red feather onto the masking tape to cover it, then hot glue a small triangle of felt over the bottom of the feather to complete the look.
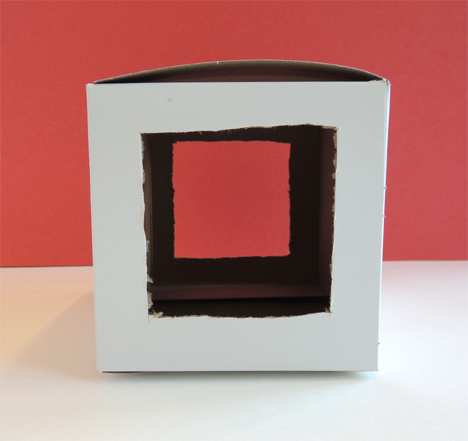
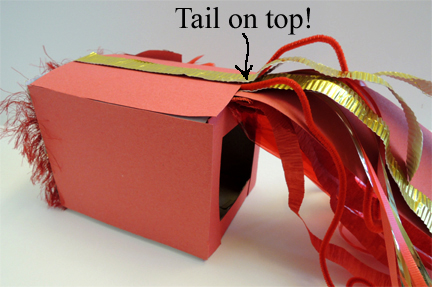
 The tail was cut from a 3.65″ x 13″ rectangle of construction paper. Like the wing, I gave it a slightly pointy look.
 I recommend decorating the wing and tail before you attach them to the box (because it’s much easier for kids to decorate an object that’s flat on the table). For decorating the wing, tail, and front & back of the box, we offered red construction paper, red and gold sparkle stems, red pipe cleaners, cellophane, small red feathers, red and gold embossed foil paper, gold wrapping paper, textured gold paper strips, and gold and red curling ribbon, and large gold embossed foil seals. In addition to these items, each tail had a big piece of red cellophane and 2 red crepe paper streamers.
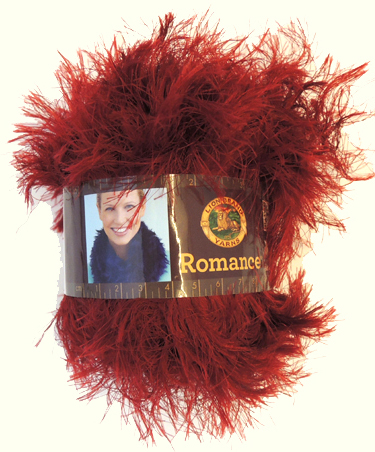 When you’re done decorating, attach the wing and tail to the body with hot glue. The tail needs to attach above the rear end opening! That way, the tail will hide your arm when it’s inside the puppet.