
 While archaeology can’t always be fedoras, bullwhips, and jaunty theme music, it is a fascinating field of study. Plus, you get to dig really, really big holes! In 2013, my library had a large-scale Journey to the Centre of the Earth event, and archeology seemed just the thing to include. But we needed to be realistic about what we could do. I mean, we couldn’t set up a dig site on the event floor…or could we?
Today, I’m going to share how Katie and I built a portable archeological dig site. It has it all – grids, brushes, artifacts, scientific sketches, field notes, and a clipboard activity that got kids thinking about how all the artifacts were connected. The dig was hosted by the Historical Society of Princeton, who put their own fantastic twist on things (I’ll share what that is at the end of the post!).
Katie and I created the dig in the pre-blog days, so you’ll have to excuse me if there aren’t as many detailed process photos!
Our dig consisted of 4 different “sites.” Each site was a group of 6 corrugated cardboard boxes and a clipboard. I ordered the boxes from Uline (model S-16746). They are 15″ x 15″ x 3″. Originally, the boxes had attached lids, but we cut those off. We connected the boxes with tons of hot glue, then ran brown packing tape around the outside as well.
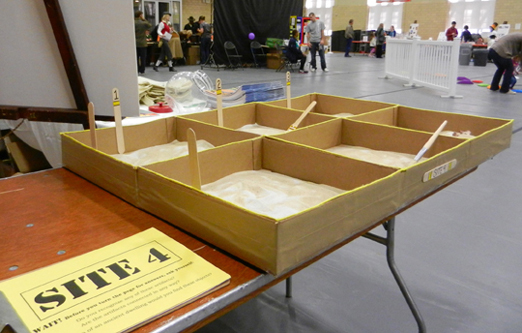 Archeologists use string to divide their sites into grids. We replicated this by hot gluing yarn along the tops of the boxes. We color-coordinated the sites as well. Site 4, for example, had yellow yarn, yellow stripes on the markers, and a yellow cover sheet on the clipboard. The other site colors were green, orange and red.
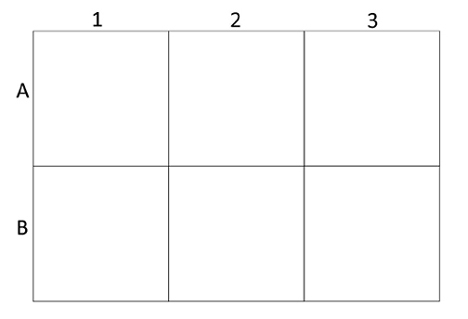
Since the artifacts would later be matched to a site map, we hot glued wooden craft sticks markers around the grid as well. Here’s how each site was marked:
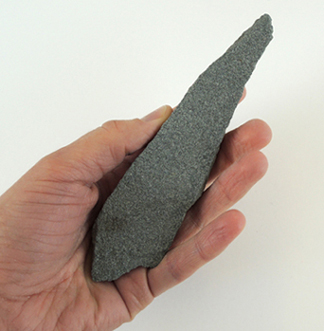
 The next step was to find artifacts to put in the boxes. We had a lot of fun with this! Among other things, we used old metal jewelry, non-plastic beads, and owl pellet bones. We used air dry clay to make cups, plates, bowls, and spoons (a couple of which we intentionally shattered and used as shards). A library contractor donated some small deer antlers, and I snagged a “stone knife” from a broken piece of paving tile.
 Each of the 4 sites had its own theme: 1) Fire Pit; 2) Pantry; 3) Treasury; and 4) Armory. We sorted the artifacts under the different themes, and then arranged them in the appropriate boxes. Because we needed the artifacts to match the site map, we hot glued them inside the boxes. And we really, really hot glued them. We even had an emergency hot glue gun at the event in case an over-eager archeologist yanked an artifact out of the box.
Next came the dirt! Except, for sanitation reasons, we used playground sand purchased from Lowe’s. Specifically, we mixed white and yellow playground sand together to give it more texture.

Original image source, the Nassau Literary Review
To keep the mess at a minimum, we added 1″ of sand to the boxes. It was just enough to cover most of the objects, but still left a few sticking out in a tantalizing way. Each individual box got 4 cups of sand, which meant each site used 24 cups of sand. In the end, we used 50lbs of sand for the whole dig site. For obvious reasons, we transported the prepped boxes to the event and THEN filled them with sand.
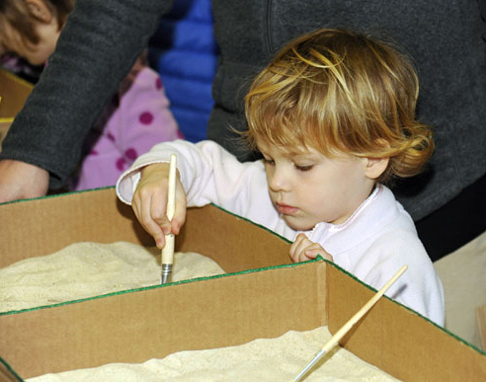
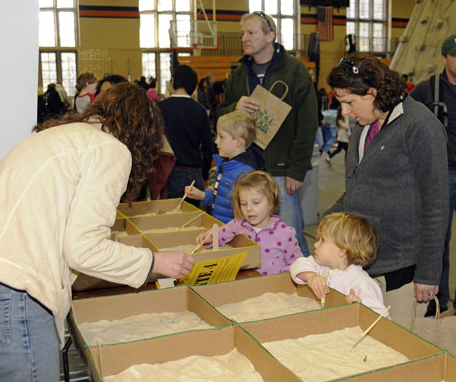
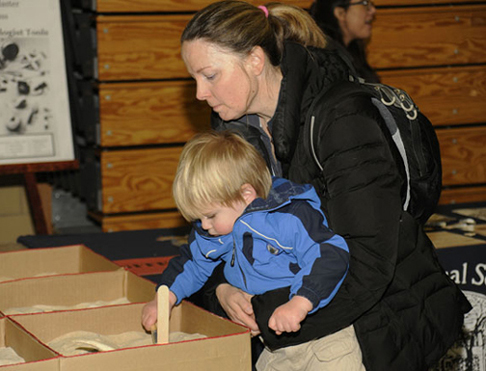
At the event, young archeologists used paintbrushes to uncover the artifacts. They were natural bristle brushes with wooden handles in assorted sizes (the widest being 2″). There were at least 4 brushes per site so multiple kids could work at once.
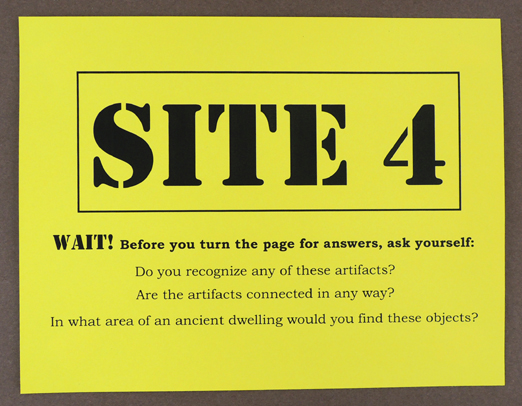
 Remember the clip boards by each site? The clipboards contained a site map of where all the objects were buried. But before kids looked at the map, we asked them to think about what they had just uncovered. So the cover sheets for the clipboards looked like this:
Kids would talk about what the artifacts looked like (“That looks like a spoon!”), how some artifacts were located close together (“I saw a plate and a spoon together…”), and then make guesses as to what dwelling the artifacts were used for (“I think someone was eating here. A kitchen maybe?”).
Flip up the cover sheet, and there was the site map with the artifacts. If kids hadn’t found an artifact, they could use the grid markers to locate it. The map also had the title of the site, so kids could confirm their hunches as to how the artifacts were connected. If they excavated all the sites, they would also see how those were related (the Pantry was located next to the Fire Pit, the Armory was located next to the Treasury).
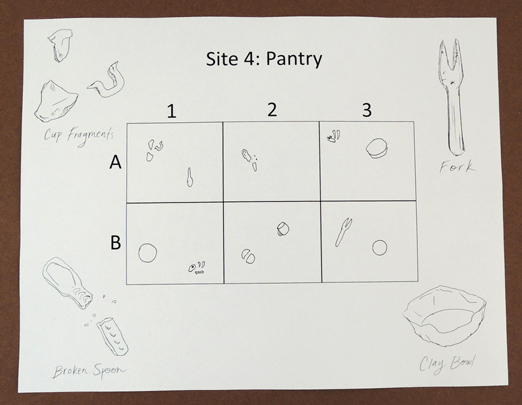 Bordering each site map were cool “field sketches” identifying some of the objects on the site. These were drawn by the awesome Aliisa Lee.
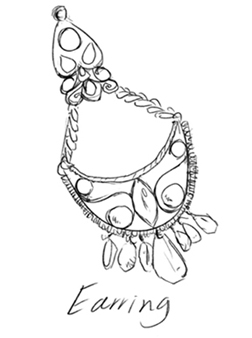 Aliisa even added cool little notes to some of the sketches…
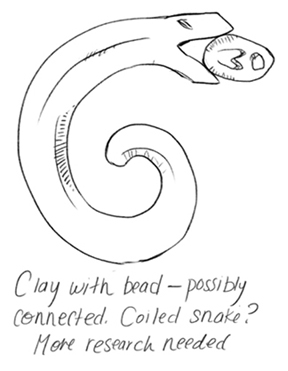 You might have noticed that we didn’t label everything on the site map. That was intentional. Many of the objects were obvious (beads, spoons, a bracelet), but we left a few mysteries to show that, sometimes, you don’t get all the answers right away. It might take a little more research and consultation with your colleagues.
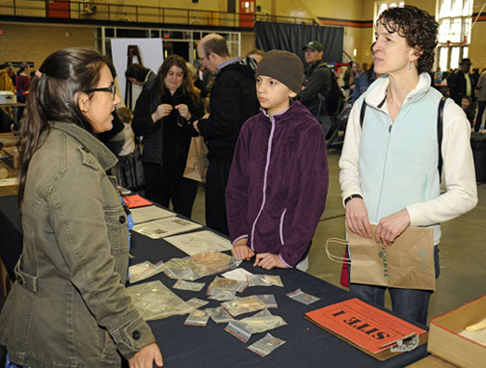
I mentioned that the Historical Society of Princeton added their own special twist to the archeology activity. YES! They displayed, and in some cases let kids handle, a multitude of artifacts that had been discovered and excavated from actual dig sites in Princeton! Some of the artifacts included broken dishware, glass piece, the base of a flowerpot, arrowheads, and a stone ax.
 The two Princeton excavation sites were the Houdibras Tavern and the Updike Farmstead (where the Historical Society now houses its headquarters). They had this fantastic photo on display too. Kids at the Houdibras Tavern dig in 1969. It was the PERFECT archeology and history connection. So cool.
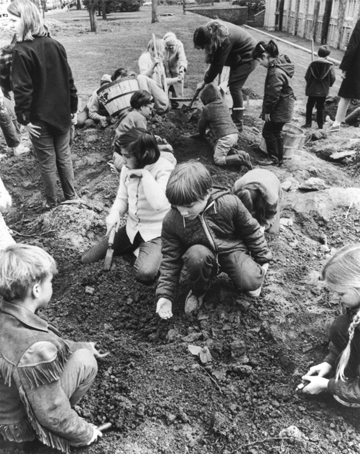
Photographer Warren E. Kruse of the Trenton Times, from the Collection of the Historical Society of Princeton
And there you have it! An archeological dig site to spark the imaginations of budding young archeologists (with their dedicated research assistants offering a boost when needed).
 Who knew infinity could be so beautiful? I’ve returned with Part II of the Digitopolis event post (
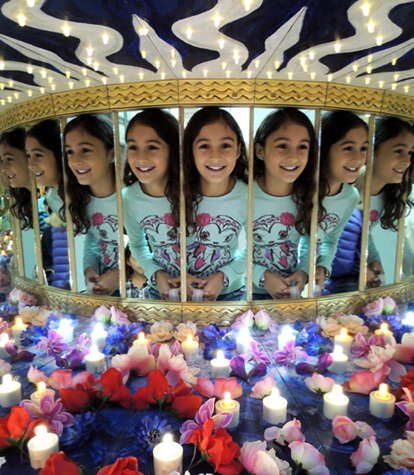
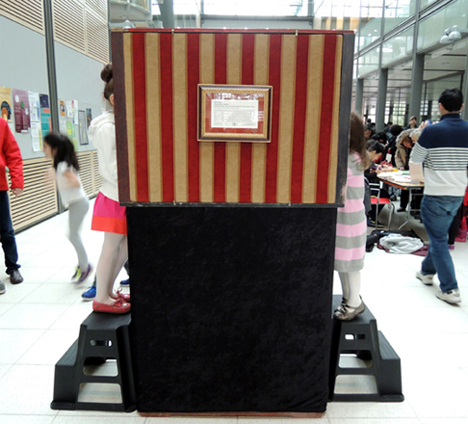 The boxes are designed to be infinite, interactive environments that play with your perception and inspire inquisitiveness and wonder. They were in constant use during the event, and there were lots of shrieks of amazement, enthusiastic explosions of “Cool!” and long, drawn out utterances of “Woooooow…”
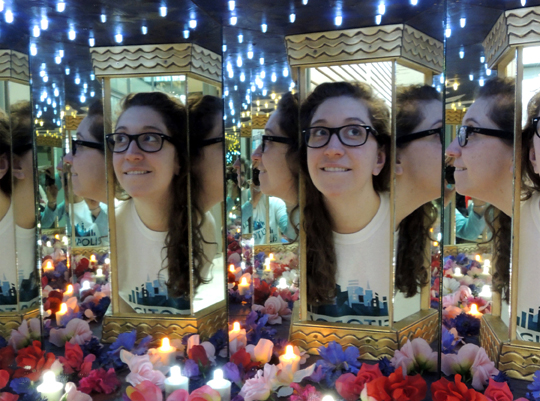 Digitopolis was not without its celebrities, including the King of Numbers himself. I speak, of course, of the Mathamagician.
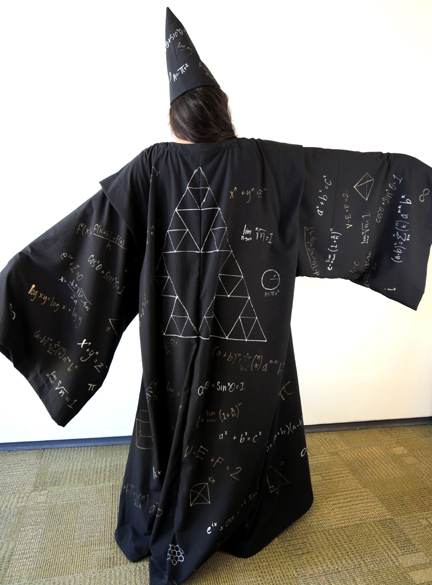
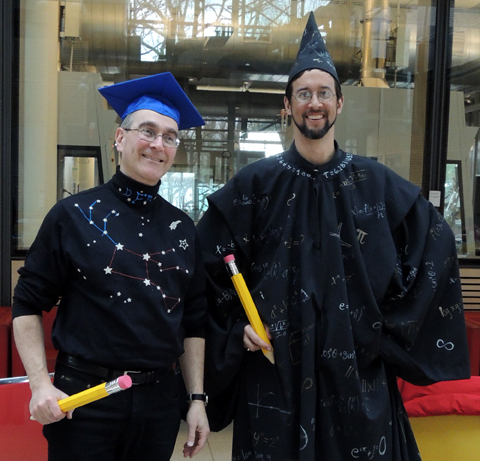 That’s real-life mathamagician Brent Ferguson on the right, grinning away under the pointy hat covered with equations. He’s math faculty at the Lawrenceville School, and in 2013, he was awarded the National Museum of Mathamatics’ Rosenthal Prize for innovation in math teaching. On the left is Dr. Dan Fishman, a high school math teacher, who, like Brent, has unbridled enthusiasm for all things math.
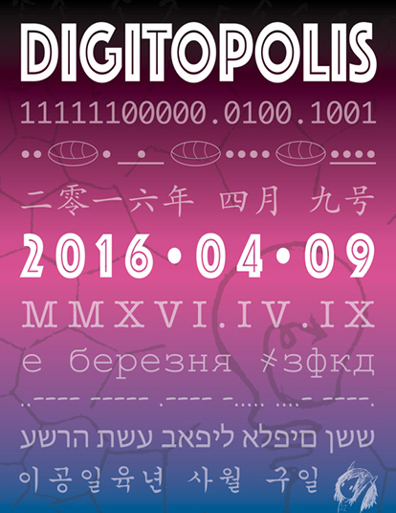
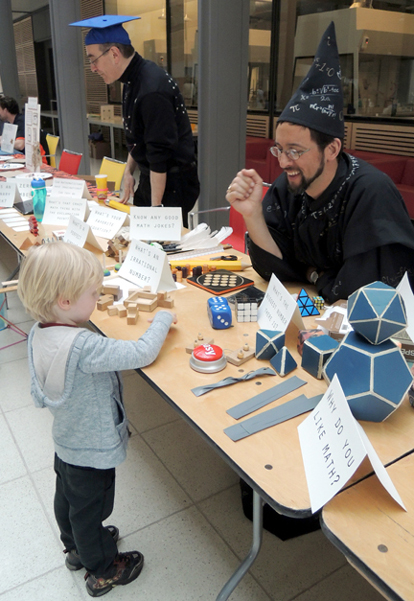 Also at the Mathamagican’s table were three Digitopolis “tourism” posters for families to take home (the posters were inspired by
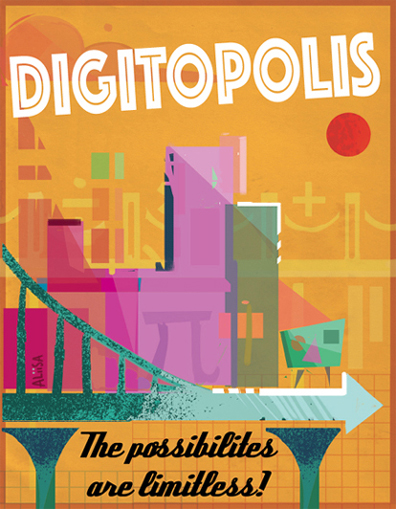

 A quick word about the Mathamagician’s costume. The robes and hat were made by freshman James Jared, who ingeniously modified
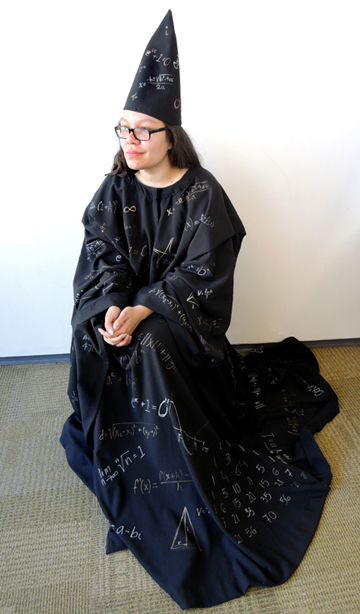
 The Mathamagician wasn’t the only celebrity in Digitopolis that day. Does this gentleman look familiar to you?
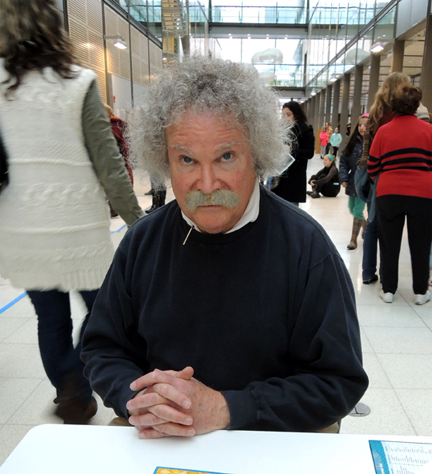 Yup, it’s Albert Einstein. Or rather, professional reenactor Bill Agress playing Albert Einstein. Mr. Einstein circulated the event floor, chatted with kids, answered questions about his life and work, tried an activity or two, and posed for pictures. And yes – he wasn’t wearing any socks.
 They also whipped up an
  Elsewhere in Digitopolis, another math wizard was hard at work. This is Emile Oshima, a junior at Princeton and master of the Japanese abacus. Next to him is senior Rei Mastsuura.
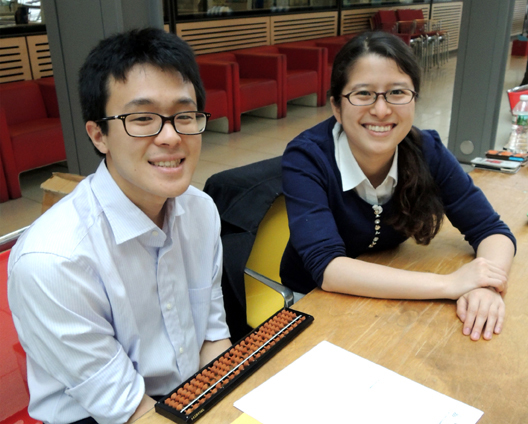 In addition to having Emile and Rei teaching kids how to use an abacus, Emile raced kids (and parents!) armed with electronic calculators to see who could reach the product of 3 x 3 multiplication problems faster. Emile always won. He was lightning fast!
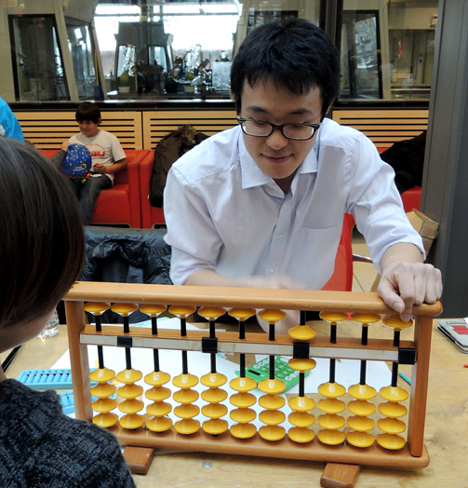 Meanwhile, at another event table, another calculator was keeping kids busy. But this calculator was rather…odd.
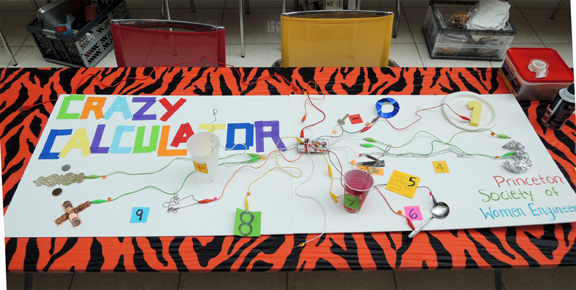 The “Crazy Calculator” was designed by the Princeton Society of Women Engineers using 2 Makey Makey sets. Have you seen Makey Makey? It’s pretty awesome. Each set consists of wired alligator clips, a small central board, and computer software.
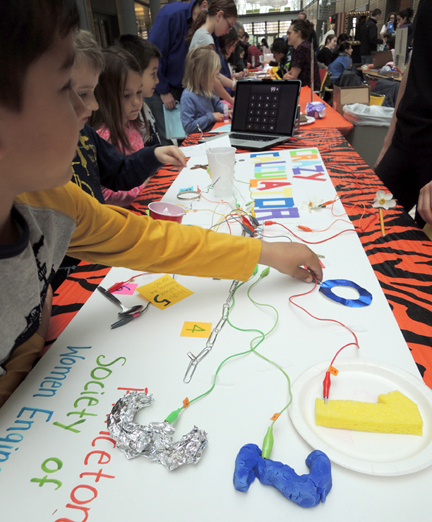 Interspersed with the other event tables were five “Pop Up History” activities that tied together math and history. These tables were designed to be simple, stand-alone, and un-staffed.
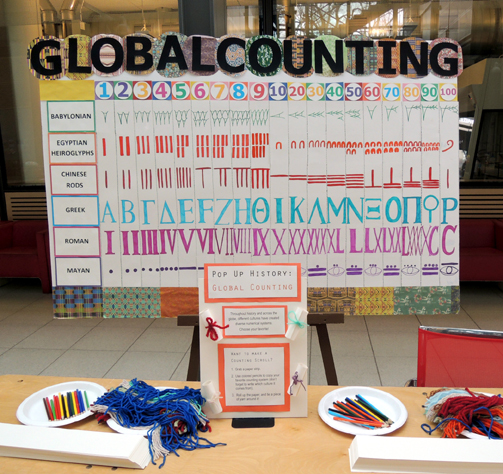 At “Global Counting,” kids could see diverse numerical systems on a big display board (the book Go Figure: A Totally Cool Book About Numbers (DK, 2005) was very helpful in this regard). Then, kids copied their favorite number system on a 3.5″ x 17″ strip of paper, and used yarn to turn it into a little scroll.
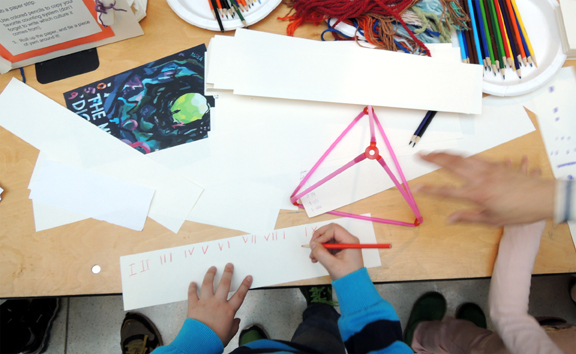 At another table were Möbius strips, a must-have for any hands-on math event. Discovered in 1858 by German mathematician August Ferdinand Möbius, the strip demonstrates how a piece of paper can have only one side! All it takes is a 2.5″ x 28″ piece of poster board, tape, and some
 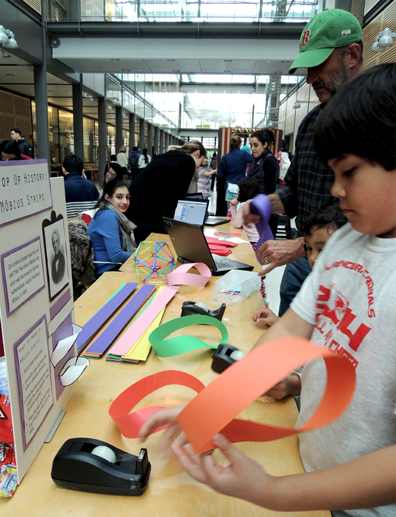 Another hands-on math must-have? Tangram puzzles. Originating in China, tangram puzzles were first introduced to Europe in the 19th century. There are plenty of inexpensive tabletop tangrams out there, but we decided to splurge on some giant foam floor size versions (thinner ones purchased from SimplyFun, chunkier ones from Fat Brain Toys). Later, these were donated to a local non-profit family shelter.
 The fourth Pop Up History table was called “Tally Hides.” Some American Indian tribes kept track of important things by making tally marks on animal hides and tree bark. Definitely a cool way to count!
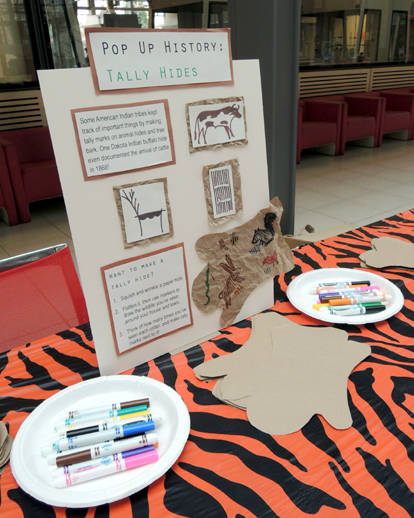 Before the event, we cut 9″ x 12″ pieces of brown paper into the shape of a hide. During the event, kids wrinkled the paper, flattened it out, and used markers to draw the wildlife they’ve seen around their homes and town. Then, they estimated how many times they’d seen each critter, and made a tally mark next to it. The project is originally from The Secret Life of Math (Williamson Books, 2005).
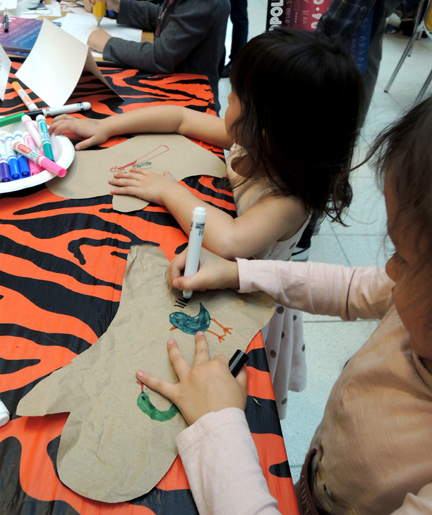 The final history table was called “Tile Tessellations.” Decorating surfaces with tiles spans many cultures, and many centuries. But did you know that the geometry in Early Islamic art was so intricate, it was unrivaled for over 500 years?
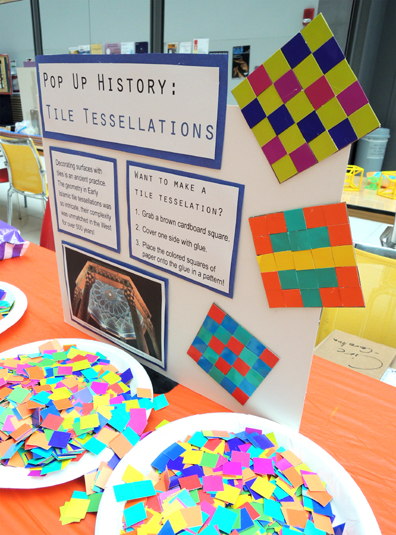 Kids put their tiling and tessellating skills to work by gluing 3/4″ paper tiles to a 6″ x 6″ square of
 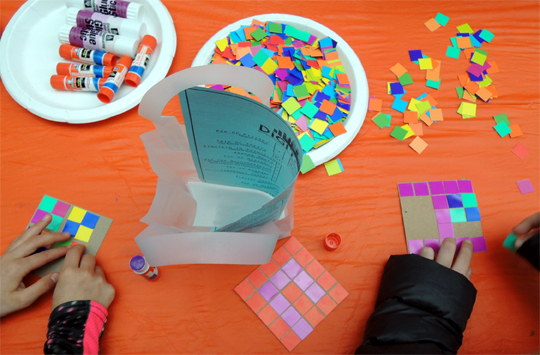 That’s it for history – how about some games?
 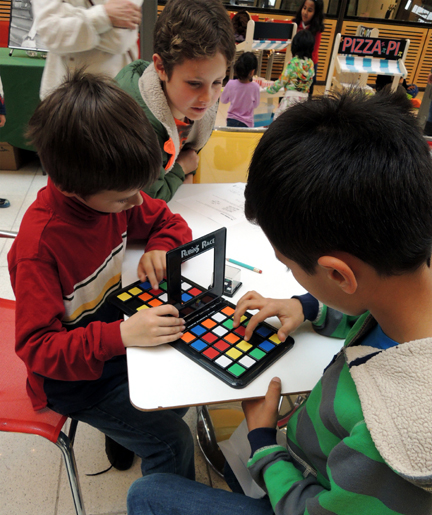 Or entire families could take a break and play Number Ninjas.
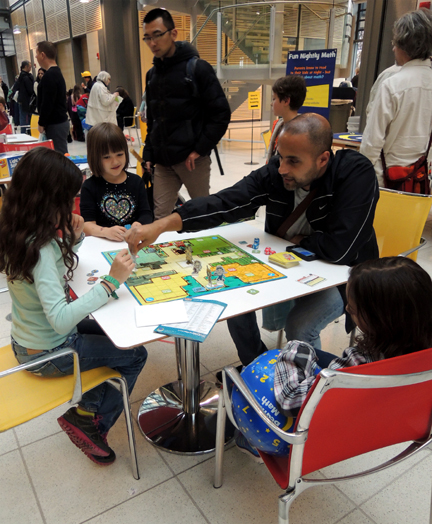 Heck, maybe you could even beat Einstein at Qbitz! After the event, the games were donated to a local non-profit family shelter.
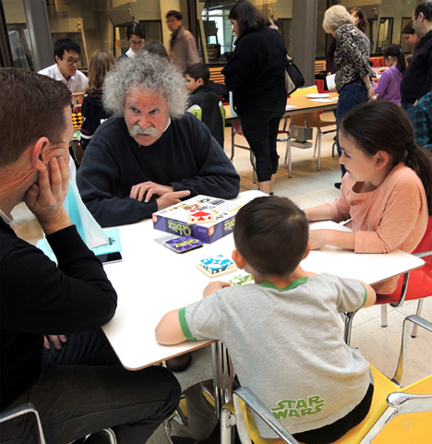 For the musically adventurous, there was “Musical Fractions,” an activity composed by senior Matt Smith and freshman Demi Zhang. Kids used percussion instruments (assorted floor drums, wood blocks, maracas, a wooden fish, claves, and sand blocks) to learn how to play, and recognize, wholes, halves, quarters, and eighths. They also learned about musical structure and patterns.
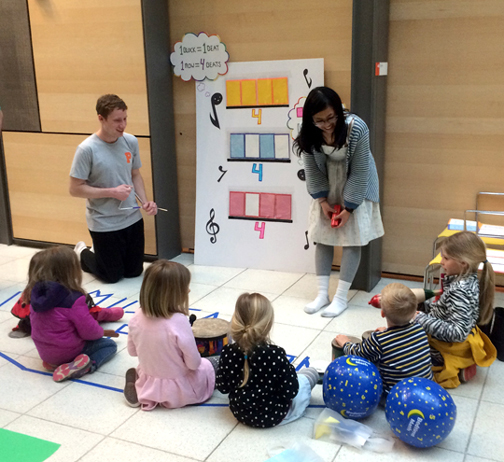 Each instructional session ranged between 10 to 15 minutes. I wasn’t able to catch an entire one, but I did manage to grab a few seconds of this one. Just listen to those fractions!
 At big events like this, my staff and I wear costumes so that people can find us quickly in the crowds (helloooo
  On the backs were our favorite numbers. Let’s hear it for 9, 2, and 11! Woot woot!
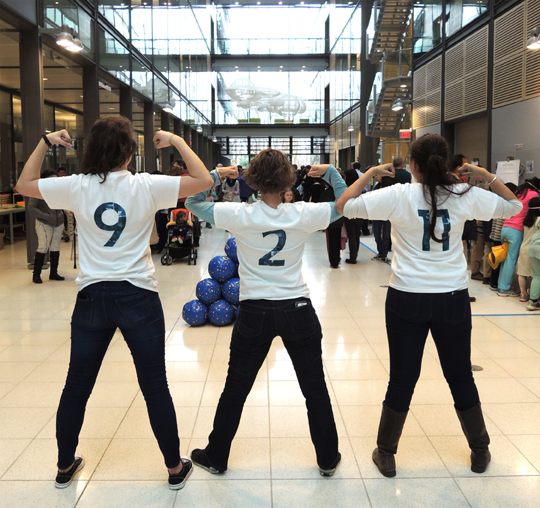 I’d like to send a million, trillion, zillion, googolplex thanks to everyone who made this event possible, and who generously gave their time to make math fun, approachable, unusual and fun. An extra shout out to the Princeton University students, and the student athletes who volunteered so energetically and enthusiastically! Thank you so much, everyone!