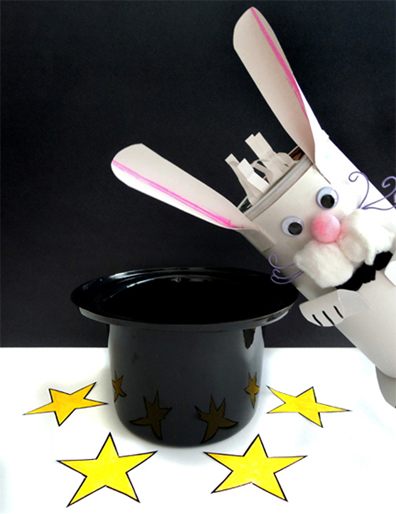
 Every magic show needs a rabbit…unless that rabbit pulls an unplanned disappearing act! Luckily, some glittering stars will help you find your friend!
We read The Magic Rabbit by Annette LeBlanc Cate (Candlewick, 2013). Ray is a street magician, and Bunny is his faithful assistant and best friend. The two friends do everything together. One day, however, Ray’s magic act is interrupted by a passing juggler. In the chaos, Bunny is chased by a dog and lost. Bunny searches and searches, but he just can’t seem to find his friend. As darkness falls, Bunny begins to despair. Enticed by a bag of popcorn, he suddenly notices a glittery star on the ground. It’s one of Ray’s stars! One by one, bunny follows the stars until he sees a very familiar figure on the subway platform. Reunited, the two friends walk home together.
You’ll need:
- 1 large oatmeal container
- White construction paper
- A square of white poster board for feet (approximately 6.5″ x 6.5″)
- 2 rectangles of white poster board for paws (approximately 1.75″ x 3.25″)
- 6 twisteez wire (or pipe cleaners) for whiskers (approximately 3.5″ long)
- 2 wiggle eyes
- 2 white cotton balls
- 1 medium pom-pom for nose (mine was 1″)
- 2 white construction paper rectangles for the ears (approximately 2″ x 6.75″)
- A rectangle of construction paper for hair tuft (approximately 2.5″ x 3″)
- A strip of felt, any color (approximately 1.25″ x 4.25″)
- 1 large pom-pom for tail (mine was 1.5″)
- A magic star template, printed on 8.5″ x 11″ card stock
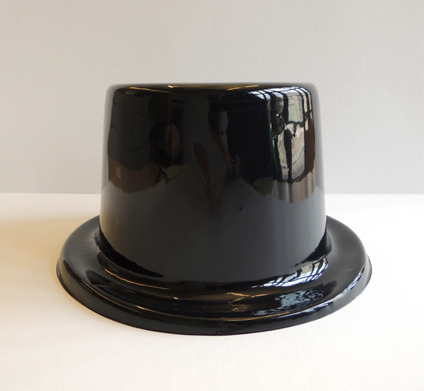
- A black plastic top hat (optional)
- Scissors, tape, stapler for construction
- Markers for decorating
- Hot glue
This story time project involves making a rabbit, decorating some magical stars, and then finding your glittery stars in our gallery. We’ll start with…the magic rabbit.
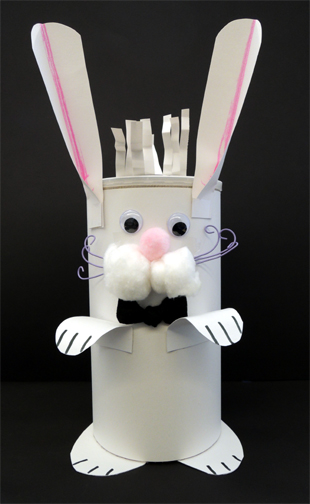 Wrap the oatmeal container with white construction paper. Cut feet from the square of white poster board. I recommend rounded feet with like the ones below (I used marker to add some “toe lines”).
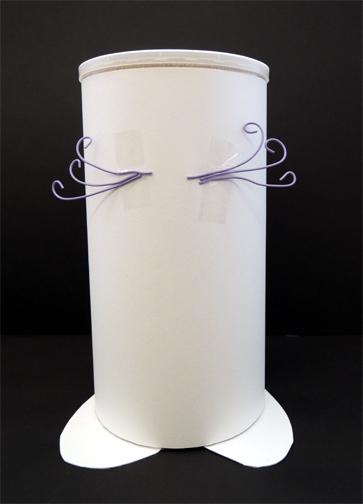
 Hot glue the feet to the bottom of the container. To make whiskers, curl one end of each twisteez wire (or pipe cleaner), and tape them to the front of the container like so:
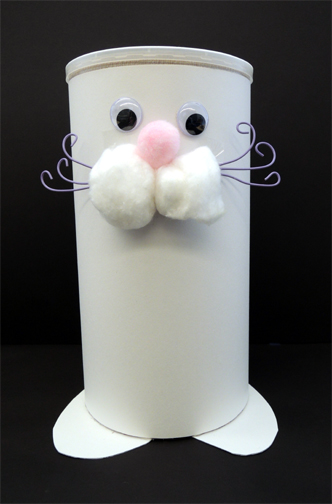
 Then hot glue two white cotton balls over top of the whiskers. Hot glue a small pom-pom on top of the cotton balls, and top everything with two hot glued wiggle eyes.
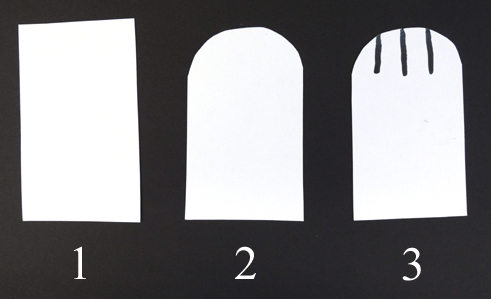
 Next, cut paw shapes out of the small rectangles of white poster board, and draw little toe lines on them. Tab the ends and hot glue (or tape) them to the front of the rabbit.
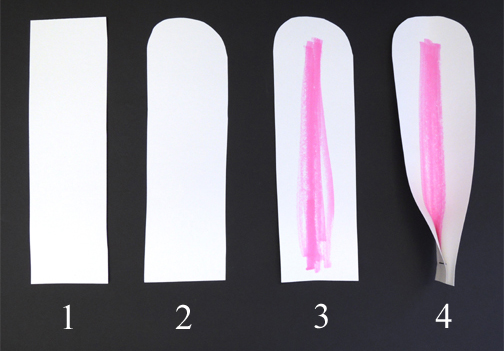
 For ears, round the ends of the 2 rectangles of white construction paper, use markers to add some color, then staple at the bottom. Hot glue (or tape) them to the rabbit.
 For a snazzy bow tie, knot a strip of felt and round the ends with scissors if needed. Hot glue to the rabbit.
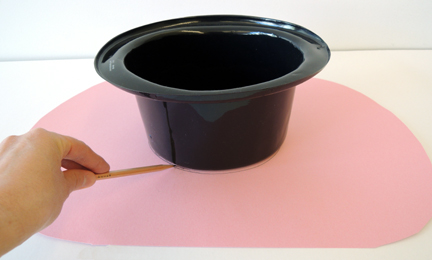
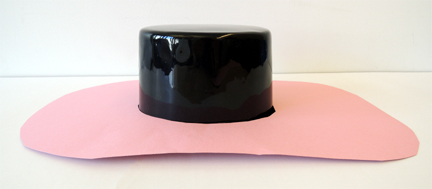
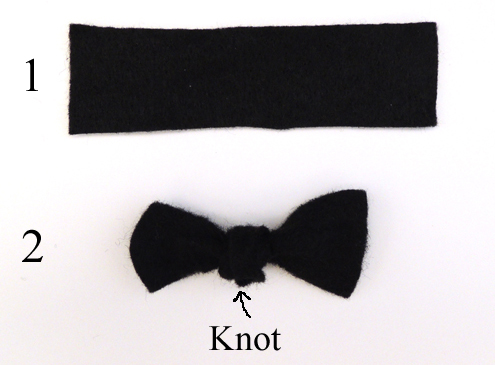 Finish everything off with a jumbo pom-pom tail, also adhered with hot glue. I had some extra black plastic top hats lefts over from this project and this project, and they worked really well as rabbit carriers. Set your rabbit aside for the moment.
Next up, magic stars! Each kid received 4 blank magic stars, printed from the template. Then I brought out the Bling Bin and encouraged kids to use markers and the Bling Bin materials to decorate the stars. As you can see, the results were VERY magical.
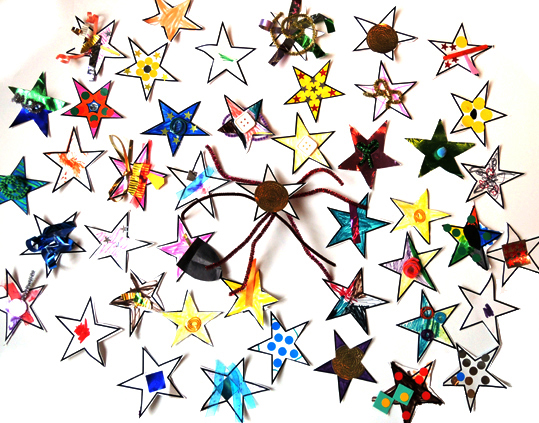 We collected all the stars, sent the kids off to a secluded part of our gallery, and asked them to cover their eyes while we hid all the stars in the gallery. Apparently, those plastic top hats made for some pretty good blindfolds!
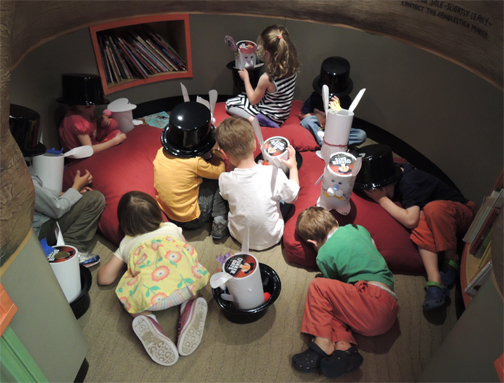 When the stars were hidden, kids and rabbits went star-seeking in the gallery! Then the rabbits, hats, and stars went home for more games of magical hide and seek.
Perhaps you’re ready to try a magic show of your own? Look no further than this post!

