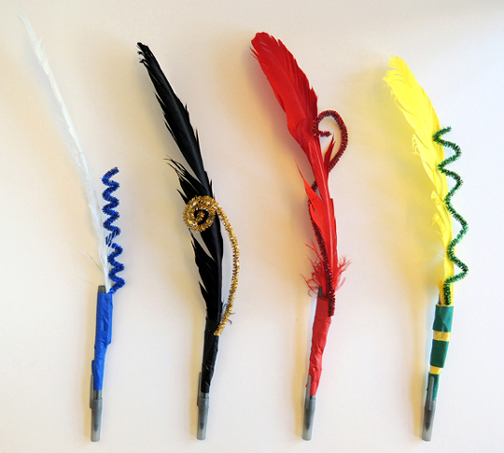
 Need a simple project for a big event? Perhaps these quill pens will do the trick!
Last Saturday, Cotsen hosted a table at Princeton University’s Community & Staff Day event. Because of the big crowds, we needed something simple, fun, fast, and literary. Last year, we made flying books. This year, we decided to make Harry Potter-esque quill pens.
We were, of course, dressed in hats and robes. Even though it was 85 degrees out. Because comfort never comes before costuming, am I right?
 You’ll need:
- 1 goose quill
- A roll of color masking tape
- 1 sparkle stem
- 1 ballpoint pen
First, twist a sparkle stem into the desired shape. We offered 3 different shapes to choose from (even though some kids made their own shapes of course):
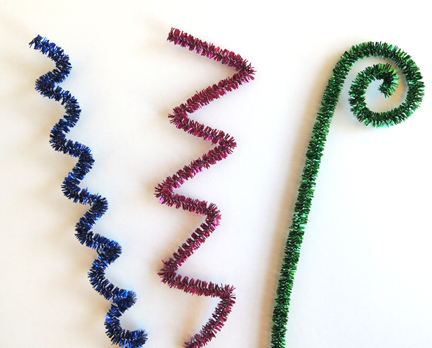 Place the sparkle stem on top of the feather. Then use masking tape to attach the feather and the sparkle stem to the the top of the pen. You can continue covering the pen with tape if you’d like (just make sure you don’t accidentally tape the cap on). Done!
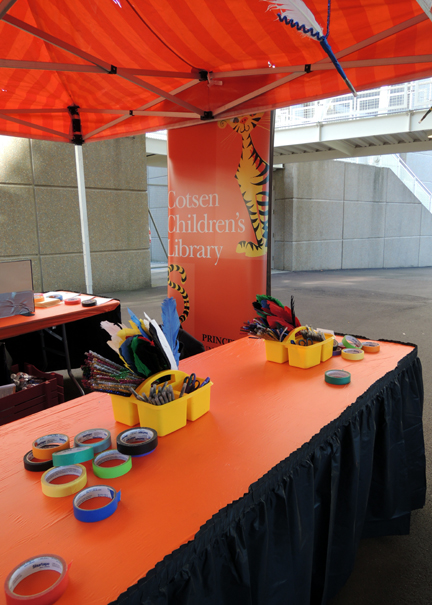
 Below you can see the layout of our event table, including a display pen floating in the upper right-hand corner of the photo. It’s always a good idea to have an example of the project displayed somewhere. That way, kids can see what to expect and grown ups can get a jump on gathering the appropriate supplies.
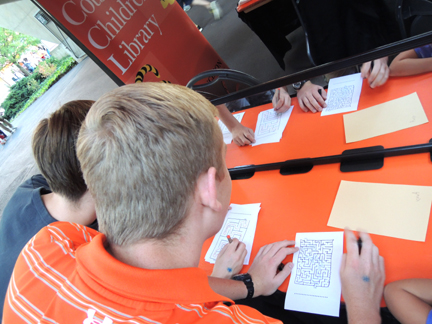
 On the opposite side of our event tent was a mirror activity. Here, kids could use their newly-created quill pens to do some inverted writing and try their skills at mirror mazes.
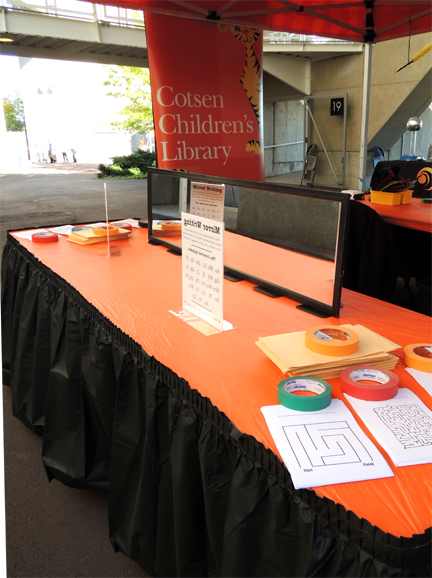 The mirror activity is very simple to put together. We duct-taped 6 bookends to the back of an inexpensive door mirror and stood it up on the table.
 Since we weren’t able to staff the mirror activities during the event, we printed up some display instructions (here are my mirror writing instructions). I put the instructions in a double-sided plastic display stand.
 We stacked practice paper and 4 types of mazes (which we found using Google images) on either side of the mirror. The mazes were really popular, even with older kids!
 At neighboring table, the Princeton Plasma Physics Lab brought all sorts of science toys for the crowds to play with. Including this Van de Graaff generator…
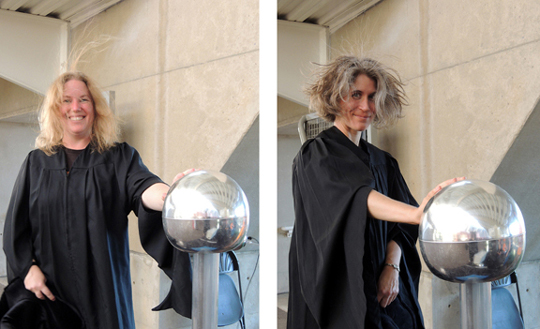 And yes, it is twice the fun when you’re wearing wizard robes.

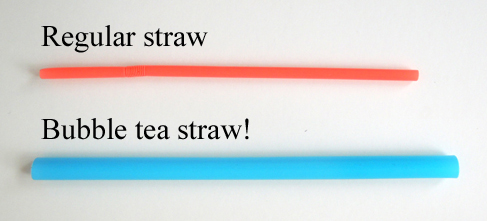
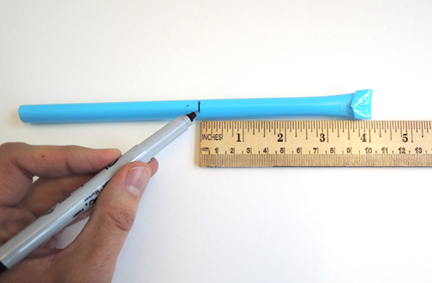
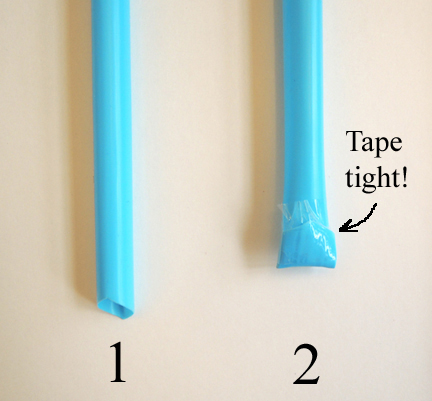 Place the folded straw next to a ruler, and use a permanent marker to mark the desired length of the straw. I cut my straws in 0.5″ increments. So the first straw was 5″, the second straw was 4.5″, the third straw was 4″, and the fourth straw was 3.5″. If you’re doing this at a program or event and don’t want to fiddle with a bunch of rulers, you can use this
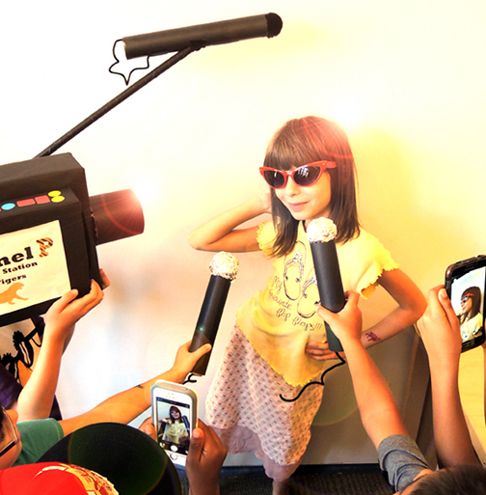

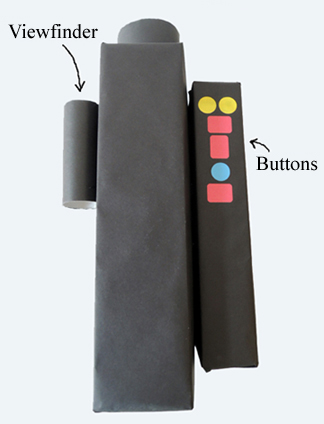
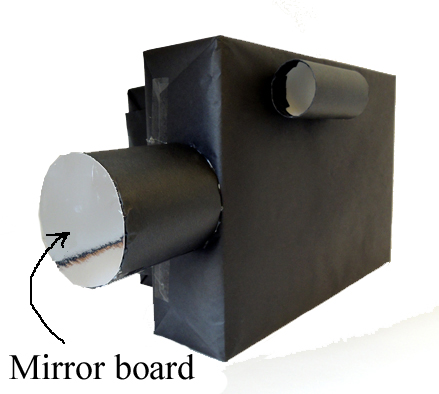 Hot glue the toilet paper tube “viewfinder” to the extra large cereal box. Put dot sticker “buttons” on the small cereal box (or draw your own button panel on white paper and attach to the box). Here’s a bird’s eye view of the camera with all of its parts in place.