 The credit for today’s simple project goes to my 6-year old daughter! She told me she wanted to make a tambourine, scrounged through art supply central at home, and came up with this a few minutes later.
4 things I like about this project: 1) Unlike the paper plate versions, this tambourine uses a plastic oatmeal container lid that won’t buckle or tear; 2) The surface of the oatmeal container lid makes the instrument sound more drum-like (and thus more like a real tambourine); 3) The bells are threaded through pipe cleaner pieces and attached with tape. This made it possible for her to make the project with zero adult assistance; Finally, 4) My kid’s a crafter! SUCH a proud mom right now.
Inspired by her project, I developed a slightly fancier version. It is a little more work, but the threading part of the project really helps build those fine motor skills.
 You’ll need:
- 1 large oatmeal or yogurt container lid
- 3 jingle bells
- 3 pieces of pipe cleaner
- 2 ribbons
- Hole punch
- Tape
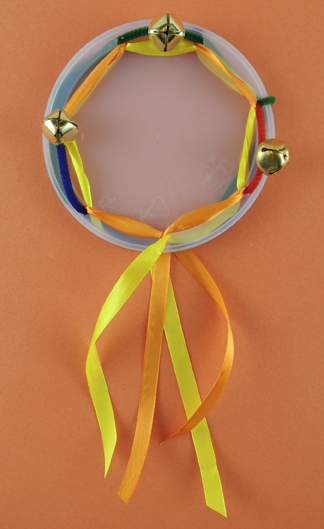
First, punch 7 holes around the perimeter of an oatmeal or yogurt lid. Thread the ribbon through the holes, ending with all the ribbons meeting in the bottom-most hole.
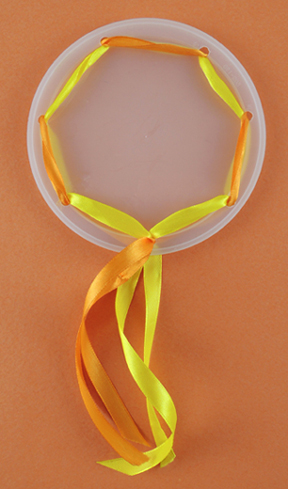 Quick hint for threading floppy ribbon through holes…create a “needle” using masking tape. When you’re finished, just unwrap the making tape, or cut it off the ribbon entirely.
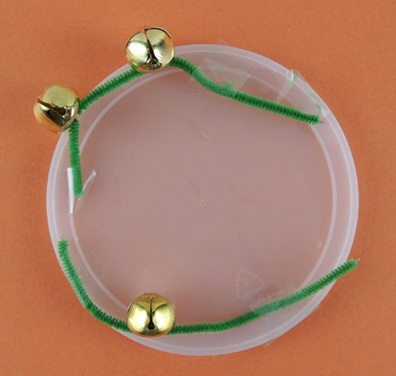
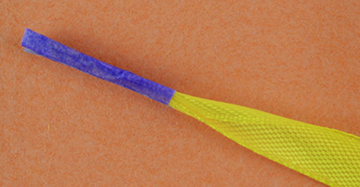 Thread a jingle bell onto a piece of pipe cleaner, fold it into a U, and and insert both ends into a pair of holes. Unfold the ends of the pipe cleaner and secure them to the back of the lid with tape. Repeat these steps with the remaining 2 bells.
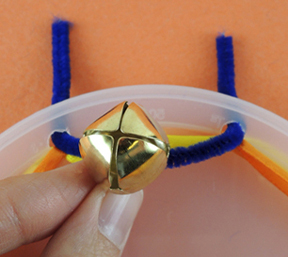 Your tambourine is finished!
Looking for some musical accompaniment? How about this rockin’ Medieval lute project?
 Calling all demigods and satyrs…with the simple command of “Maia!” your sneakers will sprout wings and fly! This project looks awesome and is super easy to put together. However, please note that winged sneakers are not recommended for use in or around Tartarus.
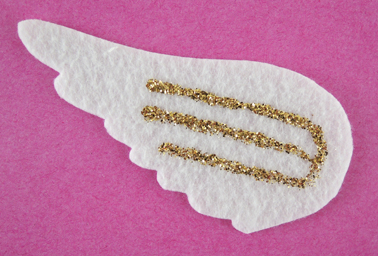 Next, take a small paperclip and bend the shorter loop backwards. Wrap the shorter loop with masking tape.
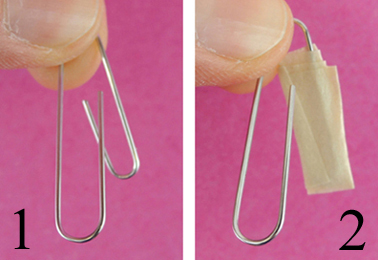 Use a glue dot or hot glue to attach the paper clip to the back of the felt wing.
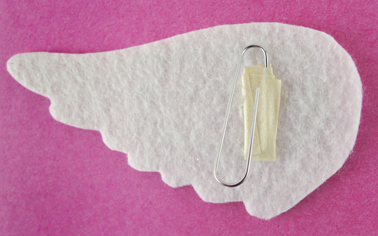 Repeat the above steps with 3 more wings, then slide the wings onto your sneakers! Feel free to experiment with different colors too. Here’s a nod to one of my favorite Percy Jackson characters, Blackjack.
 Interested in a cheaper, simpler version of this project? We did a whole post on how we
 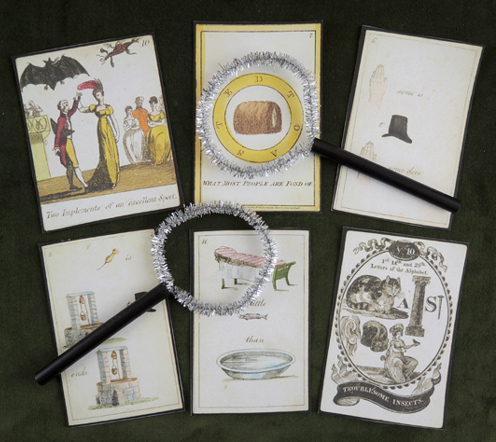 Calling all consulting detectives…grab your sparkle stem magnifying glass and examine this most intriguing collection of 18th and 19th century puzzle cards. And, while the individual man is an insoluble puzzle, the answers to these cards are at the end of the post (and you can print a set of your own)!
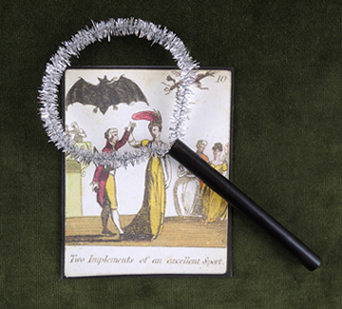 And what of those curious cards? They are reproductions of 18th and 19th century rebus puzzle cards in our library’s