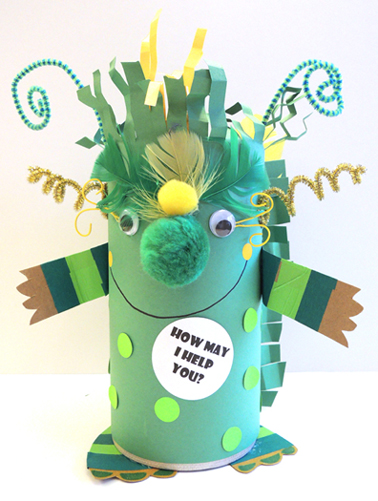
 Who says monsters have to be mean? What happens if, for example, a monster doesn’t feel up to scaring, breaking, roaring, and storming? What if the monster would rather be…helpful? Perhaps it would be something like this story time monster who is literally stuffed with kind and considerate things to do.
 We read The Monster Who Lost His Mean, written by Tiffany Strelitz Haber and illustrated by Kirstie Edmunds (Henry Holt & Company, 2012). One day, a Monster’s ‘M’ goes missing, reducing him to just “Onster.” With the name change comes many woes: being teased by his monster friends; sitting alone at lunch; being chased out of the dark woods. Onster reasons that if he can’t be mean to humans, maybe he should try being nice? To his delight and surprise, Onster begins to enjoy himself as he helps with chores, chips in around the house, and joins in childrens’ games. But he still doesn’t fit in at Monsterwood, and he sadly heads home. Surprise! His human friends have planned a thank-you party for him, and Onster realizes that even though he’s lost his mean, he’s gained some new friends.
You’ll need:
- 1 large oatmeal container
- 2 small rectangles of tagboard for arms (approximately 1.75″ x 4.5″)
- 2 medium rectangles of tagboard for feet (approximately 3″ x 4.5″)
- A selection of color masking tape
- A selection of construction paper
- 1 jumbo pom-pom (more, if desired)
- 2 large wiggle eyes
- A selection of small feathers
- A selection of pipe cleaners (I used regular and sparkle stems)
- 2 – 4 goose quills
- A selection of dot stickers
- 6 rectangles of white printer paper (mine were 4″ x 5.5″)
- Inkjet sticker templates (optional)
- A box cutter
- Scissors and tape for construction
- Markers for decorating
- Hot glue
The construction of this monster is incredibly simple with lots of room for creativity. Begin by cutting the arms out of the small tagboard rectangle.
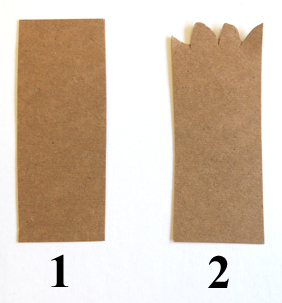 Cut the monster feet out of tagboard as well.
 Decorate the arms and feet with color masking tape and/or markers, then set them aside for a moment. Completely remove (and recycle) the lid of the oatmeal container then wrap the oatmeal container with construction paper. Hot glue the feet to the bottom of the container, and the arms on the sides. This is also a good time to hot glue the pom-pom nose and wiggle eyes on the front.
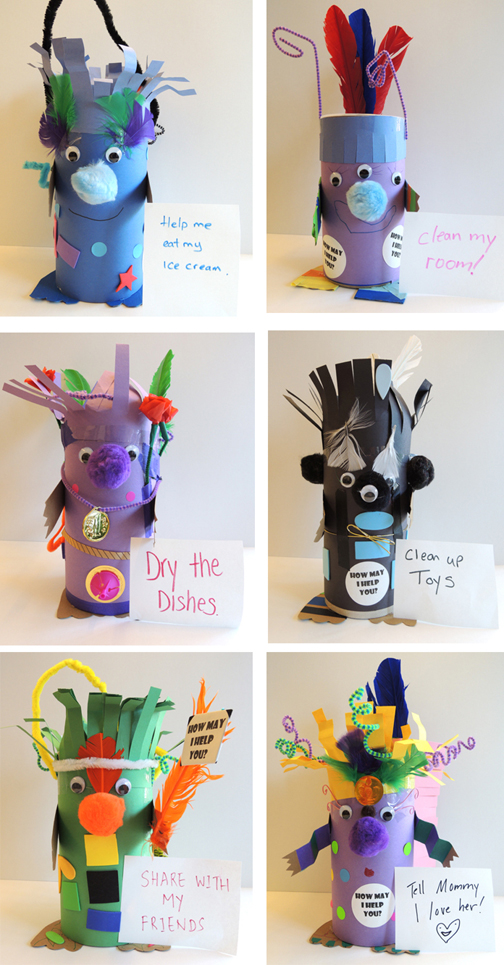
With the basic monster body complete, it’s time to decorate! Before the kids got started, I quickly drew their attention to 3 things: 1) Fringed pieces of construction paper wrapped around the top of the oatmeal container make great hair; 2) Small feathers make very expressive eyebrows; and 3) My student assistant Joani’s amazing feathery/hairy/fluffy monster tail. It sort of looks like a flying skunk bunny doesn’t it? Awesome.
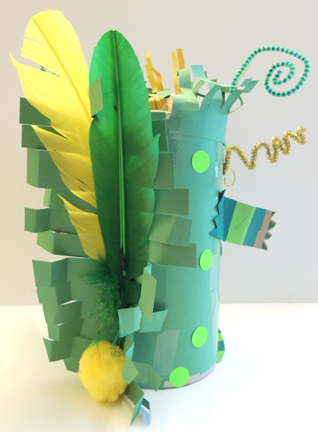 Also available were dot stickers, pipe cleaners, sparkle stems, and the Bling Bin. As kids decorated, I handed out “How May I Help You?” stickers (one for the kid, one for the monster). I created these on sticker sheet templates within Microsoft Word’s label function. You could also use name tag stickers as an alternative to the sticker sheets.
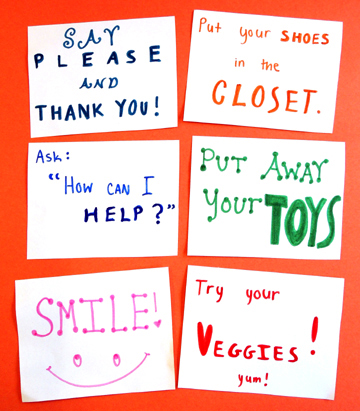
Now use the white paper squares to write 6 things you (or your monster) are going to do to be helpful. Stuff them inside the oatmeal container and pull them out as needed at home. As you can see, we had some fabulous monsters, and some fabulous ways to be helpful!
 Joani added a pipe cleaner carrying handle to her monster for its long journey home.
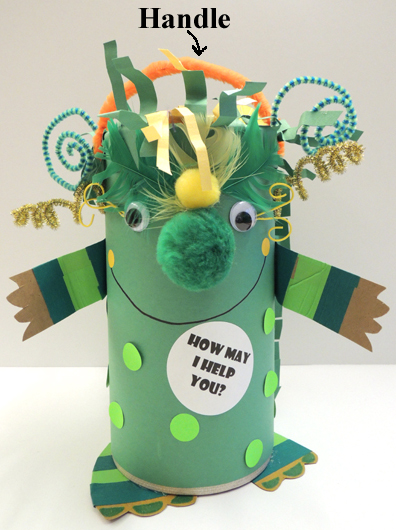 To make a handle, use a box cutter to cut 2 small slits in opposite sides of the oatmeal container. Cut the slits after the monster is fully decorated, otherwise you run the risk of the slits being covered up by art supplies later. Cut the slits close to the plastic rim at the top of the oatmeal container:
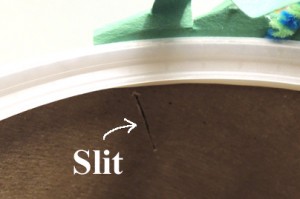 Then thread a pipe cleaner through the slit.
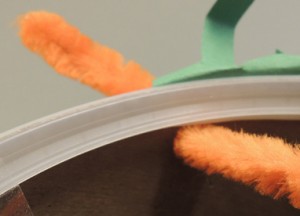 Bend the pipe cleaner up and twist to secure.
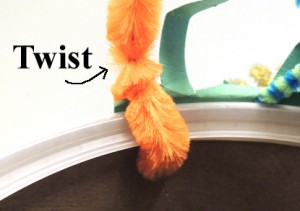 Repeat with the other slit. Your handle is complete! One little boy used the handle to “walk” his monster out of the gallery by his side. A boy and his monster, off to do good deeds!
