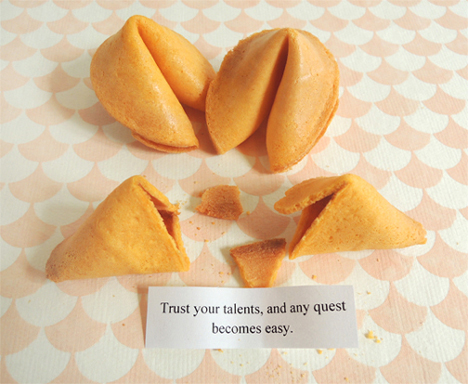
 No one can predict what wisdom a fortune cookie will reveal. Except in this case. We can say with absolute, 100% certainty that our fortunes will not contain the letter O. Because hidden inside our cookies is a carefully crafted lipogram fortune.
If you have eagle eyes, you might have noticed that the fortune in the above photo does contain the letter O. That’s because that particular fortune was written for a QUEST. More on the QUEST in a moment…
The lipogram fortune cookie activity is always a crowd-pleaser at Cotsen Critix, our children’s literary group for ages 9-12. First, we introduce the lipogram – a type of writing in which the author leaves out a letter (or letters) when crafting a sentence, paragraph, or story. Then we write fortune cookie fortunes that cannot include the letter O. Here are a few pearls of wisdom, future predictions, and unusual directives, all with nary an O in sight!
Making beds creates happy parents everywhere.
Beauty is great, but brains are better.
Never give up.
Rain will fall where it never falls.
Life is filled with crazy bananas!
Washed feet are always appreciated.
Beware the lizards. They bite.
Quick! Buy all the chunky peanut butter in Alabama!
Surprise hug the dude sitting nearest the exit.
There will be an alien kidnapping.
Marble will crack and the universe will be put in small terms…beep…beep…beep…shwee, shew, whee!
The future that lies ahead isn’t paved yet.
Saturday night is finally live.
Rip up this paper immediately.
Read this!
Be clear and direct – a Giant Space Laser can be disabled with the right steps.
Buy bad cheese.
Ye will withstand danger.
Child, eat the asparagus in the plate because it is amazing!
Never try being smart in class.
Leave this Chinese restaurant.
Be safe in life, but carefulness is an inadequate skill.
Have a nice day.
Beware jumping chipmunks.
Falling is a bad idea.
The difference between happiness and sadness is this: the happy man has a warm puppy.
We do the lipogram fortune cookie activity early in the program. Later, it makes a triumphant comeback during our QUEST, which occurs at the very end of the program. The QUEST is super elaborate cross-campus race that involves teams solving riddles, encountering student actors, following maps, and unearthing clues. One such clue is hidden inside a bunch of lipogram fortune cookies.
You may already be aware that you can order fortune cookies with special messages. They say things like “It’s a Boy!” or “Will you marry me?” or “Happy Anniversary!” But you can order custom messages too.
We ordered cookies with 4 custom messages. Each message was missing a particular letter (or two). In the QUEST box, next to the 4 cookies, was a letter wheel and a golf pencil (here’s the letter wheel template if you’re interested).
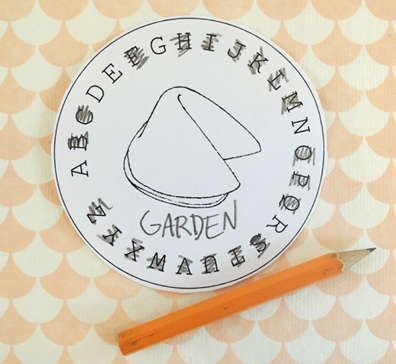
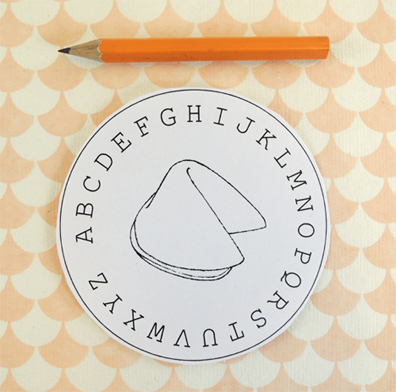 First, the QUEST kids had to recall the lipogram activity. Then, they had to figure out that the missing letters spelled out a QUEST clue (the letter wheel and the golf pencil helped them keep track). Here’s a solved wheel, pointing the kids to their next destination:
 I buy my cookies online from Fortune Cookie Planet. They are peanut free, tree-nut free, vegan, and preservative free. 50 cookies with 4 custom messages costs $20 (plus shipping). Another option is to obtain fortune cookies locally, use tweezers to pull out the fortunes, and carefully inset your own message inside. Just make sure you have a few extra cookies on hand. Sometimes they crack apart during the fortune-swapping process!
Illustration of fortune cookie used on letter wheel template is by Coffee Addict on wikiHow.

