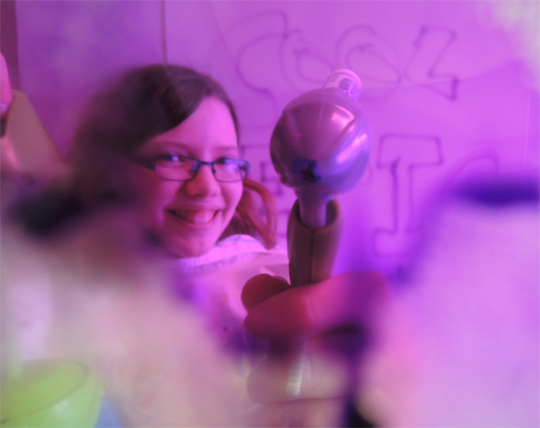
 A kit that turns a regular marker into an airbrush? What is this insanity!?! The moment I spotted the Crayola Marker Airbrush, I just knew that Hope, our kid tester, had to try it…
I’m back, everyone! The Crayola Marker Airbrush is a product that has always kept me wondering. It looked awesome…but would it work? So, when I learned that Dr. Dana wanted me to test it, I was ecstatic!!!! The purpose of this product is to turn a regular Crayola marker into an airbrush, or paint sprayer. Dr. Dana, Katie and I were a little skeptical about this, and decided to work as a team to test the product. Together, we opened the box.
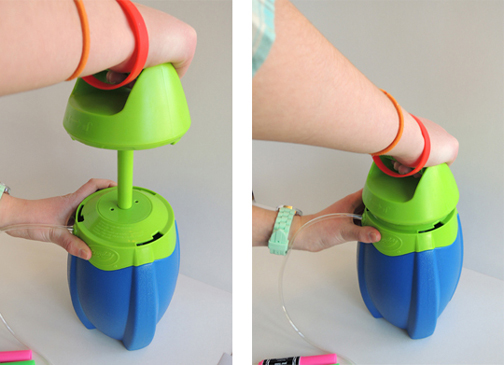
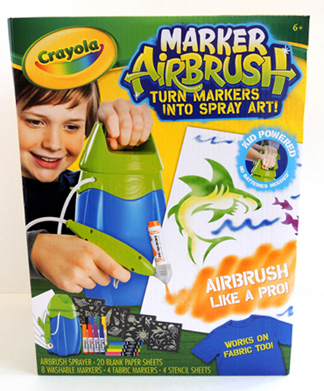 Inside, there was an 11” tall air tank with a hand pump at the top and 29” of clear plastic tubing protruding from it (to me, it looked like a detonator made of blue and green plastic). Attached to other end of the plastic tubing was the airbrush. It looked like a green glue gun with a little gray cone extending from its tip. Later, I learned this was called the “nozzle.” The nozzle was open at the top, which allows a marker to be inserted in it.
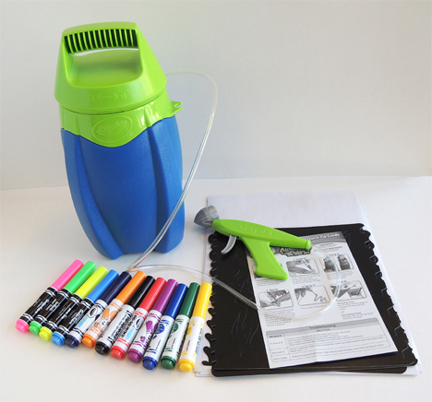 Also in the box: 20 blank paper sheets, two packages of markers (4 neon fabric markers and 8 washable markers), 4 stencil sheets, 20 blank paper sheets, and a small set of directions. We extracted the materials and looked at the directions.
Houston? Come in, Houston, we have a problem.
Step 1 was titled “Twist it!” and showed a marker stuck inside the airbrush nozzle. But Step 2 was titled “Inset it!” with a picture of the marker hovering above the cavity intended for the marker. Umm…shouldn’t that happen before you twist it?
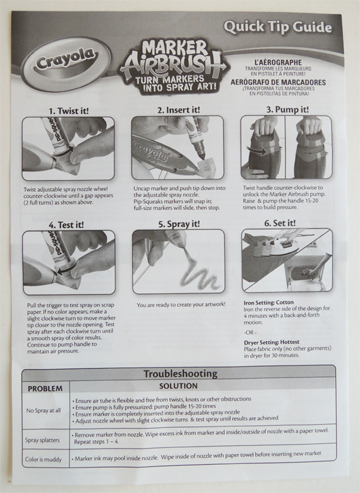 Confused, we decided to put the rules of logic and practicality to good use, and “Insert it!” first, and then “Twist it!” Katie set to work doing the third direction, “Pump it!” Grabbing the air pump handle, she pulled up, pressed down, pulled up, pressed down, until the air pressure made it too hard to pump anymore. We taped a piece of white poster board to a door, I pulled the trigger, and…
Nothing.
A spurt of air could be heard escaping, but no ink came out!!!
Thinking that maybe the paper needed to be horizontal to work, Dr. Dana and I moved the poster board face down on a table, where we sprayed at close range, trying unsuccessfully to get a speck of ink onto it. We took the marker out, and tested it by coloring on a piece of paper. It definitely wasn’t out of ink. We put the marker back in the airbrush. Nothing. We switched markers. Nothing. We switched to a fabric marker.
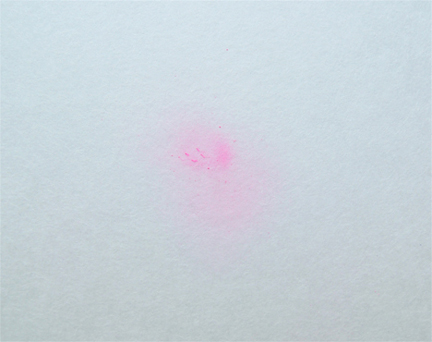 Finally! A few drips of bright pink ink!!! But that was all. Just a small splatter on the empty tundra of a poster. Confused, we tried every method we could think of, including using the troubleshooting section of the direction sheet. Nothing worked. Eventually, I said, “Hey! How about calling Crayola? Their products sometimes have quality warranties. Maybe we could get help.” So I called.
A nice lady answered the phone. She asked for the product number and name. She looked it up and then she said, “Okay, what’s your problem?” So I told her about the lack of marker spray. She said “Did you hear the two clicks when you put the marker inside the handheld sprayer?” Whaaaaat? I was confused. The directions never mentioned “two clicks!” I replied that no, I did not even know I was supposed to hear two clicks, thanked her for her help, and hung up.
Returning to the poster board and the markers, Dr. Dana and I teamed up to shove a marker into the nozzle, determined to try until we heard two clicks. After much pushing, we heard a magical CLICK click! I pulled the trigger…AND I SPRAYED INK ALL OVER THE POSTER BOARD!
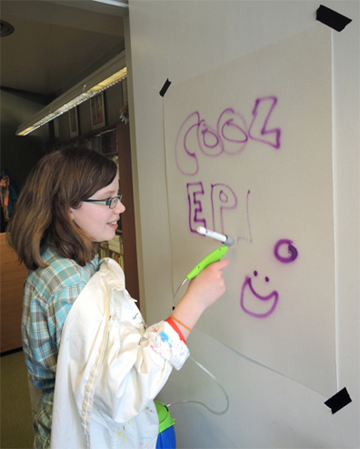 “AWESOME!!!!!!!!!!!!!!!!! It wasn’t a TV marketing hoax!” I thought. We started spraying onto the poster. It was amazingly entertaining! It was, in essence, a paint sprayer! I could spray ANYTHING onto the poster board! The airbrush was easy to hold and aim. There were no limits!
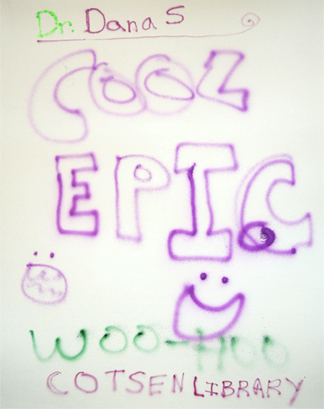
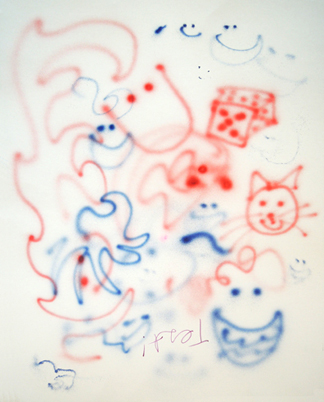 We decided to take advantage of the stencils included in the kit. They were fun to use. Each Stencil had a “theme”. One was space themed, one sea themed, and the other two were fantasy/random. Cool! But the ink usually “leaked” out of the stencil, giving the resulting picture a blobby look.
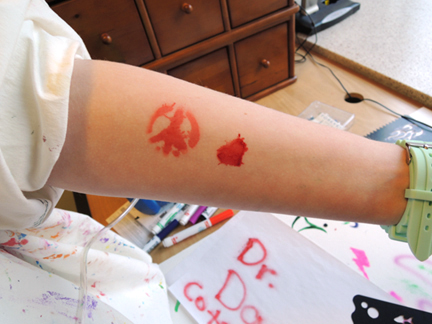
 Dr. Dana suggested that we use a stencil on my arm so we could see what would happen if a kid sprayed ink on their arm. They came out blobby/blurry. But they washed off super easy! I ran my arm underwater and they practically melted away! So no worries if some WASHABLE marker gets on your kid!
 By the way, when we got out the stencils, we flipped through the paper sheets too. Inside, mixed with the paper, was another set of instructions! These instructions had the marker loading directions in the right order, which was nice. However, they didn’t mention the key two clicks. Without the clicks, the product is a total wash!
There were problems with this kit. Sometimes the ink would bubble and clog the nozzle. This was fixed by pulling out the marker and swabbing the inside with a paper towel.
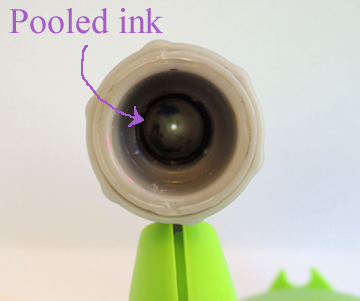 Also, the marker could unpredictably pool, clog or change consistency as it was spraying onto to the paper (getting my hand green, purple, red, or whatever color happened to clog it). The fabric markers also seemed to run out of ink way faster than the regular markers and they splattered too. As I mentioned above, the stencils had leaky edges. On some of the stencils, it looked cool (lightning bolt), on others, it looked messy (crab).
 And then there was the pump. The pump turned out to be an Aggravating Annoyance of Frustrating Proportions. I had to stop painting in order to pump every 15-20 seconds, or ask someone to constantly pump to keep the ink going. The job befell Katie. She had to hunch over a table behind me, pumping and pumping, and wheezing, and pausing, and…getting…tired. Needless to say, the pump gave us some good exercise. But when Katie wasn’t there, I had to spray, and then pump for a while, and then spray, and pump. Spray and pump, spray and pump! UUGH! It was enough to make anyone want to explode!
 To be fair, Crayola does make a similar product for ages 3+. It’s called the “Crayola Color Wonder Mess Free Airbrush” The pump is battery operated, so it’s better for younger kids. So if you don’t want to worry about the pumping issue, maybe you should order the battery powered version.
So there was a lot of starting, stopping, wiping, pumping, and starting up again, heaving, wheezing, and arm fatigue. Or, as Dr. Dana wryly noted, you definitely have to “troubleshoot as you go”.
Overall, this product was super fun and satisfying, but the pump gave a bit of a workout, and the directions seemed to be out of order. Also, this product was recommended for ages 6+!!! I think that’s a bit young! Maybe 6+ with Adult Supervision or 8+ with Adult Supervision, but 6+? Come on! It took Dr. Dana, Katie, a phone call to the company, and me to get the product to work!
I think we have the ratings…
Crayola Marker Airbrush
Pros: Fun, Cool, Entertaining, satisfying, endless ways to use, fascinating.
Cons: Hard to use because of constant pumping, bulky, confusing directions, constant troubleshooting, bad recommended age.
Score: 4 stars out of 5!
By the way, if you’re wondering how we made the “spray the camera” photo that begins this post, Hope gets all the credit for that! She suggested we spray a piece of clear plastic with the airbrush, then shoot the image through it. Looks awesome, eh?
