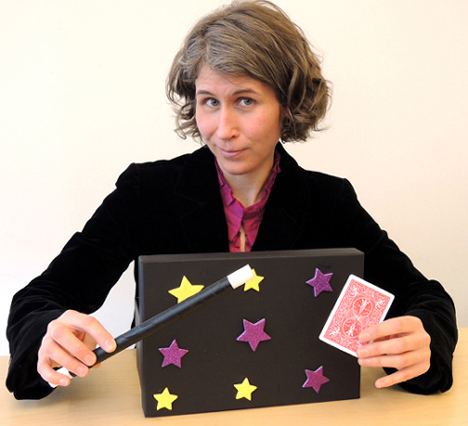
 Behold the mystery…the wonder…the spectacle…of your very own mini magic show!
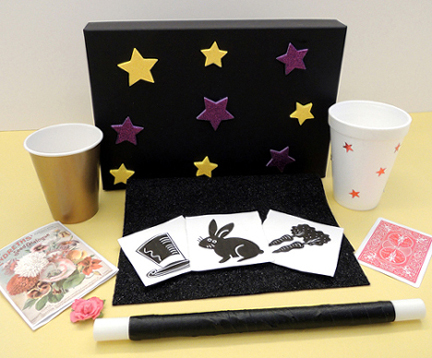 This project was the culminating event at To Be Continued, our weekly story time for 6 to 8-year-olds. Every week, we read from a chapter book and celebrate the the end of the entire book with a project and/or activity.
We read Horten’s Incredible Illusions by Lissa Evans (the sequel to Horten’s Mechanical Mechanisms (Sterling Children’s Books, 2012)). Young Stuart Horten moves to the town of Beeton and expects to be thoroughly bored. However, he soon discovers that he is part of a magical legacy left by his Great Uncle Tony, who was a stage magician and illusionist. In the first book, Stuart and his friend April solve a series of complicated clues and find Uncle Tony’s secret workshop. In the sequel, the friends again embark on a journey. This time, they’re searching for Great Uncle Tony’s will, which bequeths the contents of his workshop to whoever finds the document first. Clues are hidden in each of his magical stage illusions, but…the magical worlds inside the illusions are real and in some cases, dangerous. And Stuart and April aren’t the only one interested in getting their hands on those tricks.
We definitely needed some incredible illusions to celebrate the conclusion of these awesome books. I designed these individual mini magic shows to be easy enough for 6-year-olds to do, but intriguing enough for 8-year-olds. After consulting a number of children’s magic books, I found Amazing Magic Tricks: Beginner Level by Norm Barnhart (Edge Books, 2008) to be the most useful. The 4 tricks described in this post are from this book.
You’ll need:
- 1 memory box (more about this below)
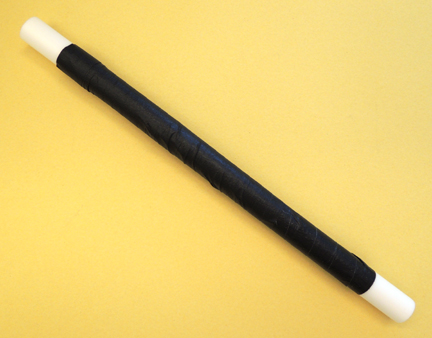
- A 10.5″ piece of PVC pipe (05.” in diameter)
- A selection of color masking tape
- 1 paper cup
- 1 paper (or fabric) flower
- 1 empty seed packet (or small envelope simply marked “Magic Seeds”)
- A 9″ x 12″ piece of felt (I used the glitter variety)
- A hat rabbit carrot template printed on 8.5″ x 11″ card stock
- 1 Styrofoam coffee cup
- A selection of foil star stickers
- 2 playing cards
- A 1″ foam paintbrush (or regular paintbrush)
- Scissors and tape for construction
You’ll need a box with a lid to store your tricks and shield your hands from the audience as you prepare your tricks. A memory box is perfect for this. I purchased mine at Michaels Craft store. I went with black, but they come in all sorts of colors and patterns.
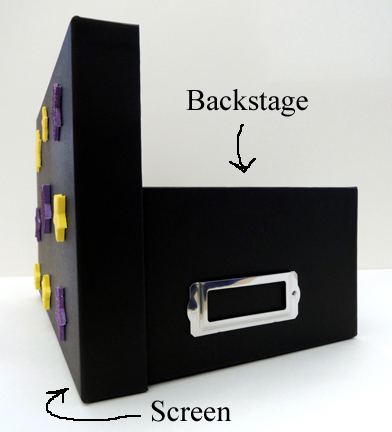
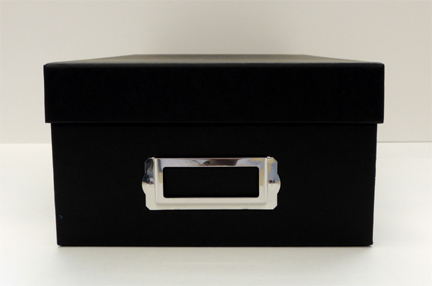 Decorate the lid of your box however you like (I found some self-adhesive glitter foam stars in the clearance section at the craft store) then slide the lid onto the box like so. This creates a “screen” and a “backstage” area to prep your tricks.
 Next, wrap color masking tape around the PVC pipe. Your magic wand is ready!
The most important thing about this trick is making sure the flower is small enough to hide in your fist. I purchased 1.25″ paper flowers for the kids (scored on discount from the scrap booking section of the craft store).
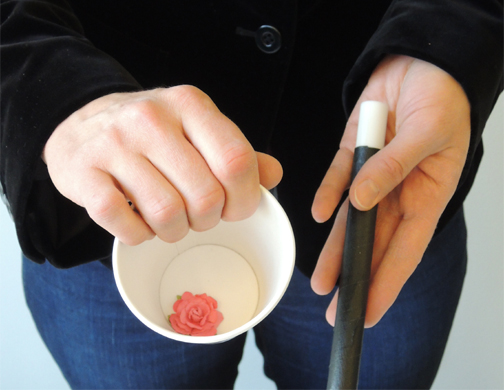
 Behind your box’s screen, grab the flower in your fist. Then use the same hand to hold the paper cup with your fingers.
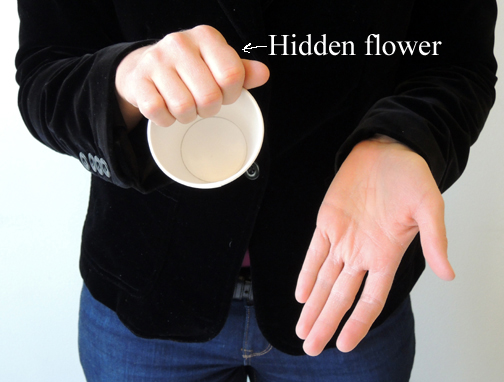 To perform the trick, show the audience that your cup is empty. Then say “Oh no! It’s empty. Well, good thing I have some stupendous magic seeds!” Pick up the empty seed packet and pretend to pour seeds into the cup.
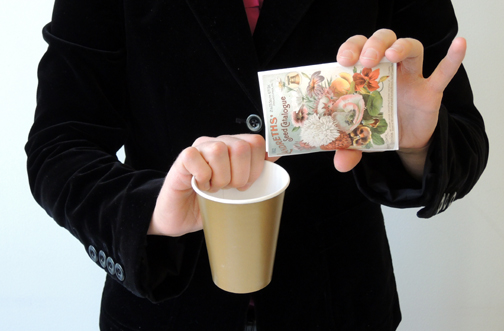 Wave the wand around muttering magical incantations. While the audience is distracted by the wand, open your fingers and drop the flower into the cup. Shout “Ta da!” and show them that a flower has magically appeared!
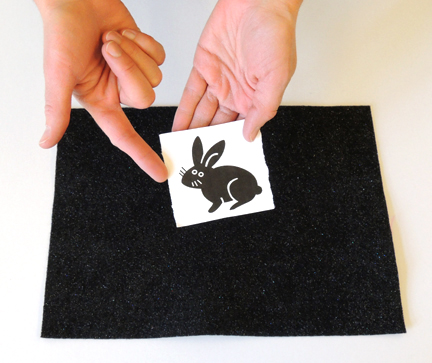
Print the hat, rabbit, carrot template. Fold and tear the strip in 2 places, like your see below. It’s really important that your TEAR the strip. Don’t cut it with scissors!
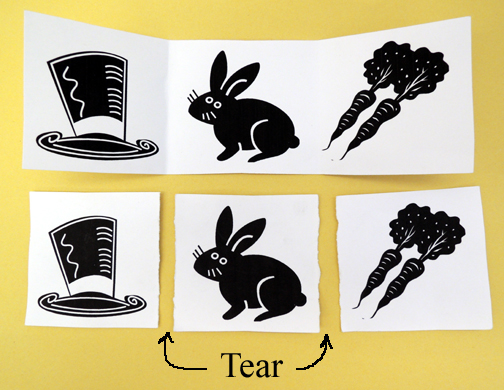 To perform the trick, hold up the 3 image cards and say “You see a hat, a rabbit, and some carrots, but with my amazing magical skills, I will pull the rabbit from under this cloth every time!” Turn your back and have an audience member arrange the 3 image cards on the table and cover them with felt.
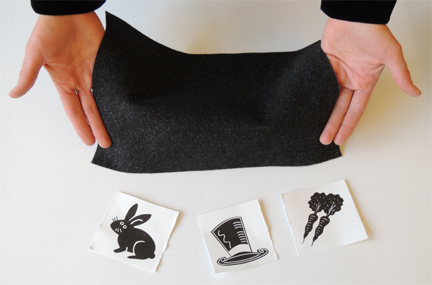 Reach underneath the felt and feel the edges of the image cards with your fingers.
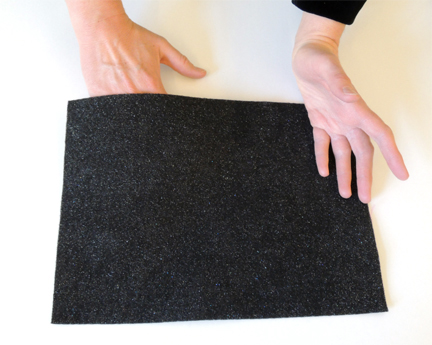 The rabbit will be the only image card with two torn edges. Remove it from under the cloth with a flourish! Repeat with a difference audience member. Astounding!
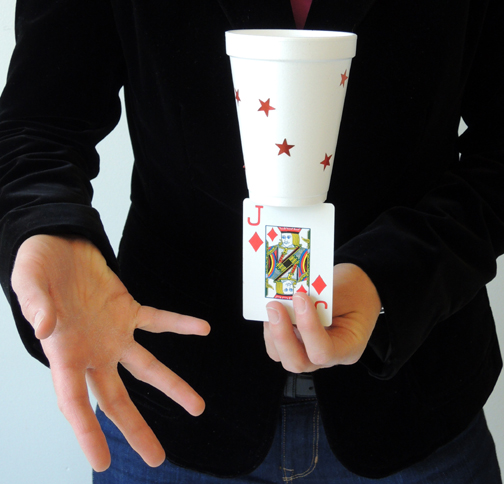
First, decorate a Styrofoam cup with foil star stickers. Next, cut a playing card in half, lengthwise. Tape one half of the cut playing card to the back of another card. The half of the playing card should “hinge” outward like so
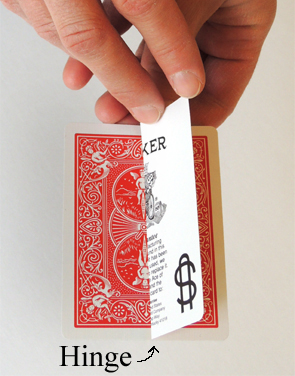 To perform the trick, flatten the hinge to the card and hold it up to your audience, keeping the taped side facing your body. Invite an audience member to come forward and try to balance the Styrofoam cup on top of the card. Then say “You see it is impossible. But I will now use magic to make the impossible, possible!”
While you’re talking, sneak a finger up the card and open the hinge on the back, forming an area for the cup to balance. From the side, it looks like this:
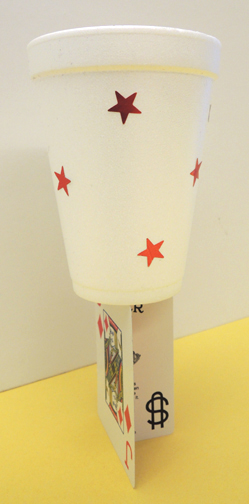 But from the front, it looks like the cup is now balancing on the card!
To perform this trick, tell the audience that you have magic glue. Hold up a paintbrush and Invite an audience member to come up and “paint” your hand with the magical glue. For my version of the trick, we used 1″ foam paintbrushes I had left over from another program.
 Now hold the wand in your “glued” hand. Say “Observe my stupendous magical glue!” Extend your arm across your body and out to your side, still grasping the wand. Next, wrap your free hand around the wrist of your wand hand. Slowly and dramatically, lift each finger from the wand until you no longer appear to be holding it.
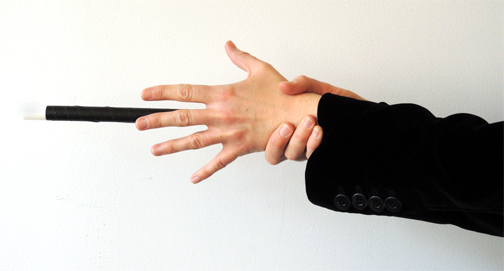 But you are holding it of course. Because when you grasp your wrist, you sneak a finger behind your wand hand and hold the wand like this:
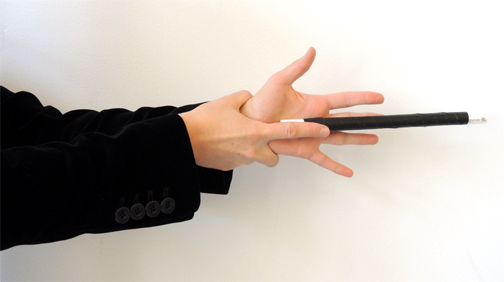 Now have the audience clap once to have the wand “detach” from the magic glue. Carefully lift your finger to release the wand, and let it fall dramatically to the floor. Take a big bow.
The kids absolutely loved this project. I performed the whole show first, and then I deconstructed all the tricks and each kid made his/her own set. If, by the way, you’d like to see the awesome mechanisms we made after reading Horten’s Miraculous Mechanisms (the first book in this set), click here.
In May 2015, I interviewed Lissa Evans about her fantastic books. If you’d like to hear it, click here!

