 Make a flying saucer and watch it whiz down a zip line! This project is the perfect blend of simplicity, creativity, and action. We even have a saucer flight video for you!
We read Space Case, written by Edward Marshall, and illustrated by James Marshall (Puffin Books; reprint edition, 1992). When a bright yellow saucer-shaped thing arrives from outer space, it doesn’t find the natives (a cow, a chicken, and a jack-o-lantern) to be very forthcoming in conversation. But then it encounters three trick-or-treaters, who mistake him for a new kid in the neighborhood. The quartet have a wonderful time trick-or-treating until Buddy McGee realizes that the thing isn’t wearing a costume. He invites it home, and even takes it to school the next day. But when the thing learns there will be no trick-or-treating that night, it prepares to depart. It promises, however, to return for Christmas!
You’ll need:
- 2 sturdy paper plates
- 1 strip of poster board (approximately 1.5″ x 22″)
- A selection of dot stickers
- 2 toilet paper tubes
- 3 rectangles of grey construction paper (approximately 2″ x 6″ each)
- 1 jumbo pom-pom (mine was 1.75″)
- 1 large wiggle eye
- 1 clear plastic drinking cup (I used a 2.75″ tall hard plastic cocktail glass)
- 1 jumbo paper clip (mine was 1.75″ long)
- Flying saucer decorating materials (more on this below)
- 6 squares of yellow and/or red cellophane (approximately 5″ x 5″)
- A length of 24-gauge wire
- Scissors, stapler and tape for construction
- Markers for decorating
- Hot glue
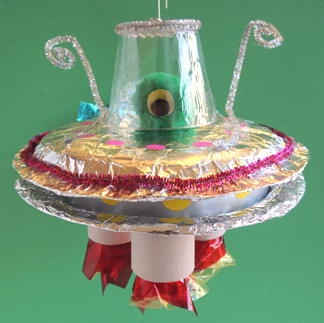 First, decorate a strip of poster board with dot stickers “lights” (we used silver metallic poster board and yellow dot stickers, but any color combination will do). Circle the poster board strip around the bottom of a paper plate and staple (or tape) the circle closed. In the demonstration photo below, I used purple poster board so it would stand out against the white plate. For the actual project, the poster board was silver with white backing.
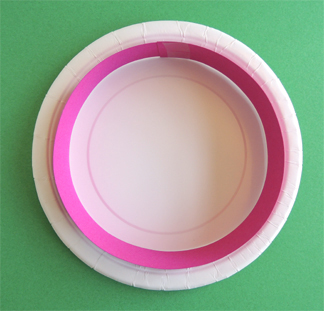 Hot glue the poster board circle to the paper plate. Next, squirt a ring of hot glue around the top rim of the poster board circle, then press the second paper plate on top. Your saucer will now look like this:
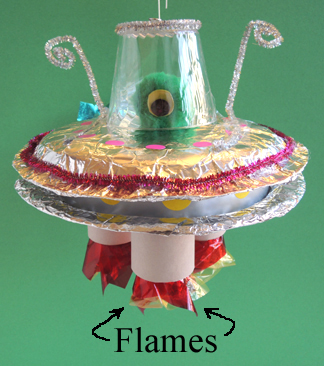
 Cut 2 toilet paper tubes in half. Wrap 3 of the tube pieces with grey construction paper, then hot glue them to the bottom of the saucer in a triangular fashion. These are your saucer’s “rocket boosters.”
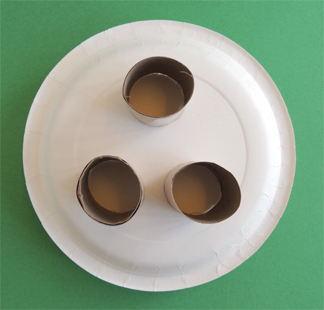 Set the saucer aside for the moment. Hot glue a single wiggle eye onto a jumbo pom-pom. This is your “alien.” We prepped a bunch in advance of story tine.
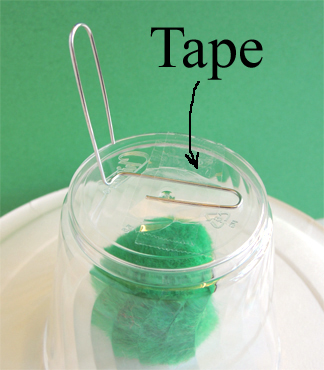
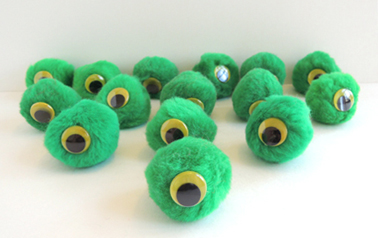 Place the alien on the top of your saucer, then tape a clear plastic cup over top of it.
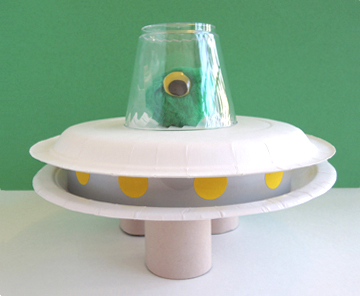 Next, bend the halves of a paper clip apart until it forms a right angle,
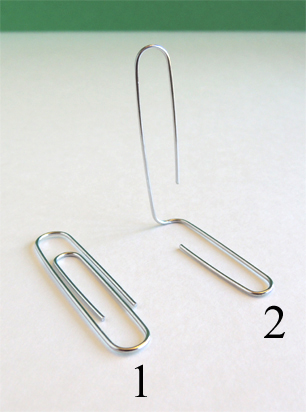 Then tape the bottom part of the paper clip securely to the top of the cup. This is the “hook” that connects the saucer to the zip line.
 It’s time to decorate your saucer! We offered tin foil, embossed foil paper, sparkle stems, dot stickers, and some foil confetti stars I picked up in the party section of Michaels craft store. Try to keep the art materials nice and light so they don’t weight the saucer down too much. Also, don’t let kids attach anything to the paper clip hook. Otherwise, the saucer’s flight down the wire might be hampered.
When you’re finished decorating, stack 2 squares of cellophane on top of one another (we used red and yellow). Pinch the middle of the cellophane squares together, twist them tightly, and secure with tape. Repeat the above steps twice more. You now have 3 “flames” for your saucer’s rocket boosters.
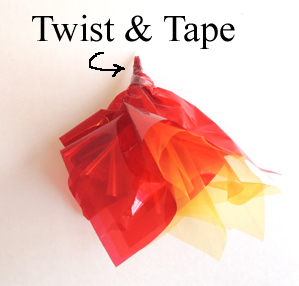 Tape a flame inside each booster. Done!
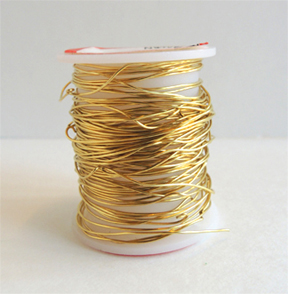
 Ready to flying your saucer? You’ll just need some wire! I dug this spool of 24-gauge craft wire out of the supply closet. The smoother the wire, the better.
Katie and I stretched 25 feet of wire between the launch site and the landing pad. I handled the launches, Katie handled the landings. To help my grip on the wire, I wrapped my end of the wire around a wooden dowel. I slipped the saucer’s paper clip hook onto the wire, lifted my end of the wire to give the saucer a sliding start, and watched it fly!
Important: Katie and I tested the wire the day before the program. When we were finished, we lightly coiled it and set it on a table. Unfortunately, that was enough to cause the wire to kink. The next day, the first saucer on the wire got snagged on the kinks. We had to quickly unspool a fresh length of wire. After that, it was smooth sailing.
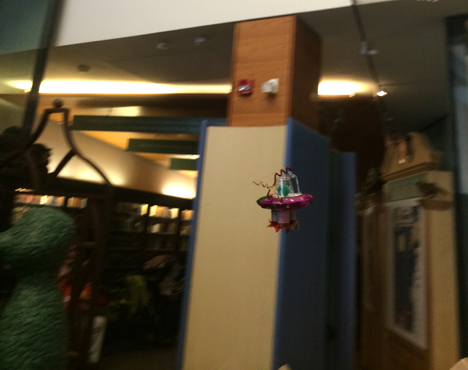
If you’re going to do this project with a crowd of kids, I suggest doing some prep ahead of time. Definitely prep the upper and lower halves of the saucers (i.e. hot glue the poster board circle to one paper plate, and the 3 tube boosters to the other plate). While the kids were decorating the top half with markers, we used a number system (similar to the ones used in delis and bakeries – we also used it on this project) to call them to the hot glue stations to get the bottom half of their saucer’s attached. Then they wrapped the boosters with grey construction paper, attached the cup, and proceeded to decorating.
Also, in our version of this activity, the kids brought their alien-free saucers to the launching site. I loaded an alien in it, taped the cup down, and then sent the saucer zooming down the zip line. If you decide to do this, make sure the kids attach the cup with just 1 piece of tape. This will allow you to easily lift the cup and place the alien on the saucer. But don’t forget to tape the lid down tightly after that!
Katie also prepped the cellophane flames in advance so there would be plenty of time to fly the saucers. Kids could take as many flights as they wanted.
It was…wait for it…a total blast!
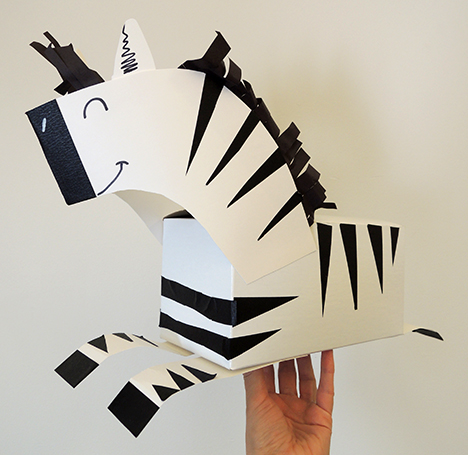
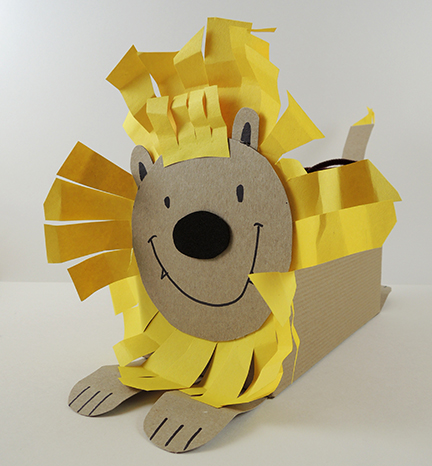 Once the box animals are complete, loop together a pipe cleaner, then tape it to the top of the box, right in the middle. At the top of the loop, either attach a large paperclip to form a hook, or use a carabiner (we had some leftover from this project).
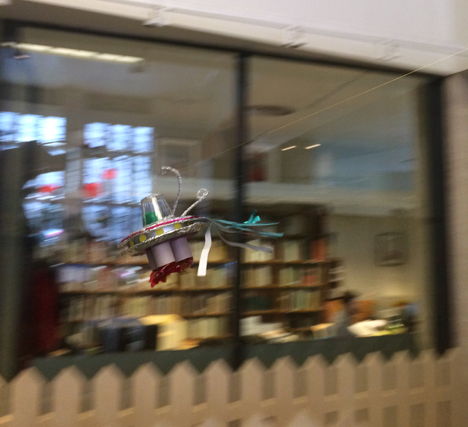
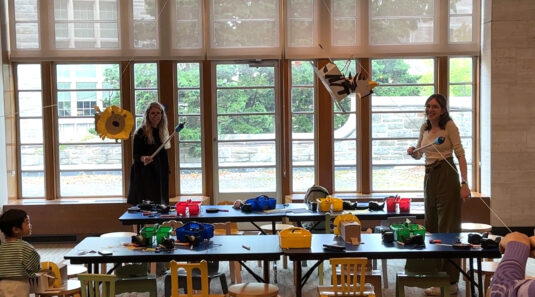
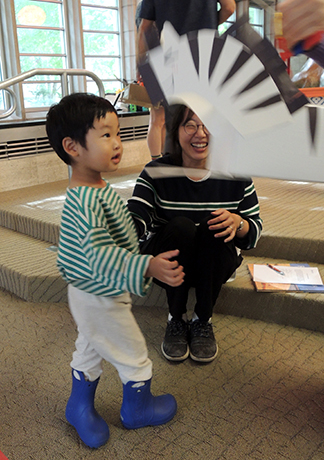
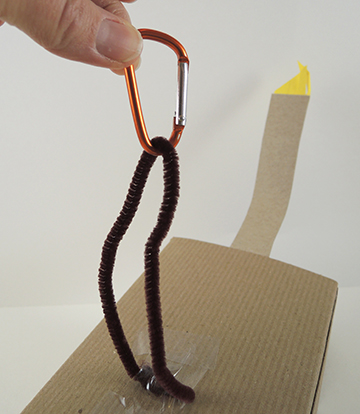 Your animals are ready to race! We set up two zip lines using coated wire. One end of each wire was stabilized on the ceiling of the library, and the other end was held by a volunteer, who could adjust the slope of the zip line to make the box animals go slower or faster. Each kid brought their box animals to the starting line, then scooted over to the finish line (which we marked on the floor with red masking tape). We clipped the boxes to the wire, counted to three, and the race was on!

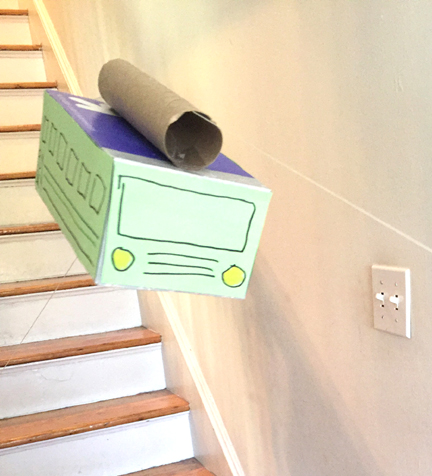
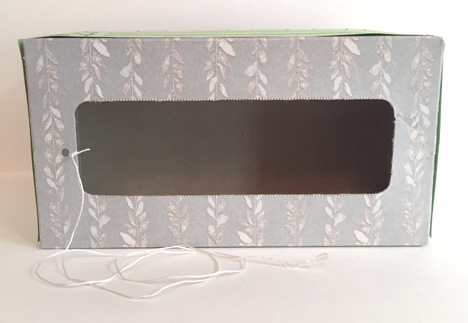
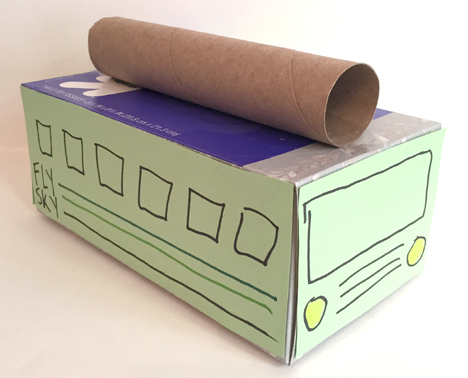 Next, turn the box on it’s side and punch a hole in the back. Knot a 15-24″ string through the hole. This is the string that your kid will use to pull the tram car up and down the zip line. Otherwise, it’s going to be YOU doing it. Probably the very moment you are trying to get lunch on the table while answering work texts during a Zoom meeting while also searching for your daughter’s lost LEGO figurine.
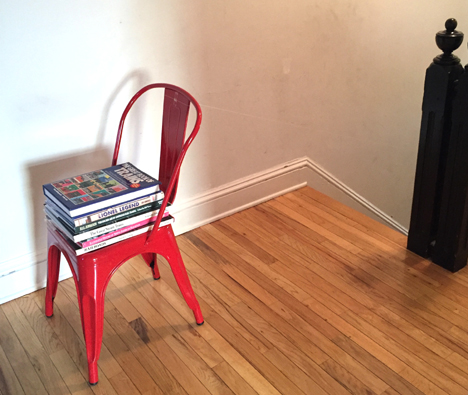
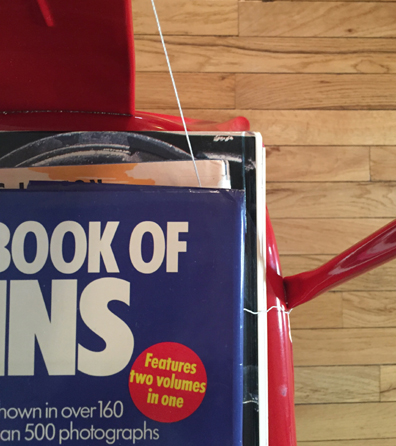
 Next comes the zip line! I used kite string, but we tested yarn and it works as well. We rigged our zip line on stairs, but a tree in the yard or a tall chair & shorter chair works too. Two very important things: WEIGH BOTH CHAIRS DOWN WITH BOOKS. There will be quite a bit of kid traffic on and around the zip line. Weighing both chairs reduces the chance of nudging or tipping.
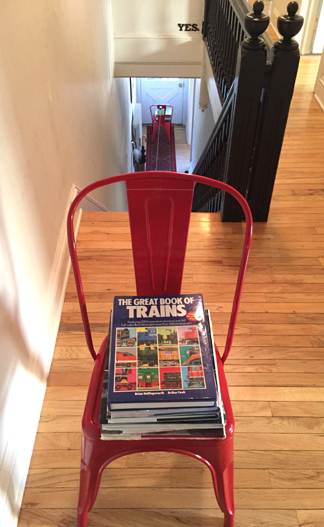 Next very important thing: if you are doing this on a stair case, SET BOTH CHAIRS BACK FROM THE STAIRS. Especially if you have two or more kids. You don’t want anyone falling down, or tripping up, the stairs. Below is the minimum I would set the chair from the top of stairs. More so for younger kids and.or multiple kids.