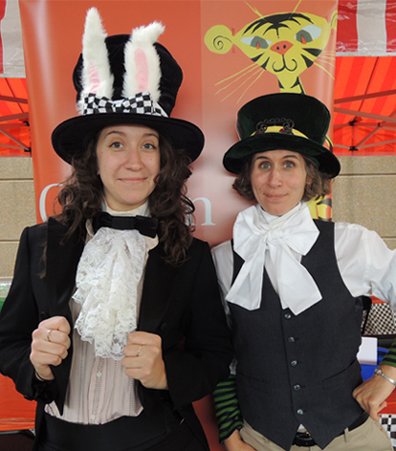
 This year marks the 150th anniversary of the publication of Alice in Wonderland, and we decided to honor the occasion at Princeton University’s Community & Staff Day! Our event table was stocked with some super, yet simple-to-assemble, thaumatropes. There was also some breakdancing. Well, sort of. Scroll to the bottom of the post to see our mashup of Alice and the 1980s.
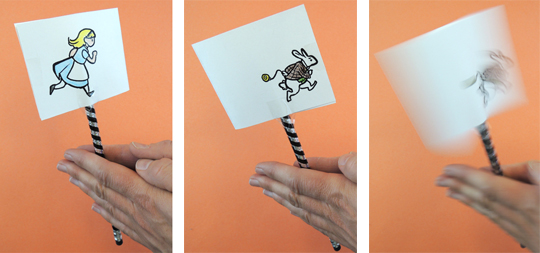
A thaumatrope is a Victorian optical toy. It consists of two images printed on opposite sides of a paper disc or card. When you twirl the thaumatrope, its two pictures appear to blend into one. Most thaumatropes are twirled using string. We decided to mount ours on pencils.
 You’ll need:
- 1 Alice thaumatrope template, printed on 8.5″ x 11″ white card stock
- 1 pencil (I ordered terrific ones from Oriental Trading Company)
- Scissors and tape for construction
- Colored pencils (or crayons) for decorating
We offered 4 Alice-themed templates, drawn by our amazing student artist, Aliisa Lee.
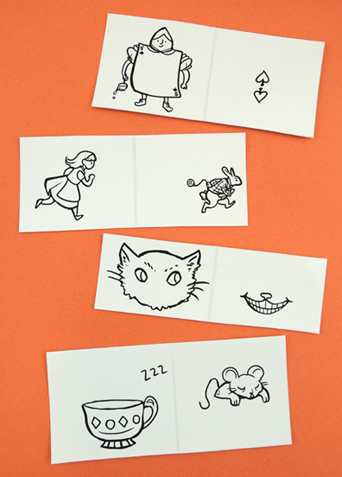 First, select a template, and use colored pencils or crayons to color it. Then, fold the template in half (along its faint grey line).
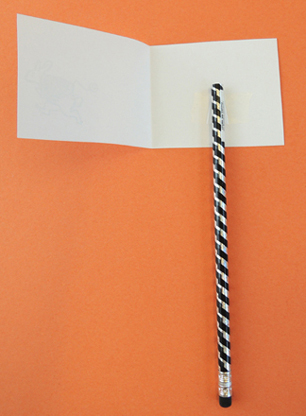
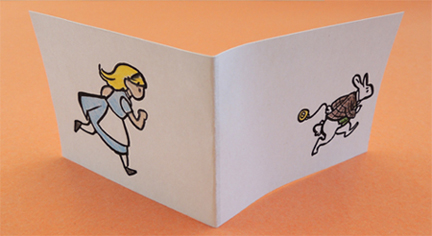 Flip the thaumatrope over, and tape a pencil to the back of one of the panels like so:
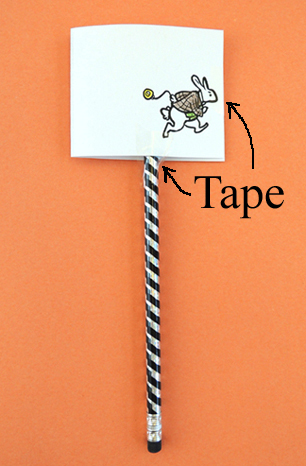
 Fold the thaumatrope closed, then secure the panels together with a piece of tape. You’ll also want to tape both sides of the thaumatrope to the pencil, to make it extra sturdy.
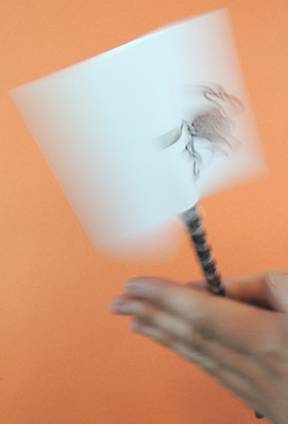
 Hold the pencil between your palms and roll it briskly back and forth. Your thaumatrope will turn, and the two images will appear as one!
 Here’s what our craft table looked like (and, if you’d like to explain a bit of the science behind how the device works, here’s a pdf of our thaumatrope table sign):
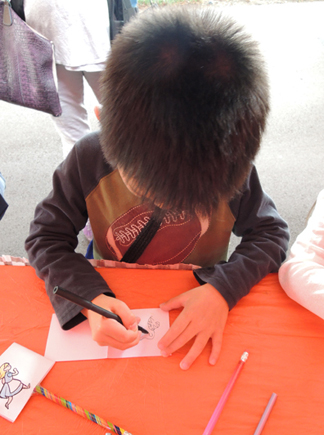
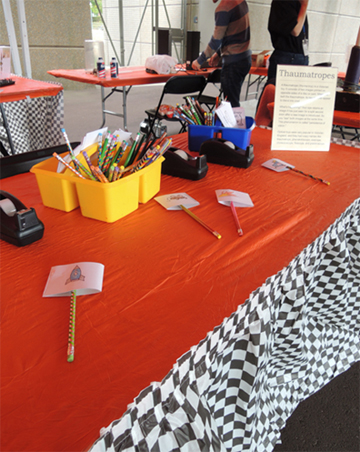 We also had some pens and blank thaumatrope cards on hand, just in case kids wanted to try their hands at making one from scratch.
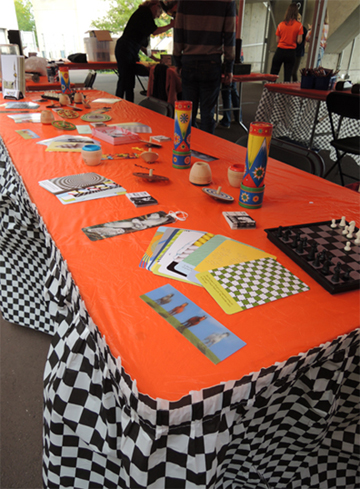
 On the other side of our event tent, we loaded a table with optical illusions cards, tops, Photicular bookmarks, flip books, replicas of vintage thaumatropes, kaleidoscopes, and mini chess boards.
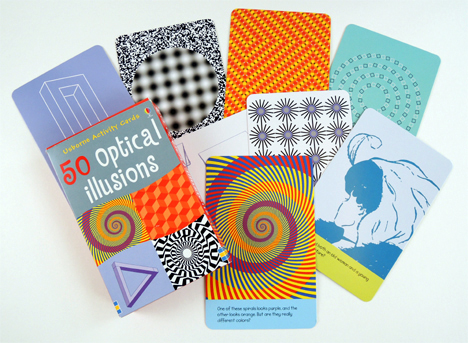
 While color print-outs of optical illusions work just fine, I highly recommend this pack of Usborne optical illusion cards. There are 50 illusions in the pack. They’re colorful, sturdy, and the science behind the illusions is explained on the back of the cards. The deck retails for $10.
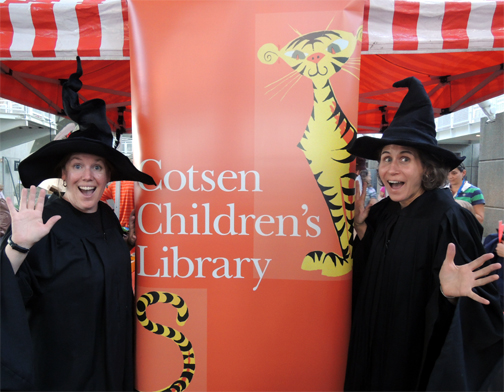
 No event is complete without a little costuming, and Marissa and I raided both our closets and the Costume Shop at the Lewis Center for the Arts for our garb. This was completely unintentional when we snapped the shot, but…don’t Marissa and I look like we’re going to bust out some 80s breakdancing moves?
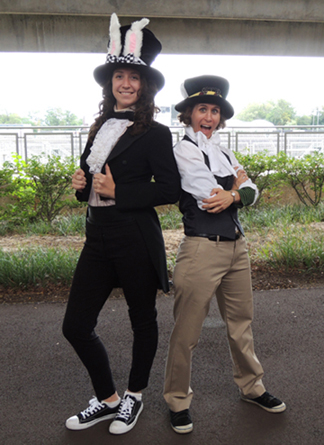 Maybe it’s the shoes? The jaunty pose? Hmmmm. What if we adjust the backdrop a little…
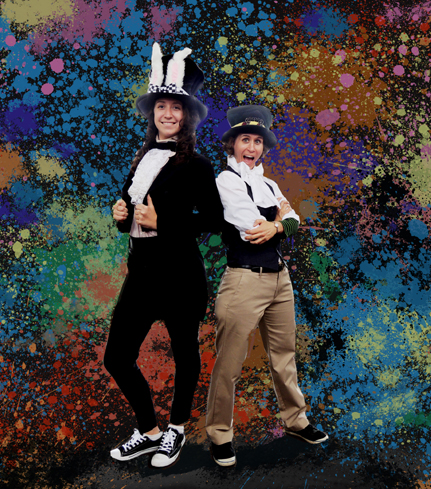 Oh yeah. I dare you to pin it.
Many thanks to the Costume Shop at the Lewis Center for the Arts for the costume loans, and to Aliisa Lee for triggering some totally radical 80s flashbacks.
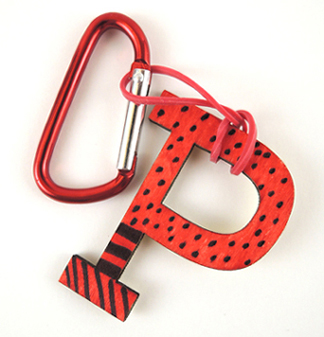
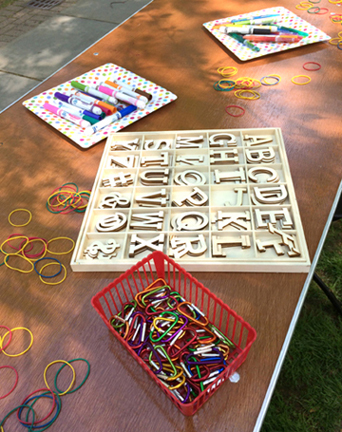 At the event, we simply laid everything out and invited kids to decorate! I think we made around 350 keychains that day. Also, since we were representing Princeton University, Katie and I wore tiger onesies (like we needed an excuse, right?).
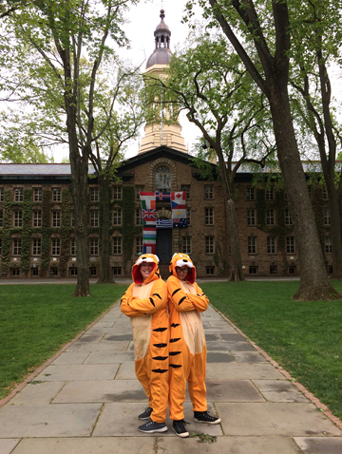 The project was quick, easy to explain, inspired a lot of creativity, involved alphabet letters, and kids of various ages (plus a few college students!) really enjoyed it. You can’t get much better then that!


 You’ll need:
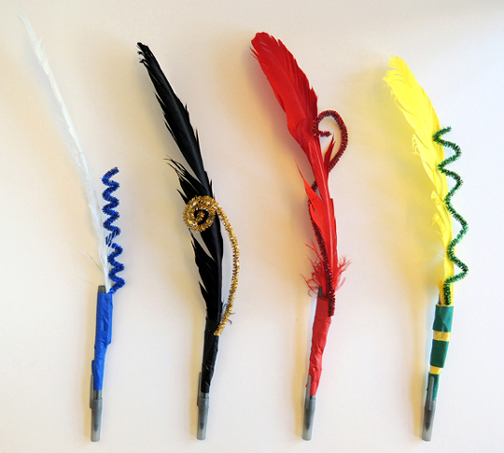
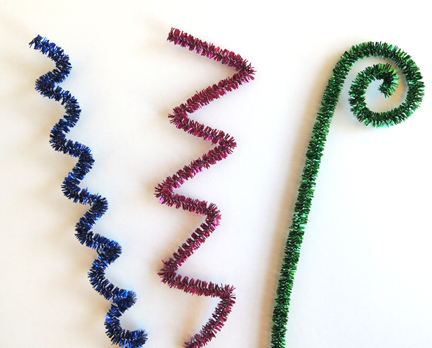 Place the sparkle stem on top of the feather. Then use masking tape to attach the feather and the sparkle stem to the the top of the pen. You can continue covering the pen with tape if you’d like (just make sure you don’t accidentally tape the cap on). Done!
