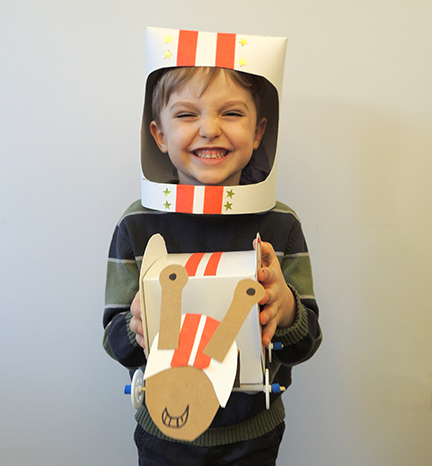
Who says a snail can’t be speedy? Start your engines, we’re putting it in 5th gear with a remote control snail racer rally!
We read Snail Crossing by Corey R. Tabor (Balzer + Bray, 2020). When Snail spots a delicious cabbage field across the road, he decides to motor over. However, many obstacles (birds, cars, rain, his own sense of direction) deter him from his goal. Thankfully, with the help of some new friends, it’s cabbage soup and tea for all! This book is hilarious and SO much fun to read aloud. Lots of laughter at story time! Highly recommend!
You’ll need:
- 1 box (ours was 4” x 4” x 4”, but a small tissue box works too)
- Poster board
- 1 wheel assembly (more on that below)
- 1 RC car or pull string
- Scissors, tape and/or glue for construction
- Markers for decorating
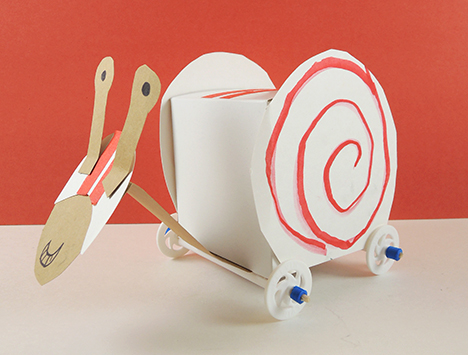 The snail part of this project is very simple. Decorate 2 poster board snail shells and attach them to both sides of a small box. To make the snail’s head and neck, round one end of an 8″ strip of poster board, then fold to create a head. Don’t forget the eye stalks! We also added a paper racing helmet, but that is optional. Tab the other end of the strip and attach it to the underside of the box.
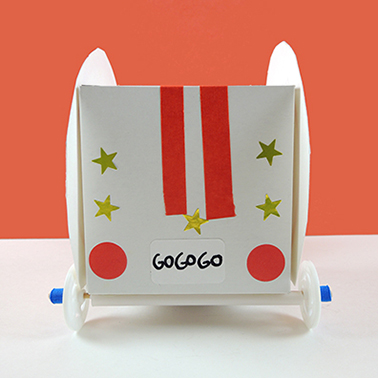
If you are going to eventually make this a pull string snail like we did, you will find the wheel assembly instructions here. Finish the whole look off with color masking tape stripes and star stickers, or just use markers to decorate. We added red dot sticker taillights and a sticker license plate as well.
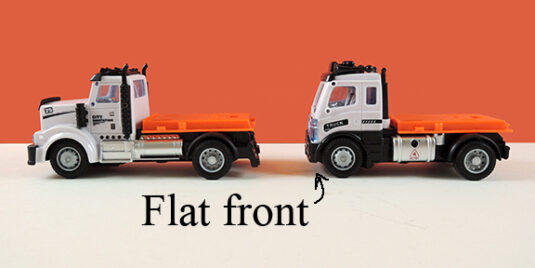
 Now to get your snail moving! We thought an RC snail rally would be super awesome, so I made a quick trip to Jazams, our local toy store. I found these RC trucks for $17.
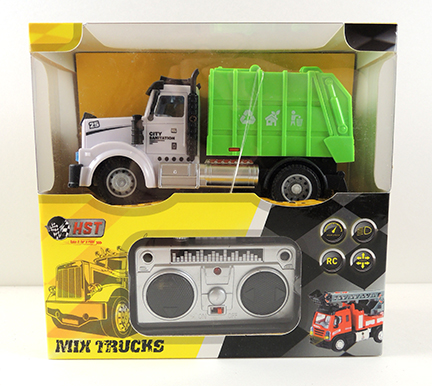 One quick note: You’ll notice that the RC truck in the picture above has a nose that sticks out. There was another box, exact same recycling truck, except it had a flat front (see below). Turns out the truck with the flat front held the snail box MUCH better. So aim to find a flat front truck if at all possible!
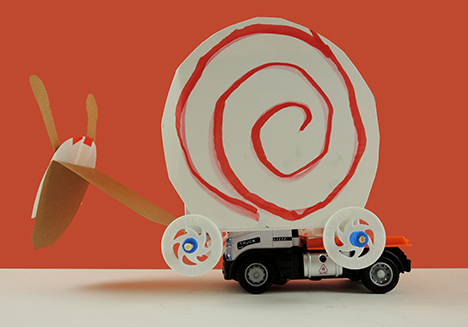
 I removed the green recycle section from the back of the truck, cut a hole in the bottom of each snail box, and then slid the snail onto the cab of the truck like so:
Then we headed out to the big lobby to race our snails! As you can imagine, it super chaotic (we had four running at once). So we waited until a slightly calmer time to video these two racers in action!

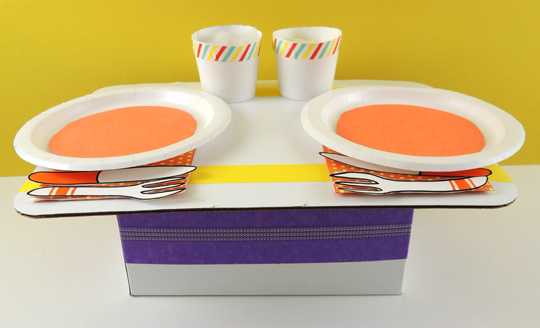 Set the tabletop with 2 small paper plates, 2 paper cups cut down to 2.25″, and the knifes and forks from the template. Optional: adding cotton ball “liquids” inside the cups, paper napkins, and decorating everything with construction paper,
 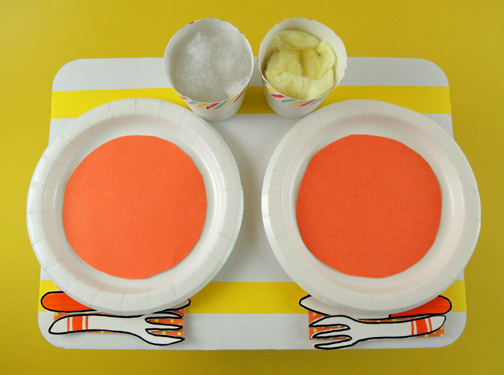 We recommend NOT attaching anything directly to the tabletop. Later, when you’re playing your race game, it’s much funnier when things go flying off the table!
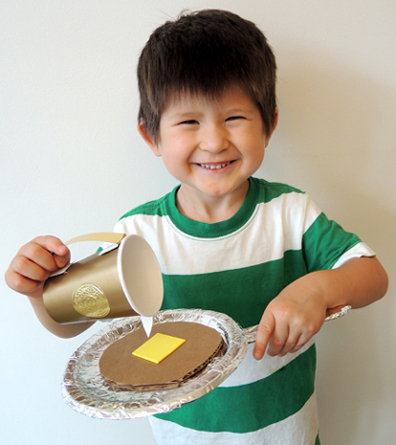
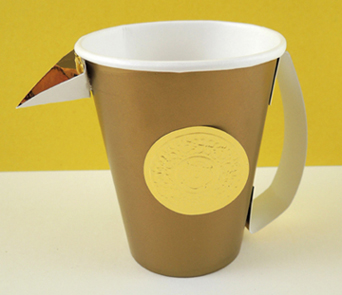
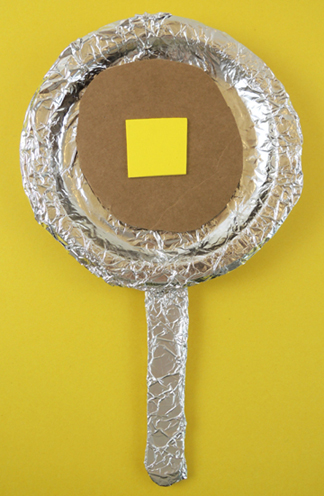 Finally, the golden syrup pitcher trophy! This is a paper cup. We added a gold
  To play the race game, set the table, then have the two players sit some distance on opposite ends. On “Go!” both players must attempt to toss their pancakes to the plates. Keep tossing until a pancake lands on a plate. First one to the plate wins the trophy!
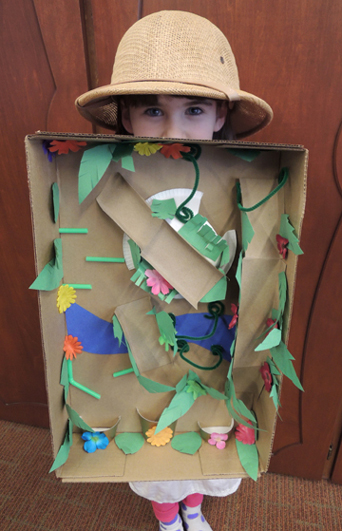
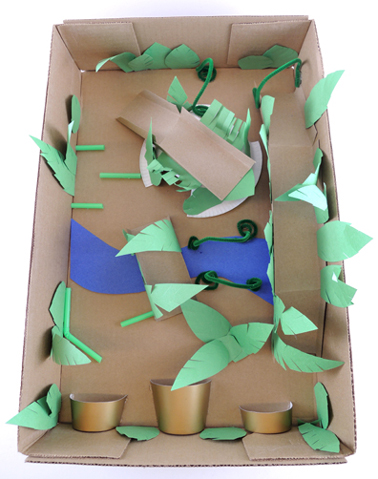
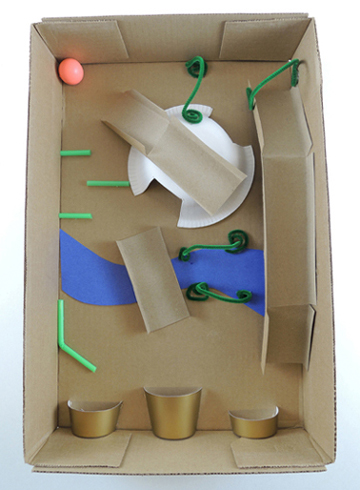 As you can see, we had a paper bowl tunnel, a bumpy drinking straw “path,” green pipe cleaners acting as vine wickets, and a blue construction paper river. We used tagboard to make a bridge, as well as a ramp and an elevated pathway. At the bottom of the box lid are the “goals”…paper cup halves cut down to various heights. Want to fill things out a little? Add construction paper foliage:
 You can also add fabric (or construction paper) flowers for some pops of color!
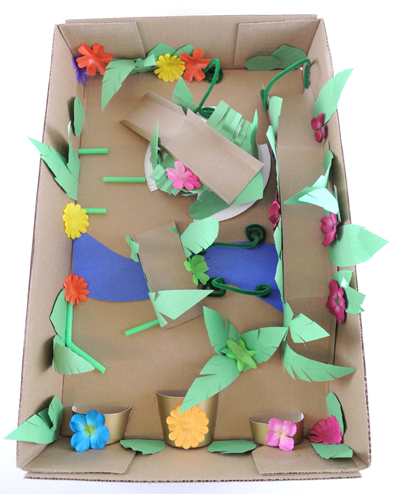 To play, drop a bouncy ball in anywhere, then navigate through the obstacles and foliage by tilting and turning your box top. The ball goes in a cup, you win! Bonus fun – use multiple balls at once, or play with one kid at each end of the box top!